I am Ari, a Concept Artists.
In this article, we explain how to draw perspective drawings easily using the “Ruler of Perspective” in the “CLIP STUDIO PAINT app” on the iPad. You can easily draw perspective by using the “Ruler of Perspective”, so please try it out!
By learning this method, you can draw perspective illustrations such as one-point perspectives and two-point perspectives in “CLIP STUDIO PAINT”.
CLIP STUDIO PAINT” on the iPad has the same tool layout as PC software, so you can use it in the same way. Therefore, if you are proficient in using it, you can draw PC-class illustrations.
↓Click here for the official CLIP STUDIO website.
・CLIP STUDIO PAINT PRO・CLIP STUDIO PAINT EX
The video shows a detailed explanation while drawing. If you want to check it thoroughly, please click here.
[adchord]
How to draw a two-point perspective illustration using “Perspective Ruler”
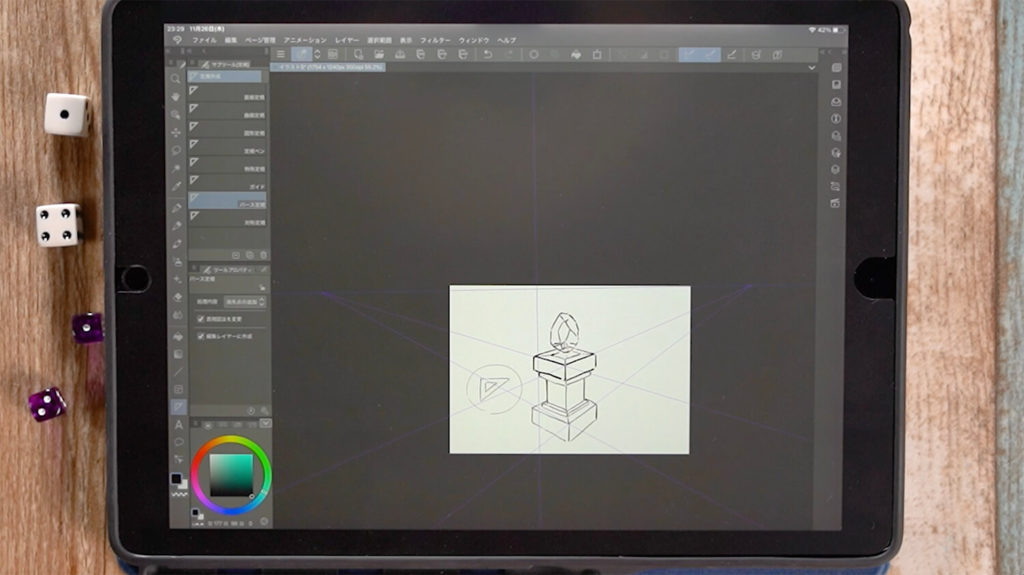
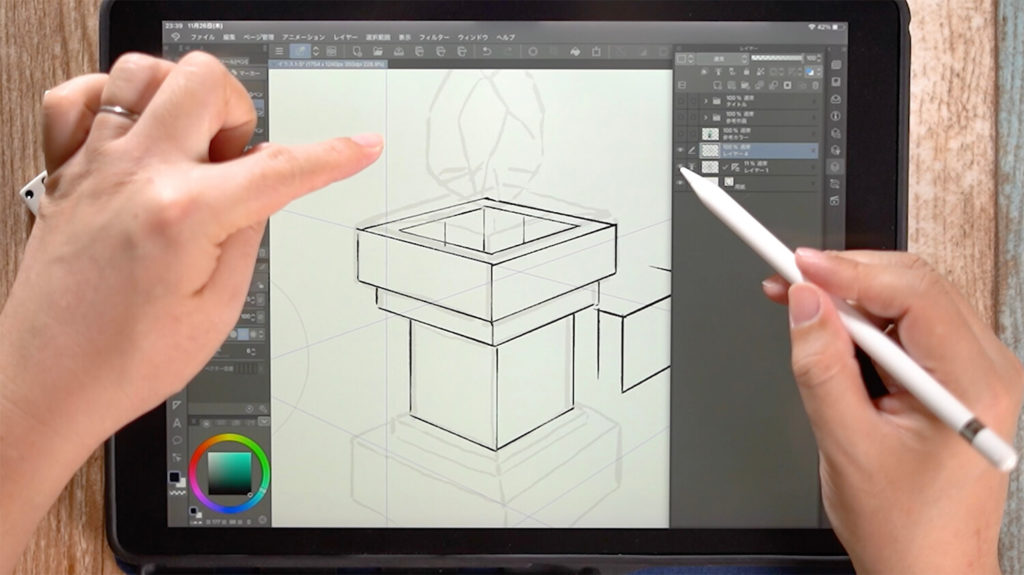
Draw a rough sketch
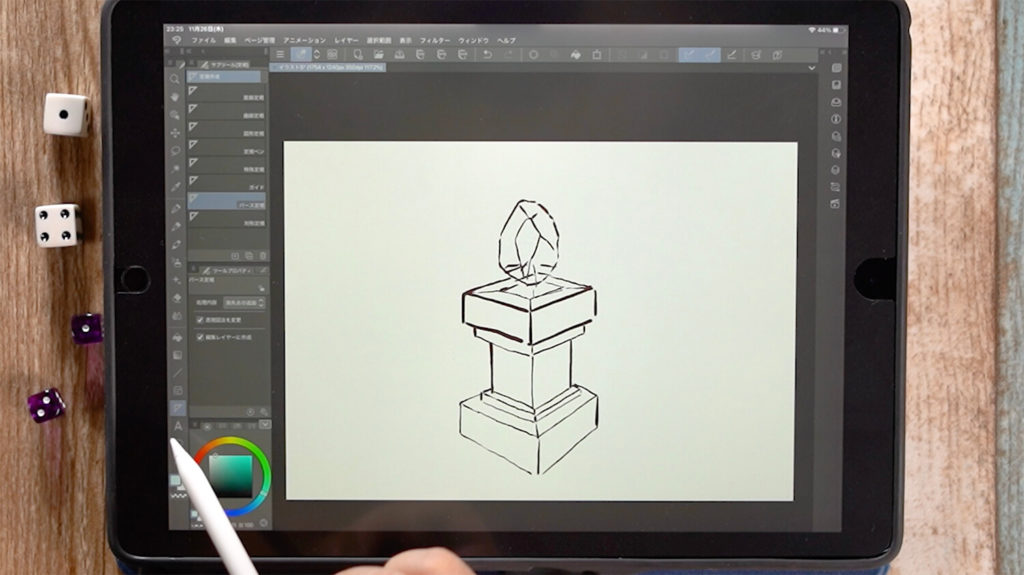
Based on the rough sketch, set the “Ruler of Perspective”.
Setting the Perspective Ruler
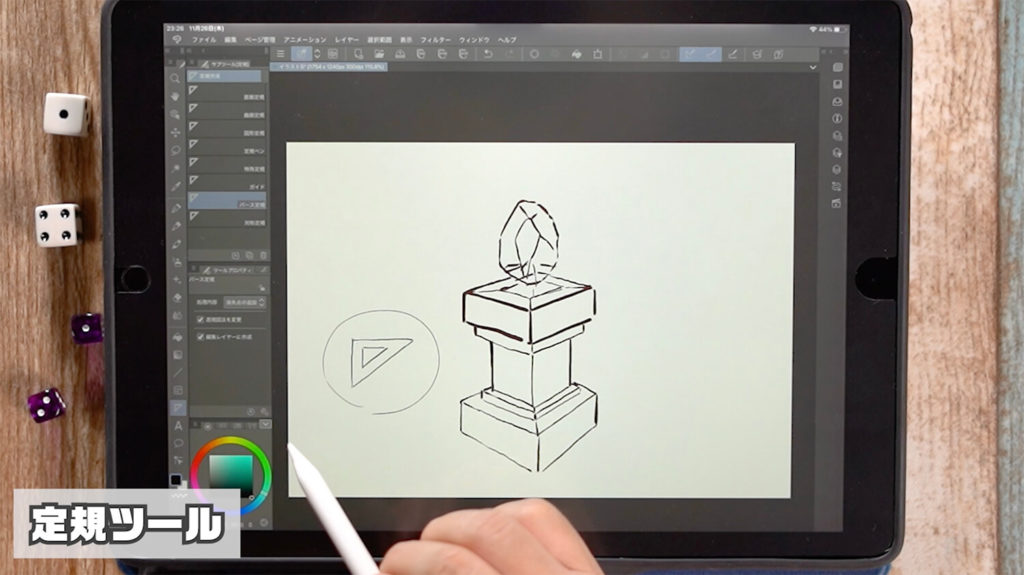
Select the “Ruler Tool” at the bottom of the left tool, and various rulers will appear in the sub-tools tab. Select “Perspective Ruler” among them.
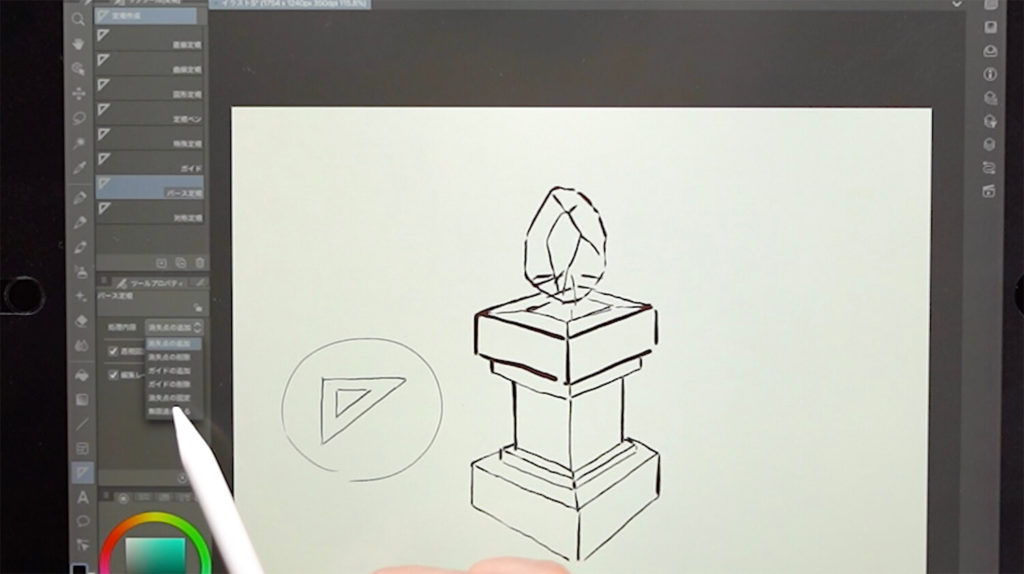
You can “Add vanishing point” and “Delete vanishing point” in the processing contents of the tool properties.
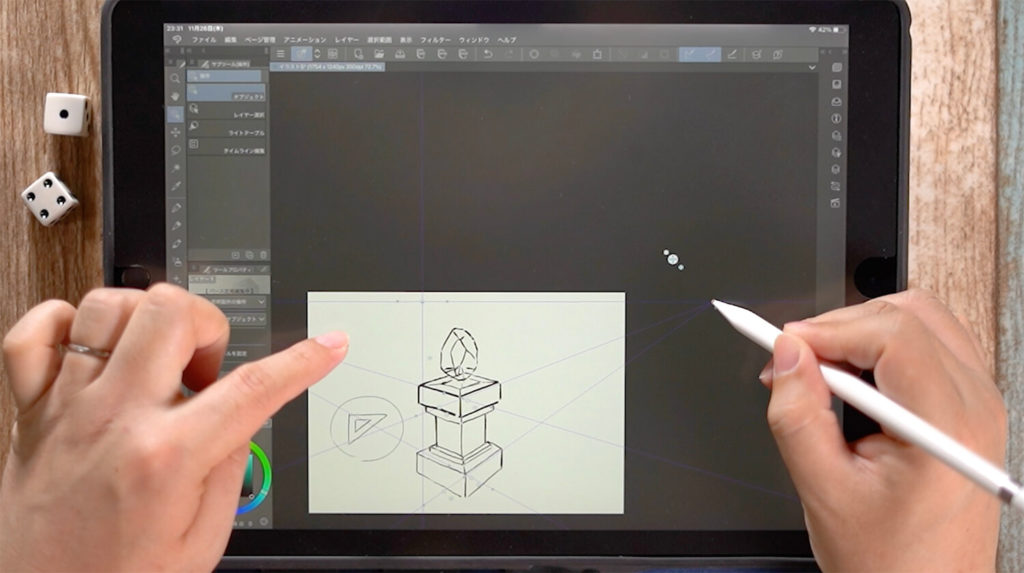
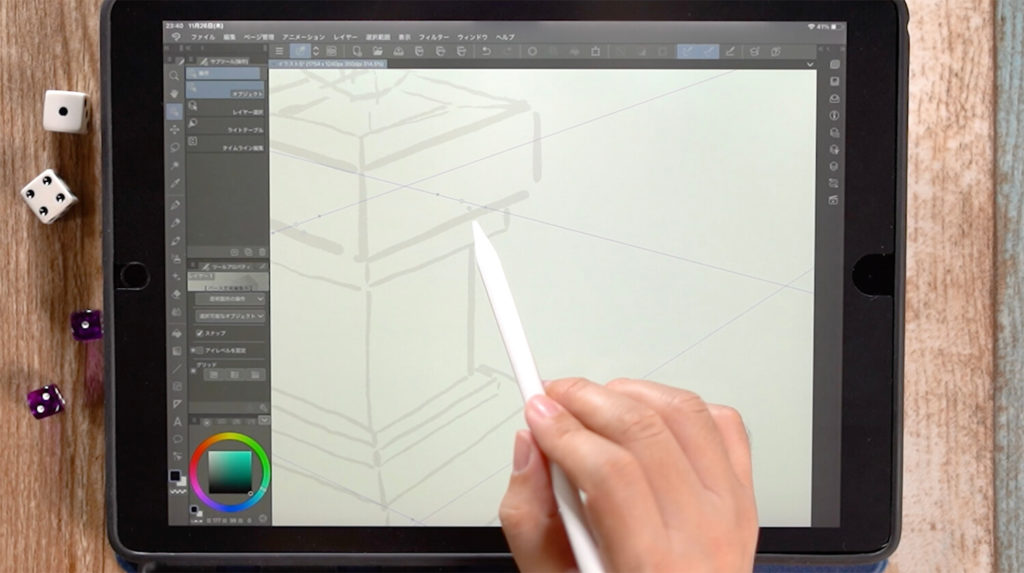
Calculating Vanishing Point
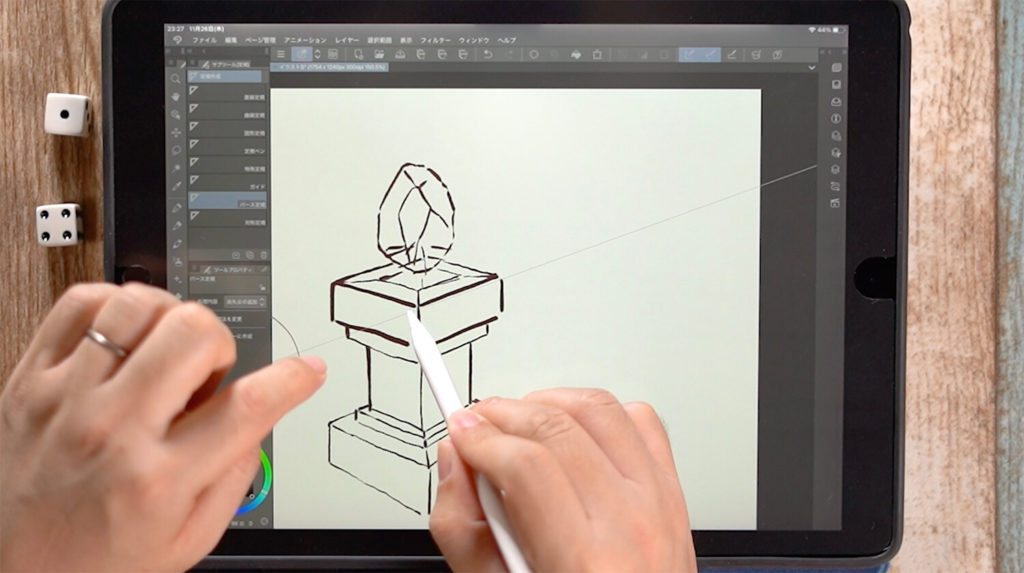
With the “Add Vanishing Point” tool selected, drag to create a guide for the vanishing point along the desired line. Set this guide according to the rough sketch.
Once one guide is set, set another guide for the vanishing point that converges at the upper right corner.
The intersection of these two guides will be the vanishing point. The line running next to the vanishing point is the “eye level.
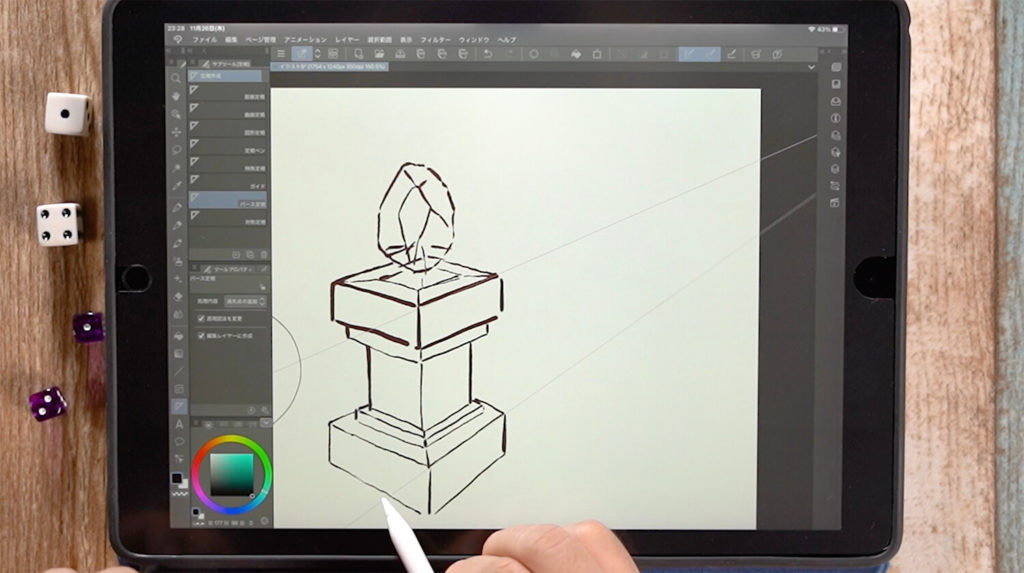
The vanishing point on the left side was set in the same way, and the two vanishing points were determined.
How to edit the perspective ruler
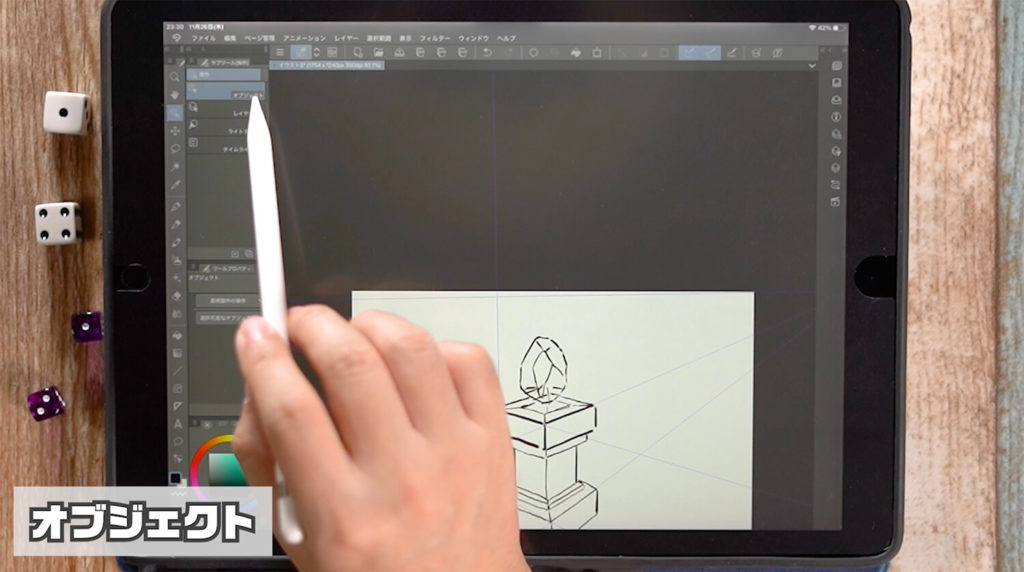
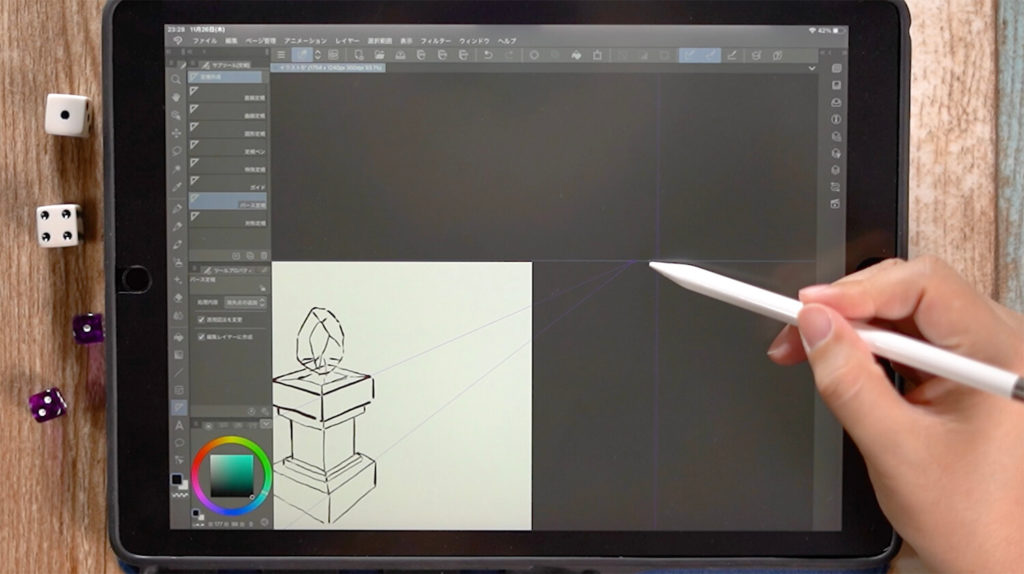
In the case of a rough illustration, setting the vanishing point may cause the eye level to shift, so we will fix the eye level to be parallel. Select the third “Operation” from the top of the left tool, and then select “Object” from the sub-tools.
When you select “Object,” a circle will appear on the line of the vanishing point. By dragging the circle, you can edit the line.
In this way, the eye level can be corrected to be parallel. Since you can modify the settings later, the initial settings do not need to be that precise.
Drawing
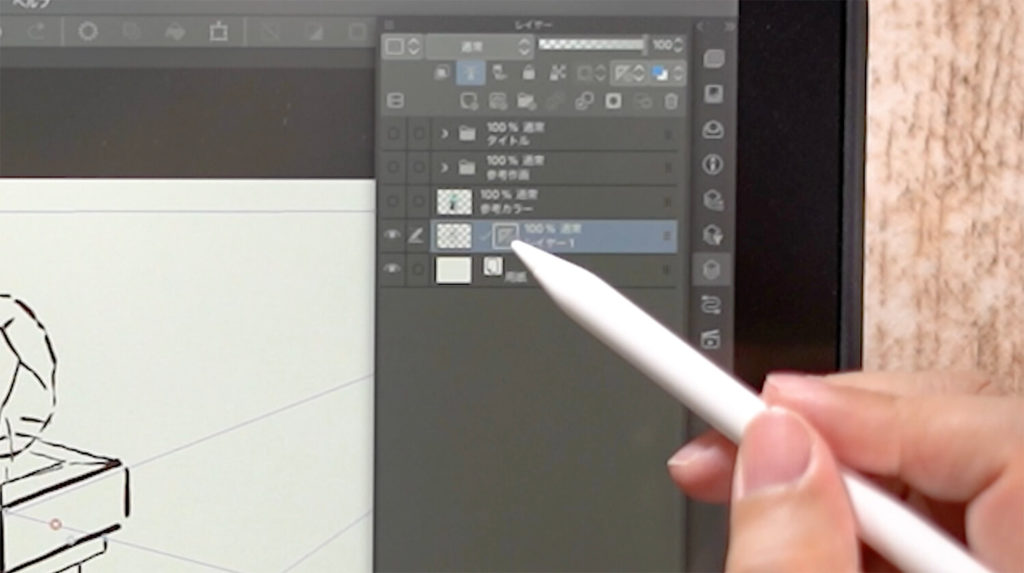
When “Layers” is displayed, an icon like the one in the image will appear on the layer where the perspective ruler was set.
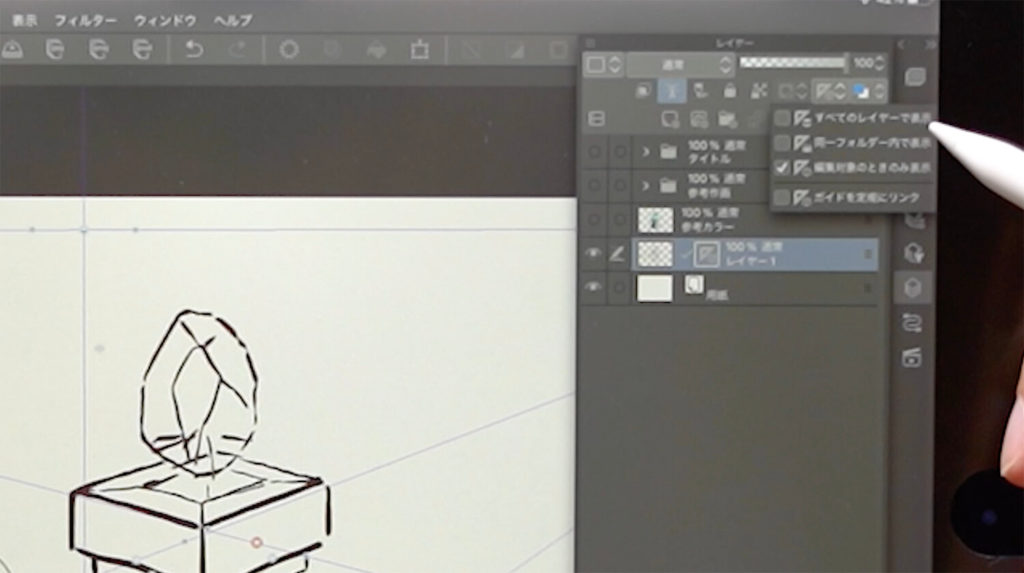
You can set the perspective ruler at this point in the image. You can set whether to “Show on all layers”, “Show in the same folder”, or “Show only when editing”.
The “Show only when editing” setting means that if a different layer is selected, the perspective ruler setting will not be applied. In this case, we will set it to “Show on all layers”. Change the setting according to your needs.
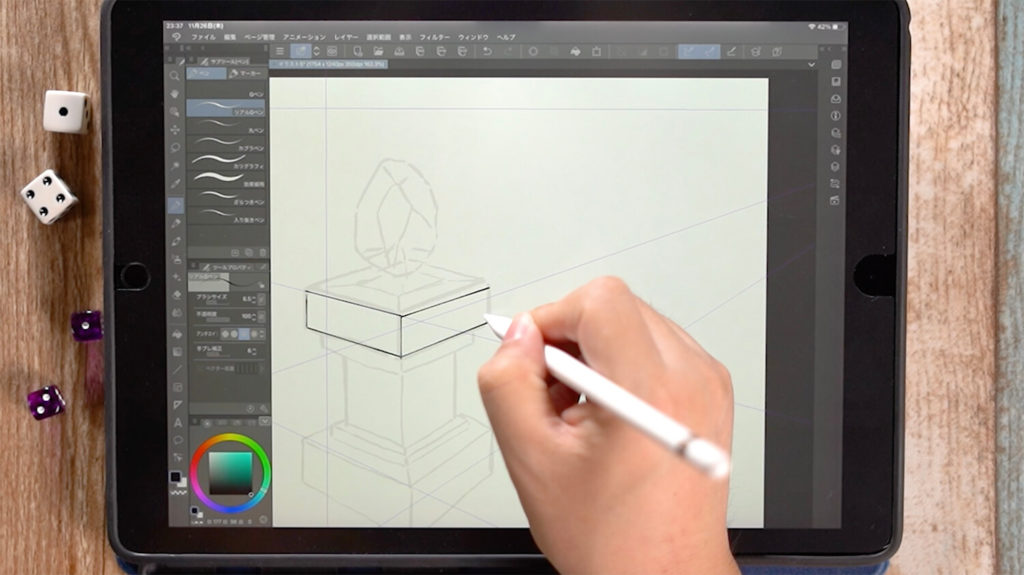
Create another layer and draw the line drawing. You can draw a beautiful two-point perspective illustration just by following the rough drawing.
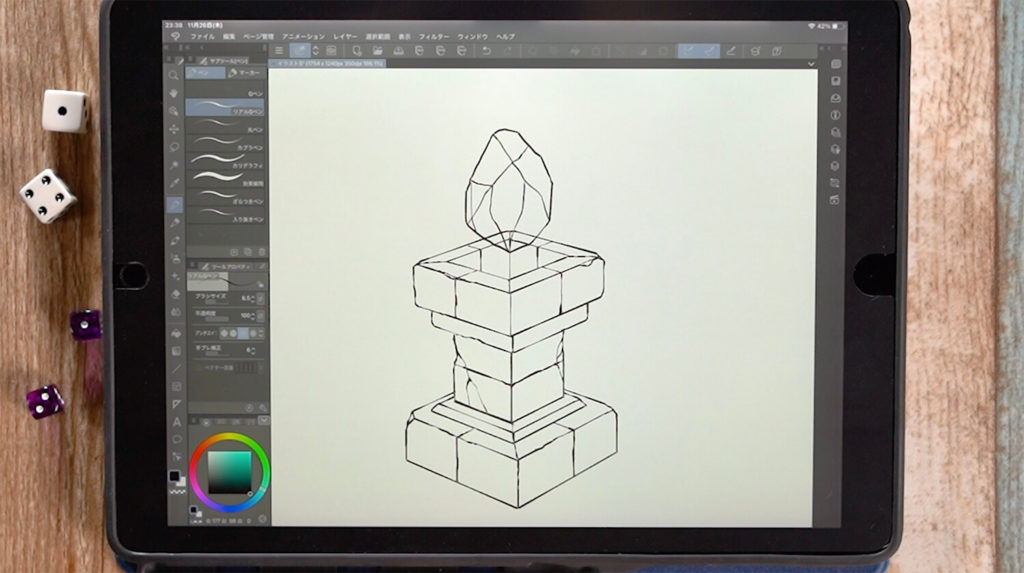
As you continue drawing, you can create an illustration like this.
Notes on using “Perspective Ruler”
When “Ruler” is set, only straight lines along the perspective can be drawn, so if you want to draw curved lines, you should hide the layer with “Ruler” set.
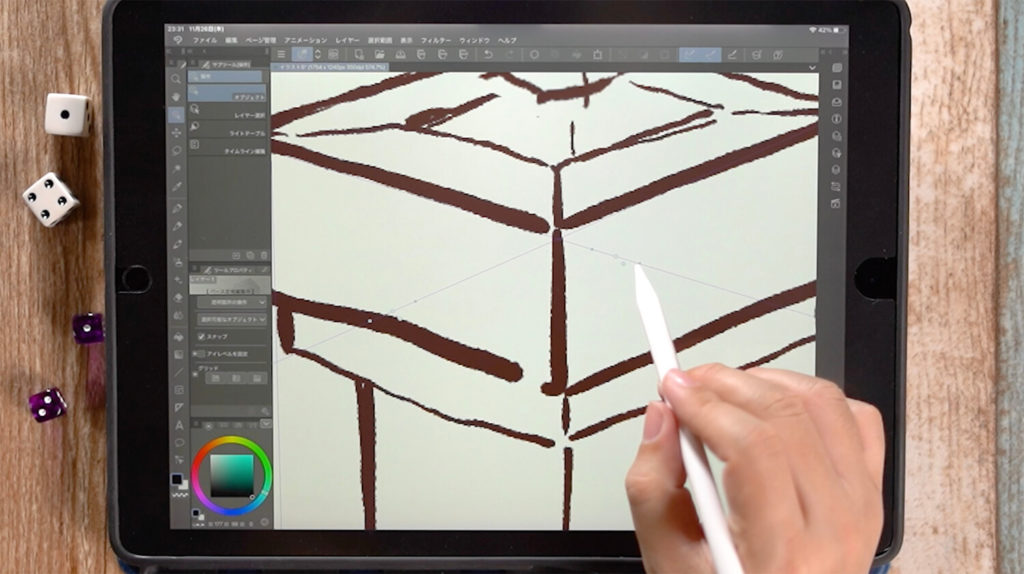
When this happens, take a closer look at the perspective ruler, which usually has a purple line, but at that time it may be green. This is a setting that turns off the perspective ruler for that line.
To turn it on, select “Operations” -> “Objects” from the third from the upper left, and select the diamond shape near the line that is green. By pressing this diamond shape, you can draw a line.
You may have turned it off for some reason. If you can no longer draw a line along the “Perspective Ruler,” check it out.
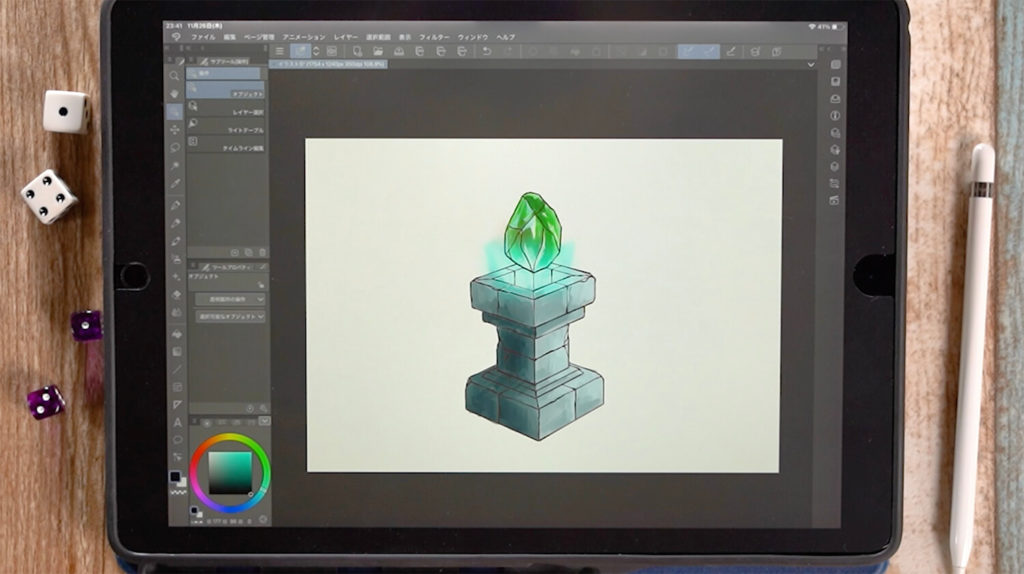
Finish the work!
After adding color, the two-point perspective illustration using the “Perspective Ruler” drawn in clip studio will be completed.
I previously posted a video titled “Is it OK to put multiple vanishing points in one picture?” With Procreate, it is a little difficult to mix one-point perspective and two-point perspective on a single screen, but with CLIP STUDIO PAINT, you can take multiple vanishing points on a single screen, so you can draw complex illustrations.
Detailed Explanation Video
In the video, detailed explanations are given while drawing. If you want to check it out thoroughly, please click here.
Reference sites
If you are interested in purchasing CLIP STUDIO, please click here to visit the official website.
If you also want to create manga, try “CLIP STUDIO PAINT EX“, and if you mainly create illustrations, take a look at “CLIP STUDIO PAINT PRO“.
If you are a first time user, there seems to be a free trial period, so it would be good to try it once.
Conclusion
This time, we introduced the iPad’s “easy perspective drawing function with the CLIP STUDIO PAINT app.
The perspective ruler is a very reliable function when drawing background illustrations!
If you are using CLIP STUDIO PAINT, please use it!
Thank you for watching until the end.
See you again in my next post!