
I am Ari, a Concept Artists.
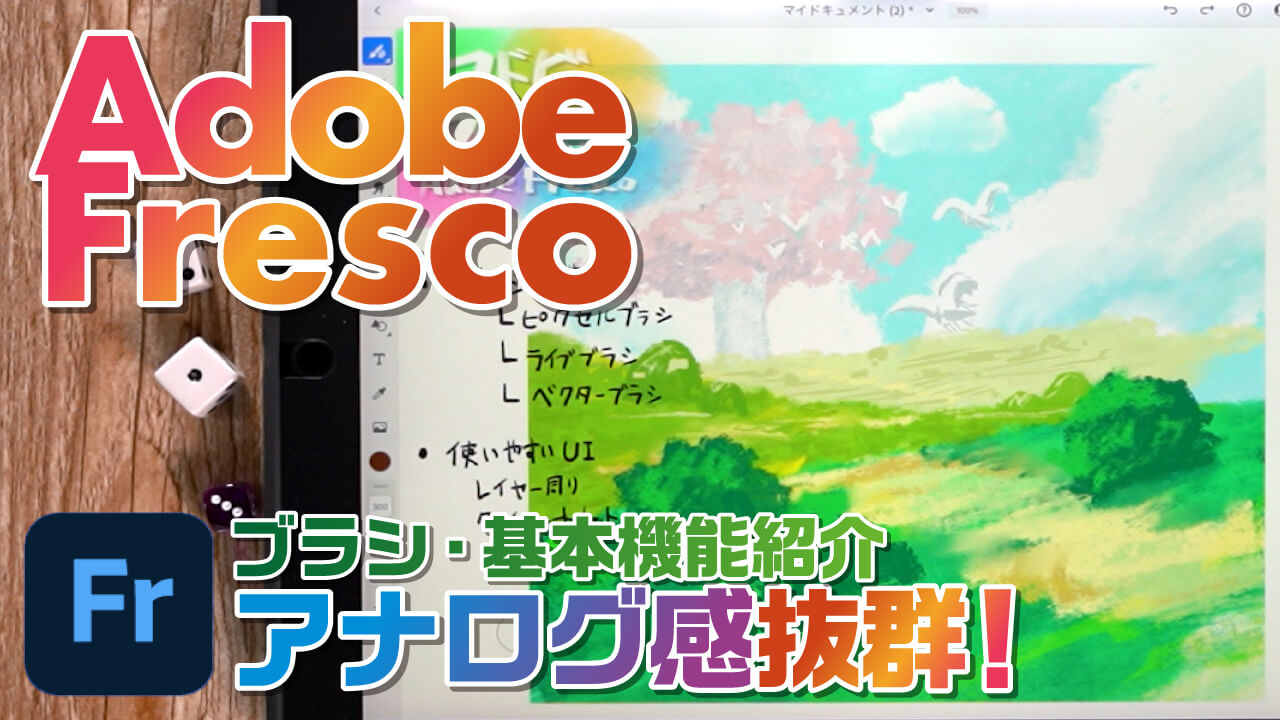
In this article, we introduce “Brushes, UI, and other basic functions of Adobe Fresco. By watching this article and video, you will understand what kind of pictures you can draw with Adobe Fresco.
The video explains in detail with drawings. If you want to check it out thoroughly, please click here.
About Adobe Fresco
Adobe Fresco is an IPad application from Adobe, and it is a drawing application that emphasizes a hand-drawn feel.
Adobe has a variety of production tools, and the Adobe Creative Cloud, which offers access to all creative tools, includes Adobe Photoshop, Illustrator, InDesign, and Adobe Premiere Pro.
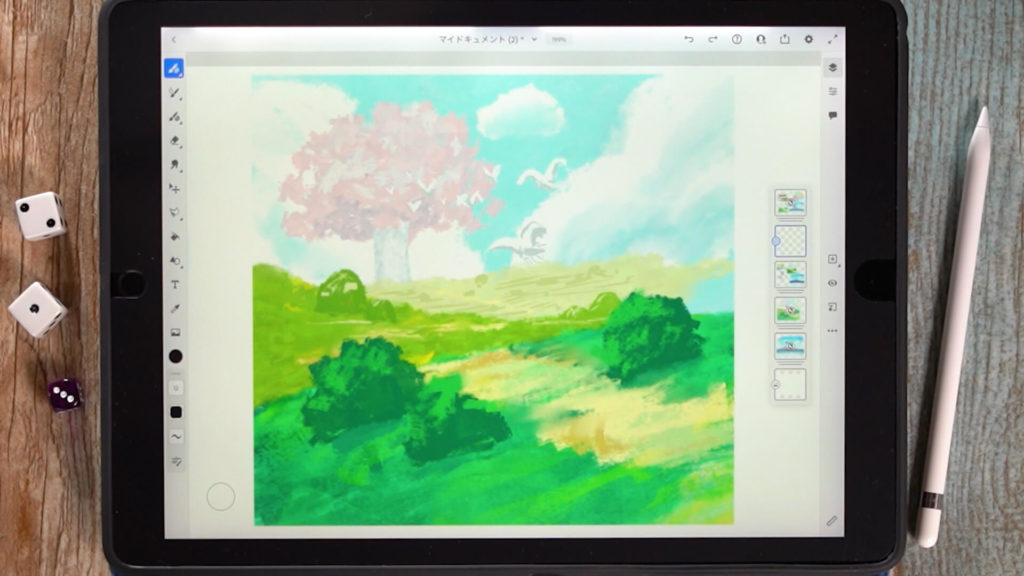
Adobe Fresco offers illustrations with a touch of paint or pastel, or
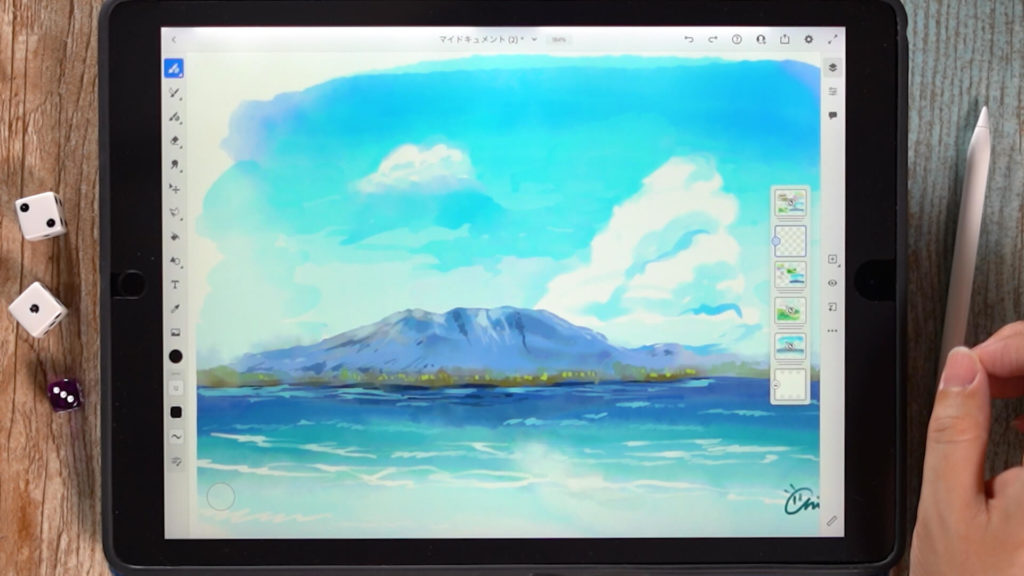
Adobe Fresco allows you to create illustrations with a variety of analog touches, such as watercolor-like illustrations.
Also, since it is an application published by Adobe, it is highly compatible with Photoshop and Illustrator, which is also a recommended point.
Let us introduce some of the most recommended and frequently used features of Adobe Fresco.
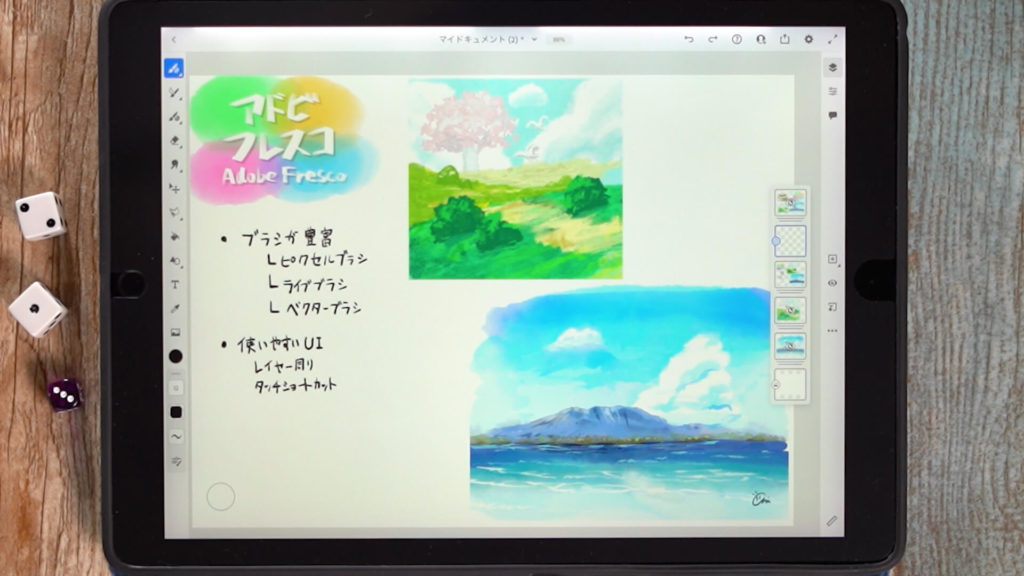
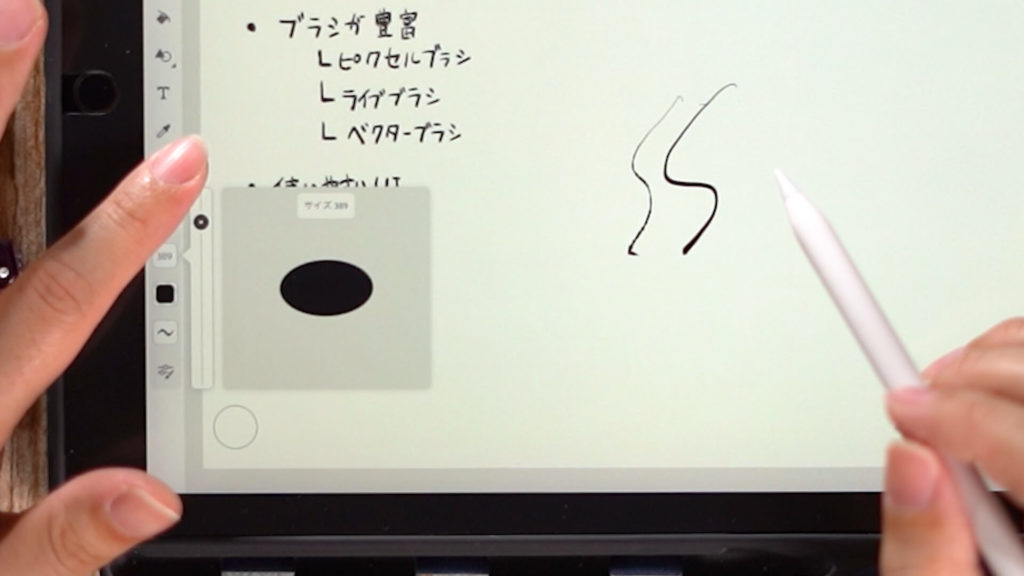
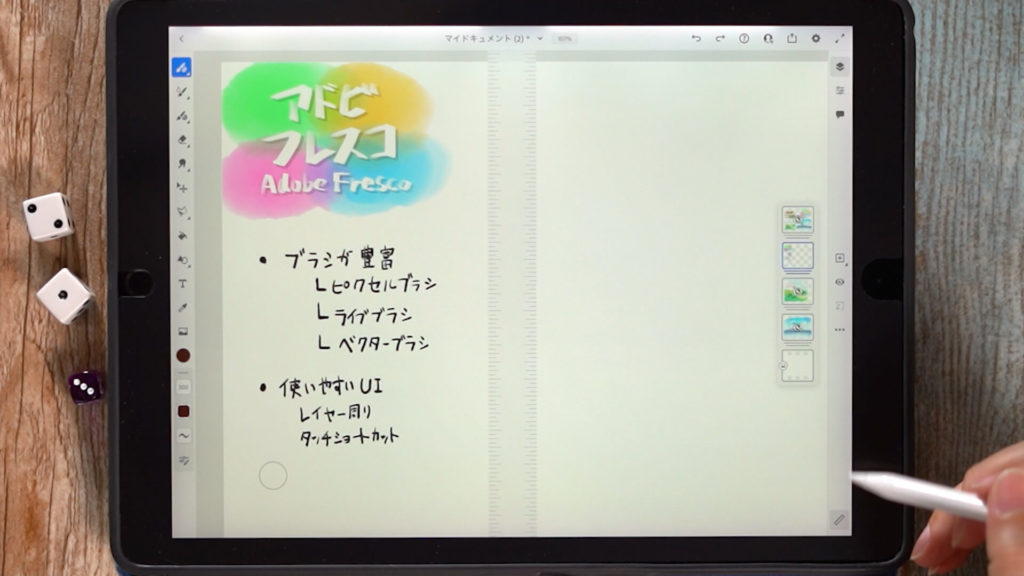
A wide variety of brushes
Brushes are divided into three main categories: Pixel Brushes, Live Brushes, and Vector Brushes.
Pixel Brushes
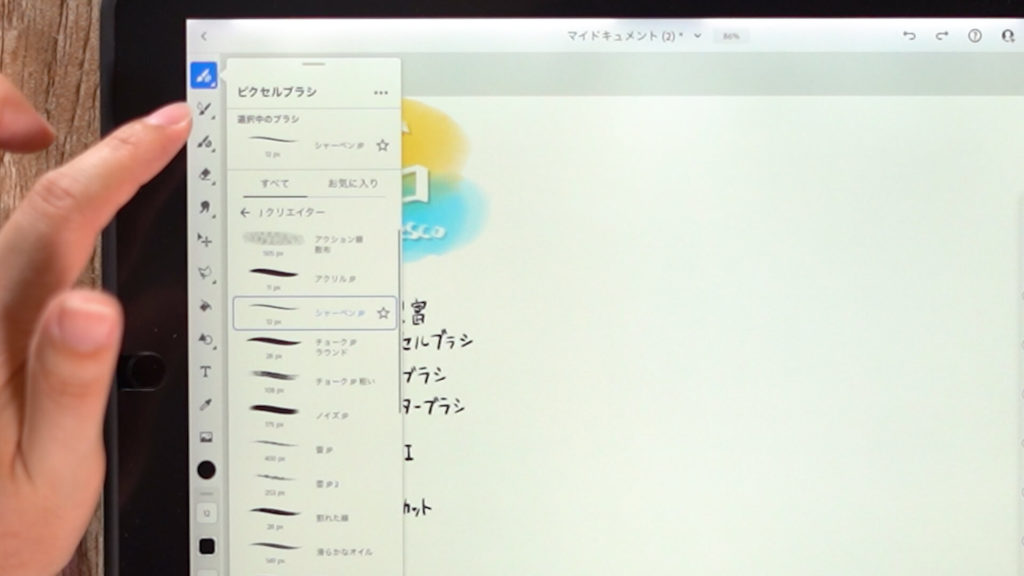
“Pixel Brushes” are similar to Adobe Photoshop brushes. Adobe Fresco has a large number of built-in brushes.
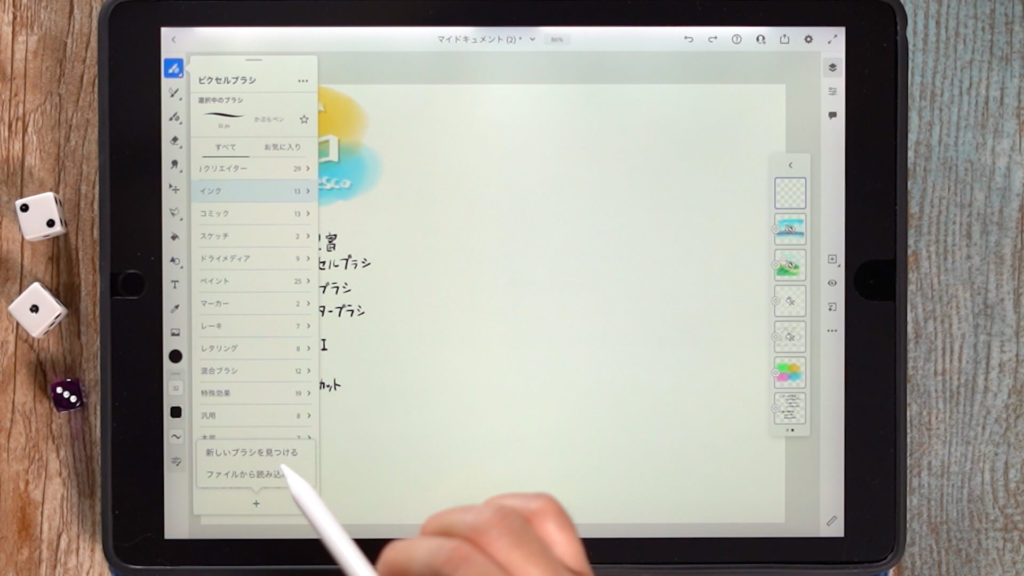
Adobe Fresco has a large number of brushes built in, and you can find the brushes provided by adobe by going to “Pixel Brushes” -> “+” mark at the bottom -> “Find New Brushes”.
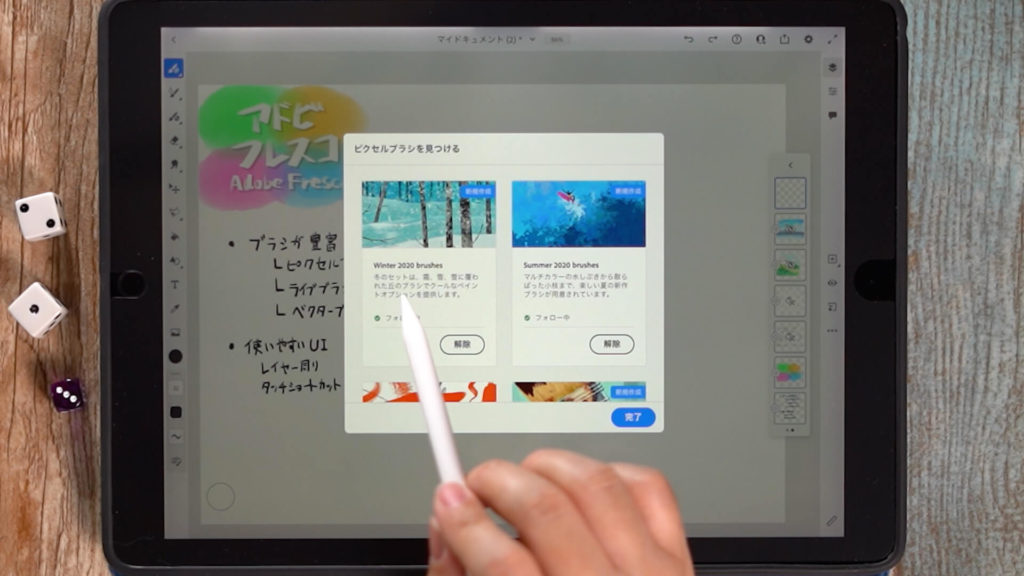
You can choose the brushes you follow from “Pixel Brushes”. You can find a large number of brushes this way.
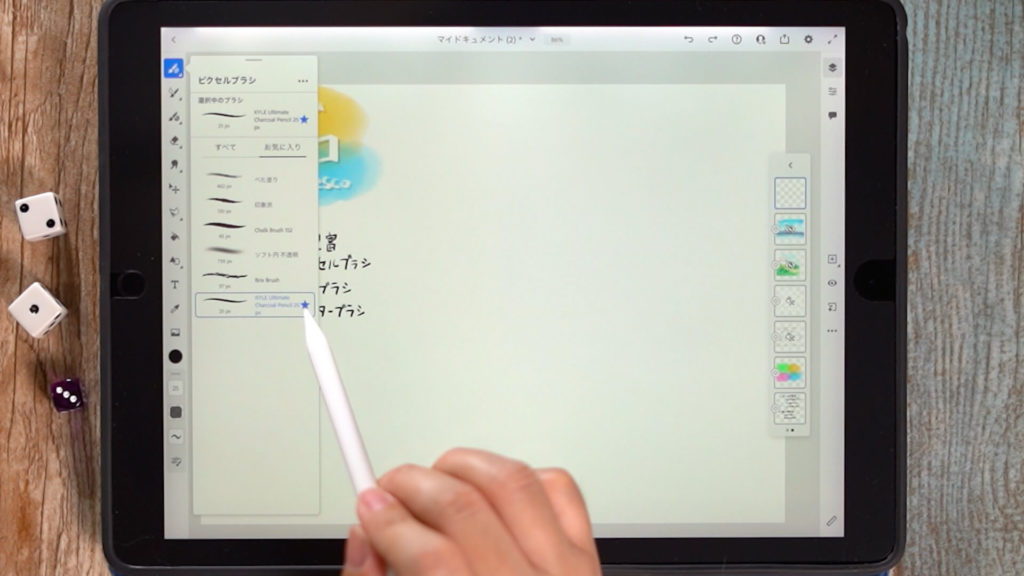
You can put the brushes you like into your favorite tab by pressing the star mark.
Downloading a large number of brushes may take some time, so it is recommended to download brushes in a Wi-Fi environment.
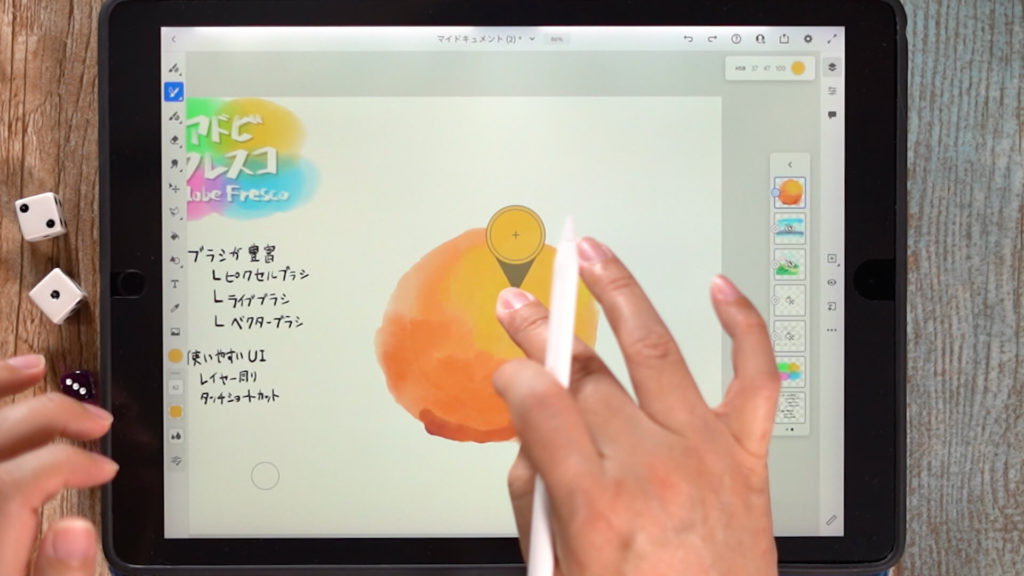
Live Brushes
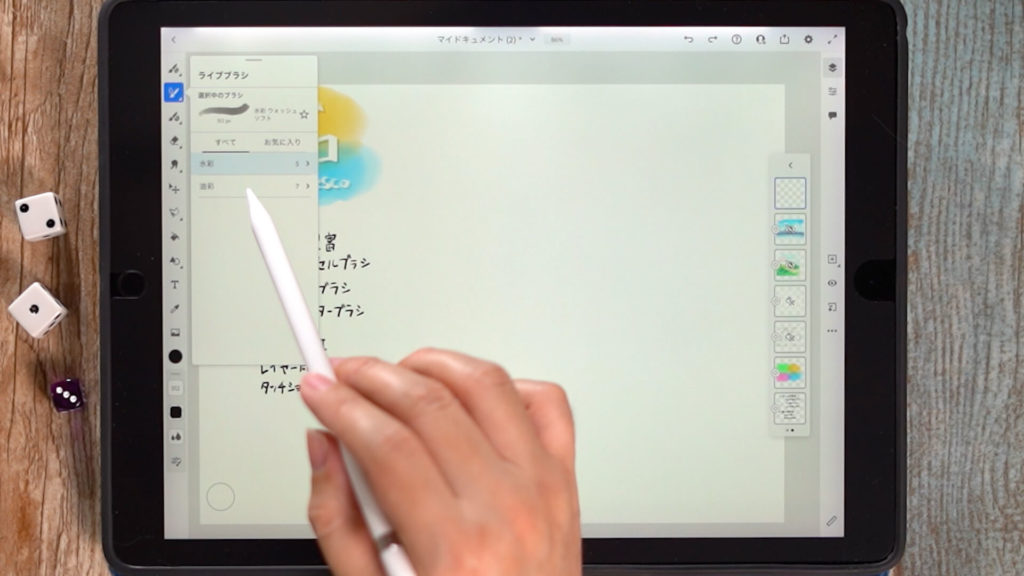
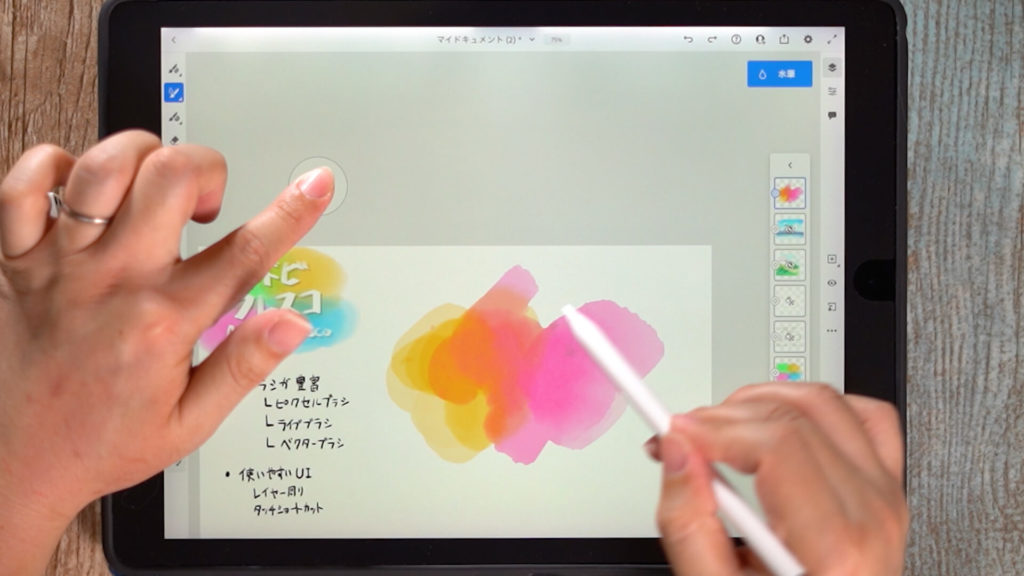
“Live Brushes” are Adobe’s own brushes that are calculated and created by Adobe to give a watercolor or oil touch.

When you select “Watercolor,” you can choose from several brush tips.
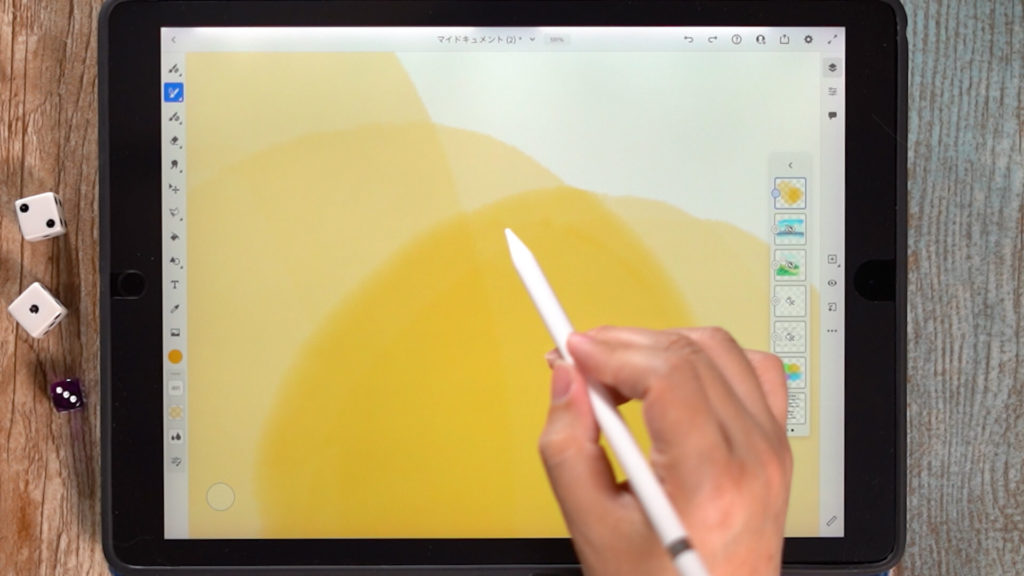
When you paint with “Watercolor Round”, you can create a blurred effect on the edges.
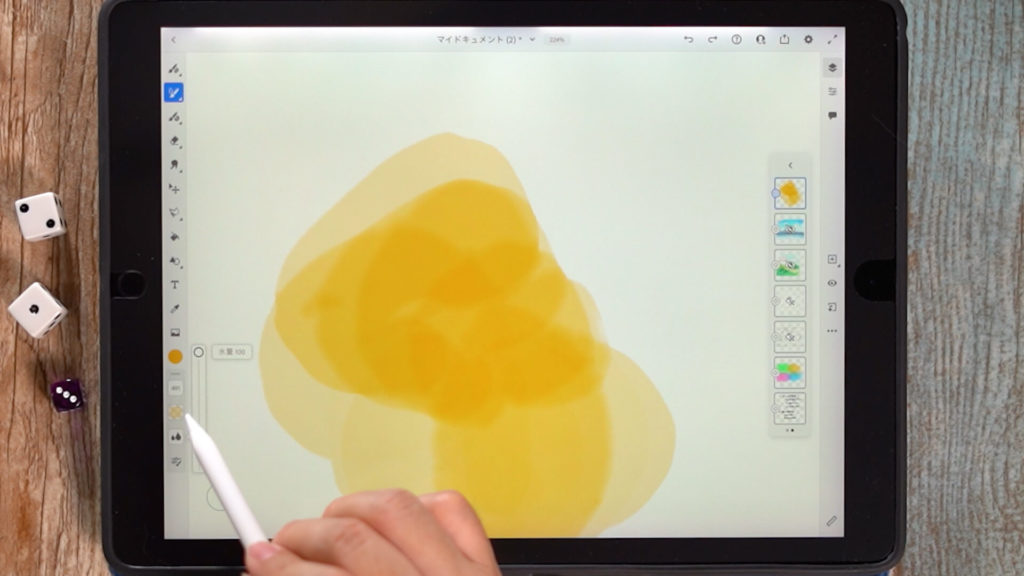
The “Smoothness” icon on the lower left changes to “Water Volume” and you can adjust the amount of blurring. If you add different colors, the colors will be blended together.
Press and hold one brushstroke to change the brush to “Water Brush”. The brush will not apply color, but will slowly extend to the painted area.
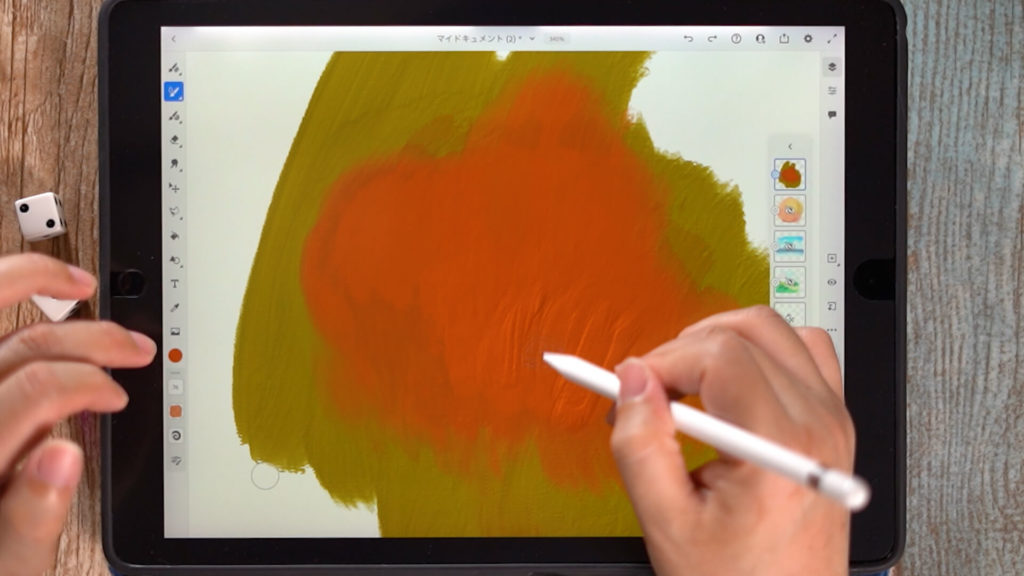
The “Oil Brush” also has several brush tips to create a realistic analog touch. The “Oil Brush” also has several brush tips and can be used to create a realistic analog touch.
Vector Brushes
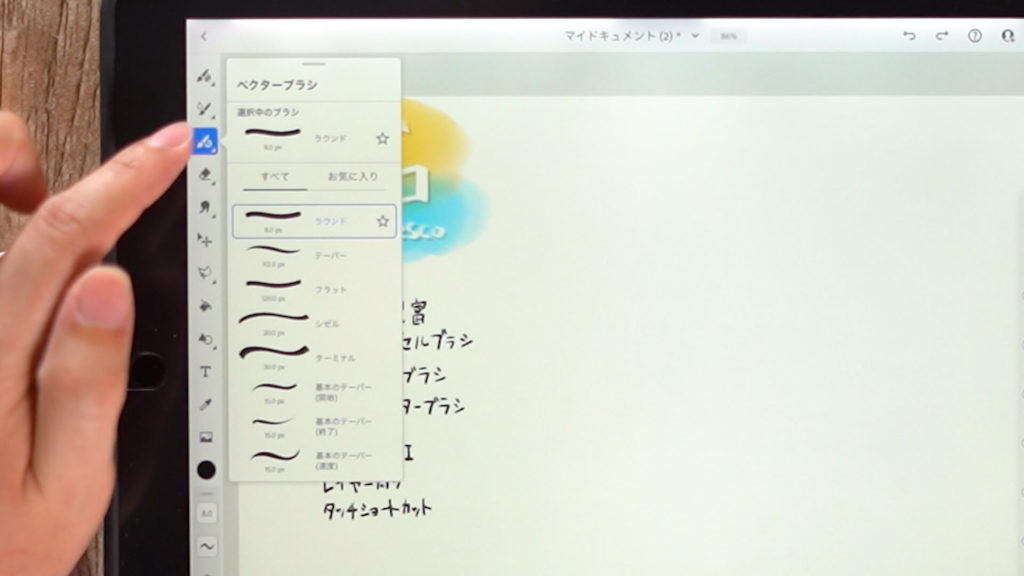
Vector brushes” are commonly used in Adobe Illustrator. Vector data is data that is reproduced based on numerical data such as the coordinates of points and the lines connecting them, and no matter how much the image is enlarged, it will not become rough.
Lines drawn with a vector brush can be processed as paths in Adobe Illustrator.
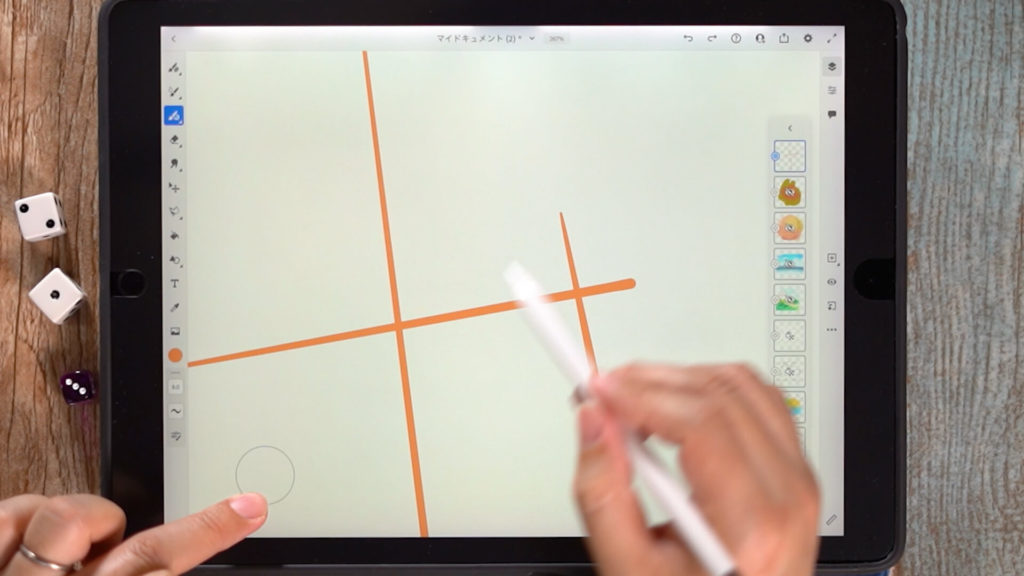
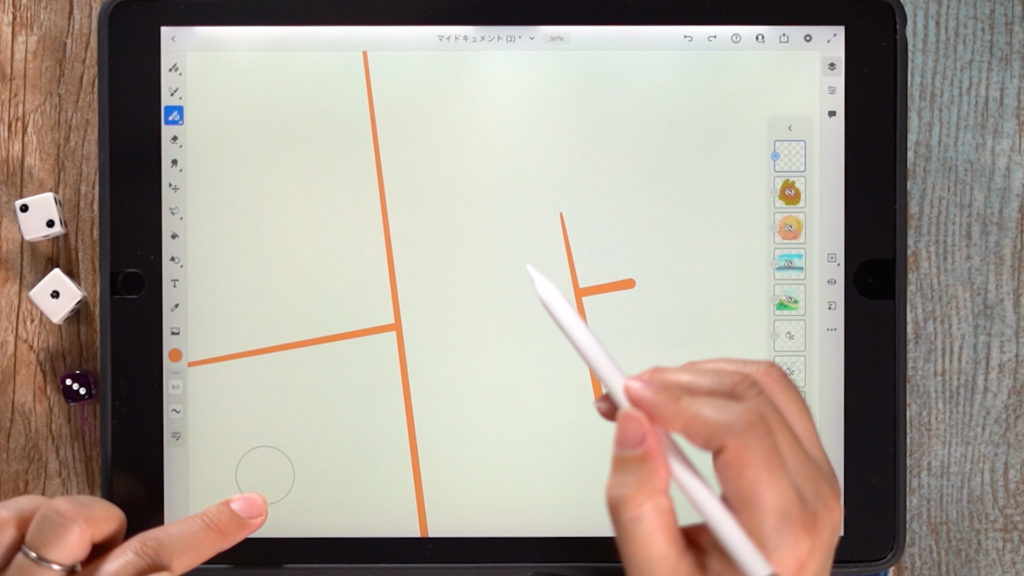
By putting the touch shortcut in the second state (press and hold to drag to the outer edge) and dragging the line you want to erase with the eraser tool, you can cleanly erase the line.
This method is useful when creating MAPs and characters.
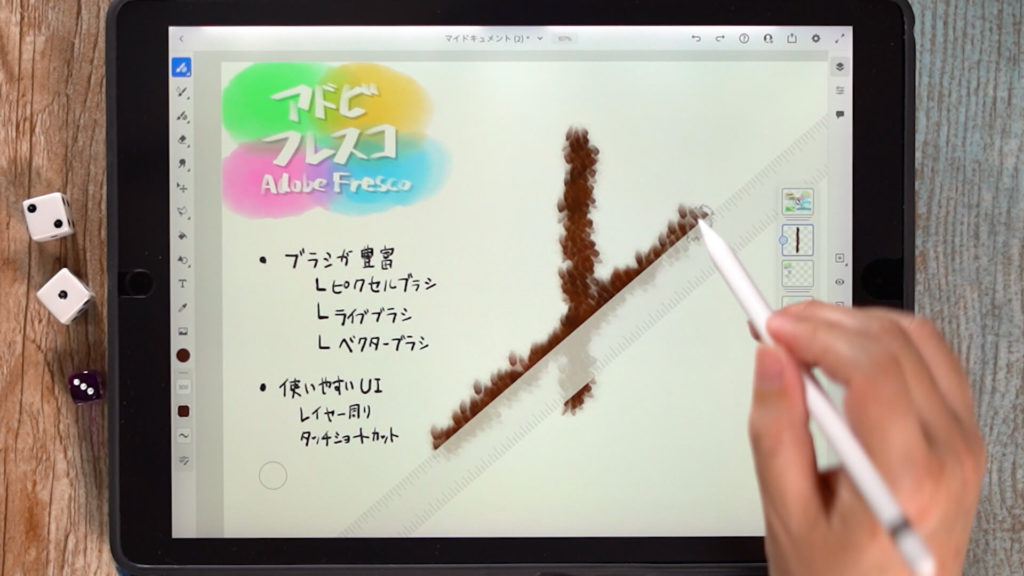
Basic brush-related operations
The three icons in the lower left corner allow you to set the size, flow, and smoothness of the brush.
“Size” controls the size of the brush, “Flow” controls how much ink is produced, and “Smooth” controls the degree of correction.
The bottom left icon allows you to set the brush settings.
You can also press and hold the “eyedropper” icon to set the color of the brush to the color you want to use.
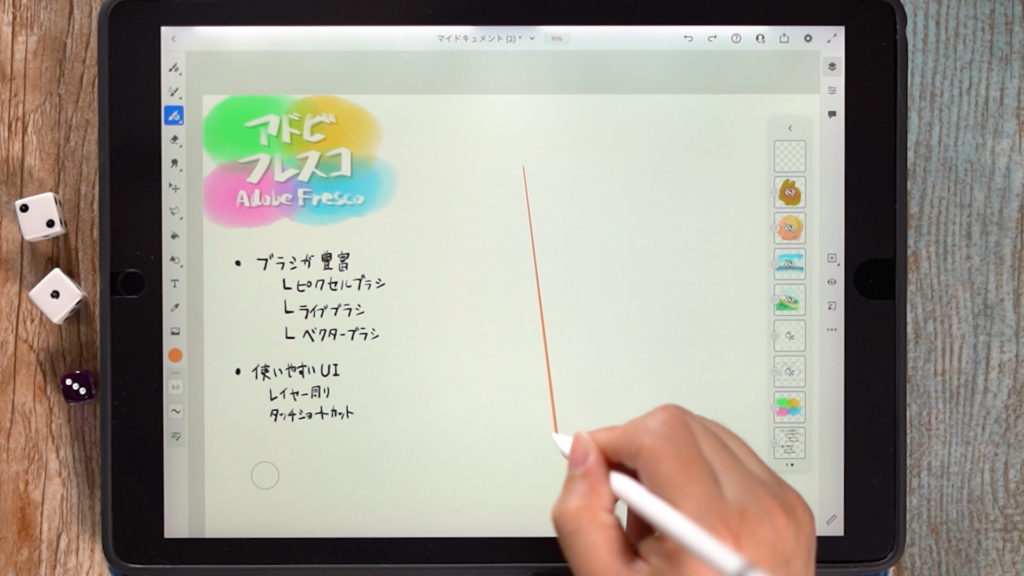
At the end of a line, you can draw a straight line by pressing and holding the pen without releasing it.
Easy-to-use UI
Layers and surrounding icons are designed for easy use on tablets and smartphones.
About settings, etc.
The upper right corner has “Back/Forward,” a menu to look at when you need help, canvas settings, and send.
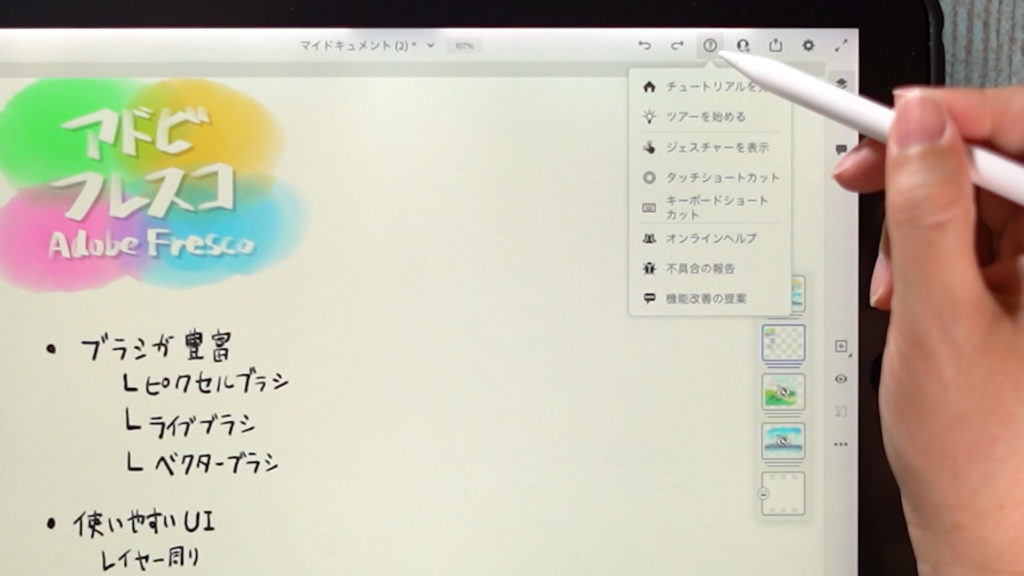
? About the icons marked with
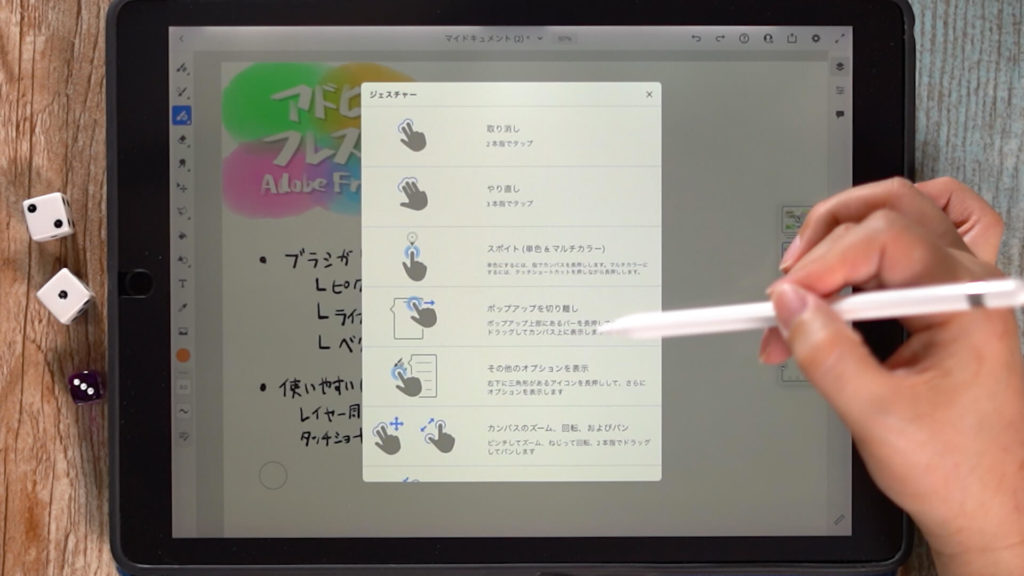
Various gestures and touch shortcuts can be seen in the “? icon. You should look at it once when using this application.
Settings icon
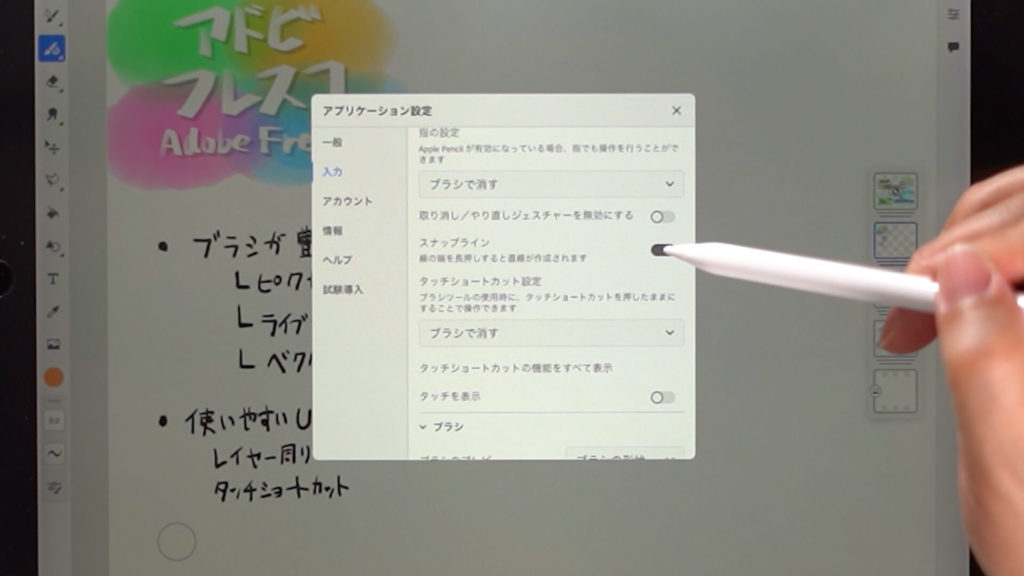
If you turn on “Settings” -> “Application Settings” -> “Touch” -> “Snap Line”, you can draw a straight line by pressing and holding when you draw a line.
About Layers
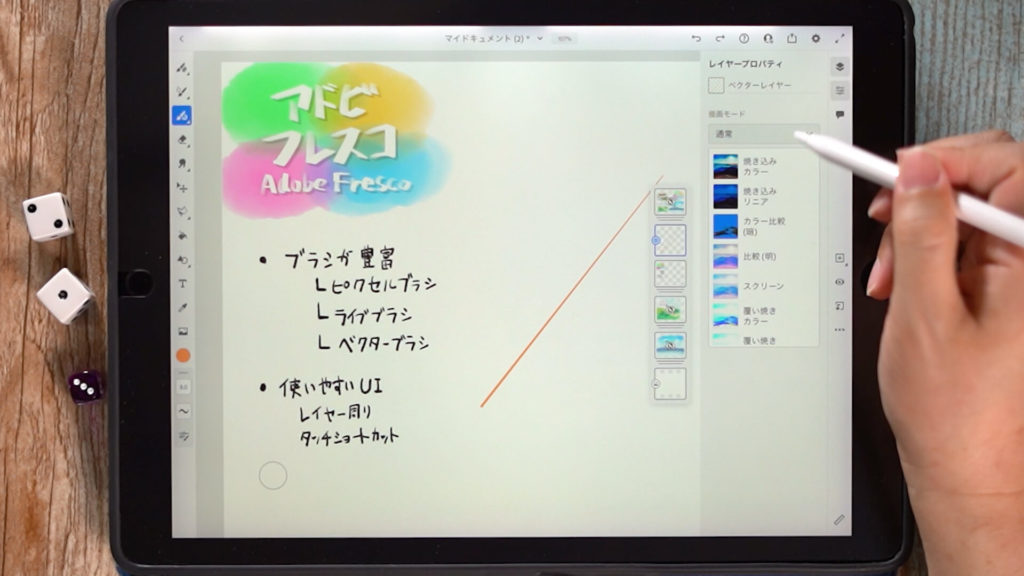
The icons on the right allow you to make settings about layers.
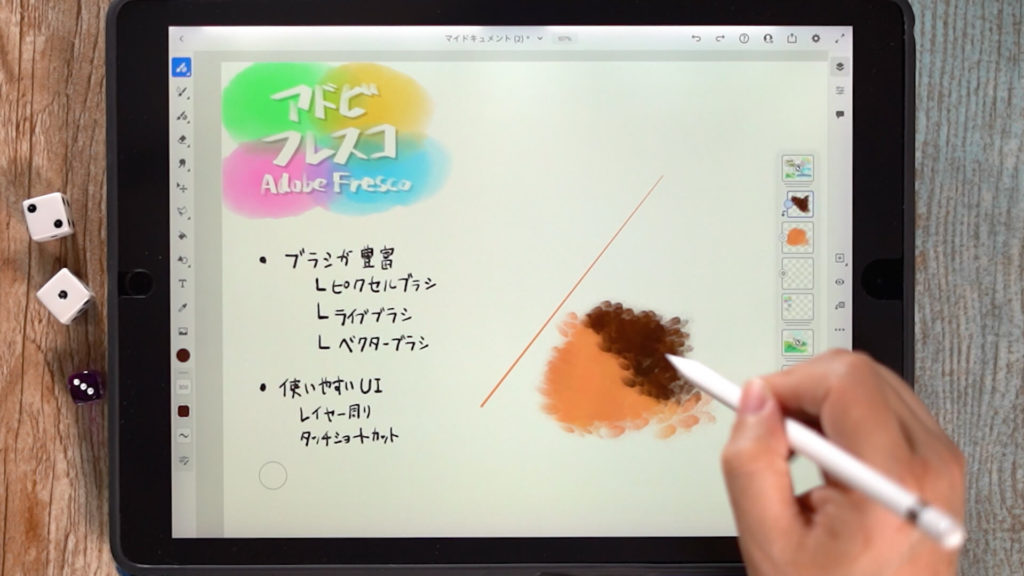
You can also change the drawing mode in the layer properties. You can see how the layer changes visually.
The icons in the middle on the right side allow you to set “Add Layer,” “Show/Hide Layer,” “Clipping Mask,” and “Layer Action” from the top.
The “Clipping Mask” is a setting that prevents you from drawing anywhere but the area you are drawing on the layer below.
Layer Action” allows you to set various other layer settings.
About Rulers
The bottom right icon is the Ruler tool.
You can draw a clean straight line along the ruler.
[adchord]
About the left tool
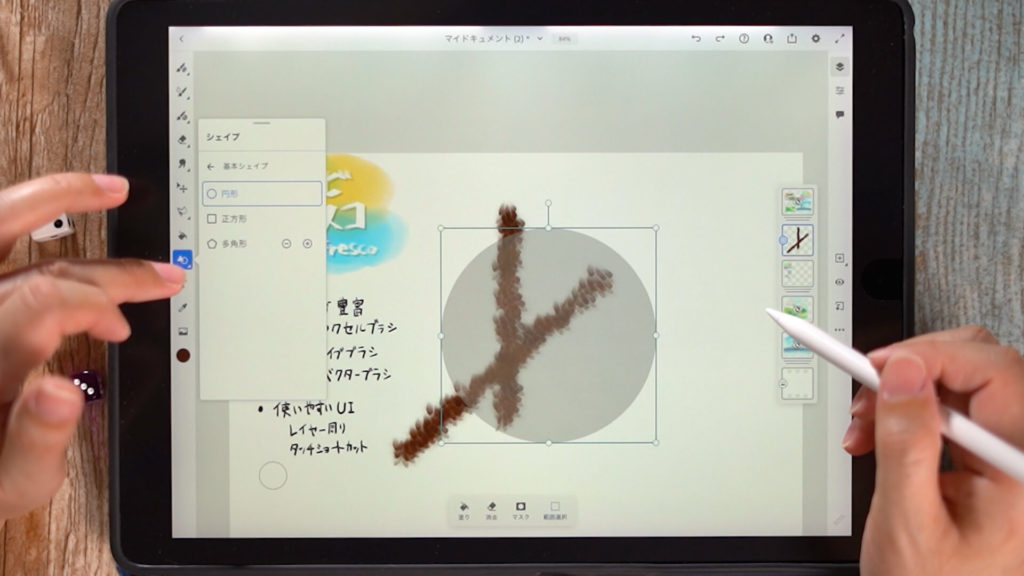
The icons on the left side are a collection of commonly used tools such as “Brush,” “Eraser,” “Shape,” “Select,” “Text,” and “Eyedropper.
Detailed Explanatory Video
The video provides detailed explanations with drawings. If you want to check it out, please click here. If you want to see how the drawing is done, please see the second part of the video.
Conclusion
This time, we introduced “Basic functions of Adobe Fresco including brushes and UI.
Among the applications for drawing illustrations, I think this application is suitable for drawing with different types of brushes and for illustrations that give an analog touch.
Especially with the huge amount of brushes it has!
It takes me quite a while just to check the brush strokes, but I can register my favorites, which makes me want to draw my own original illustrations with my favorite brushes!
The watercolor and oil painting touches are great too, so if you’re looking for an analog feel, give it a try!
↓Click here to visit the official Adobe Fresco website.
↓If you are interested in the Adobe series, please click here.
Thank you for watching until the end.
See you again in my next post!

