I am Ari, a Concept Artists.
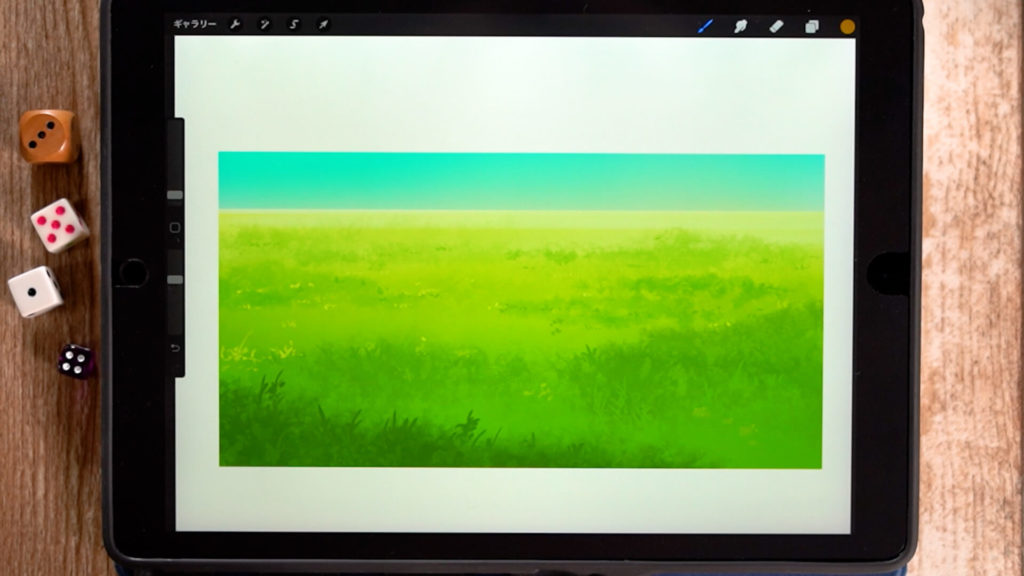
In this article, we will introduce “Coloring the Ground (Grass and Wilderness)”.
By knowing this method, you will be able to draw the ground in nature.
The equipment and apps used in this article are iPad and Procreate; please try Adobe Photoshop, CLIP STUDIO PAINT, and other apps as well, as you can also draw by applying the concept.
If you are unsure which illustration app to use, please refer to this page. Here is a summary of recommended apps.
The video provides detailed explanations. If you want to check it out thoroughly, please click here.
[adchord]
How to draw wilderness
Draw the color of the soil.
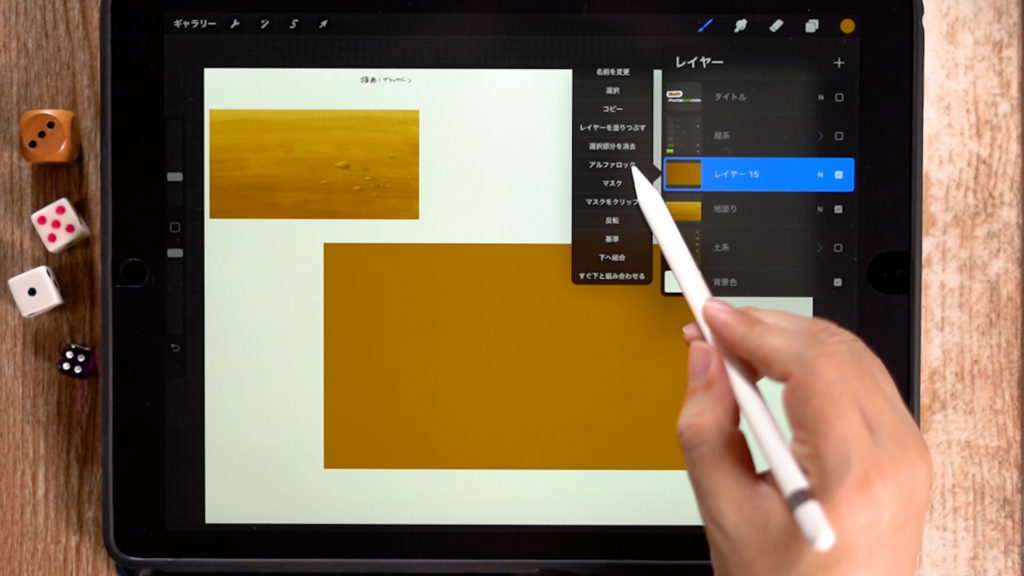
Place a single color and apply “Alpha Lock” in the layer settings.
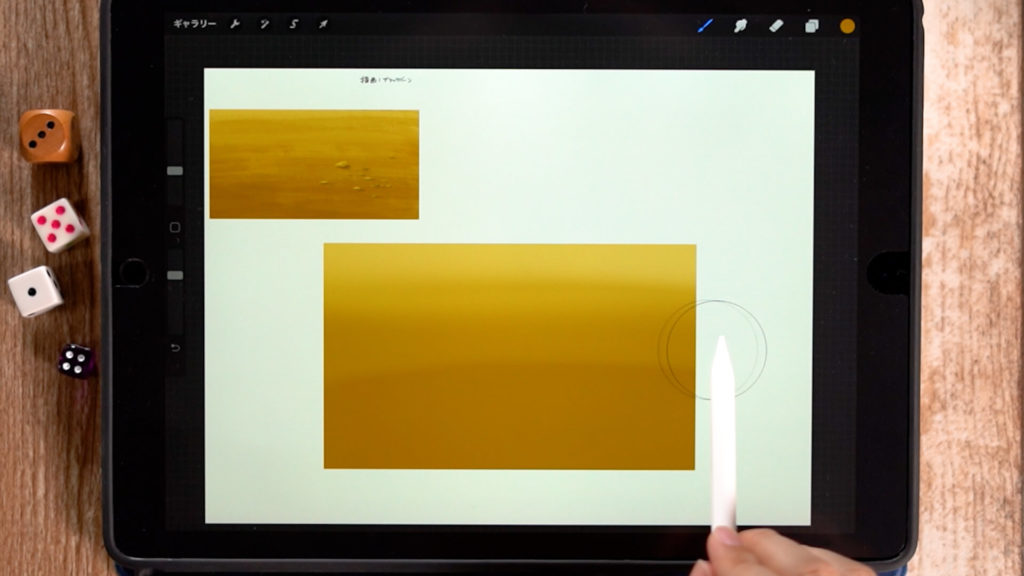
Use “Airbrush” > “Soft Brush” to add light and dark colors to the top and bottom, and paint the soil color in a gradation.
Make the front side (bottom) darker and the back side (top) whiter to create a sense of airiness.
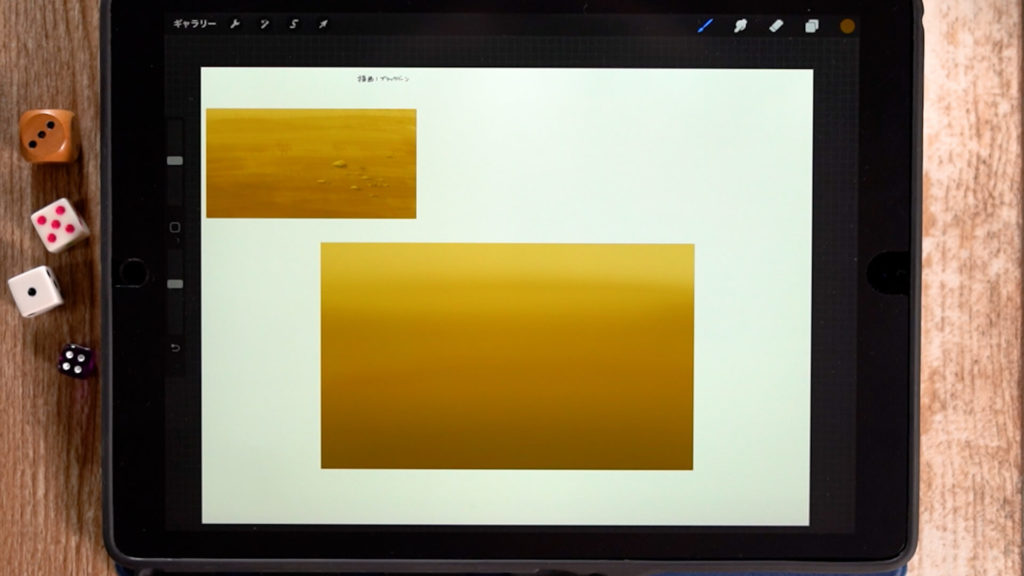
Adjust the transparency while painting.
Adding texture
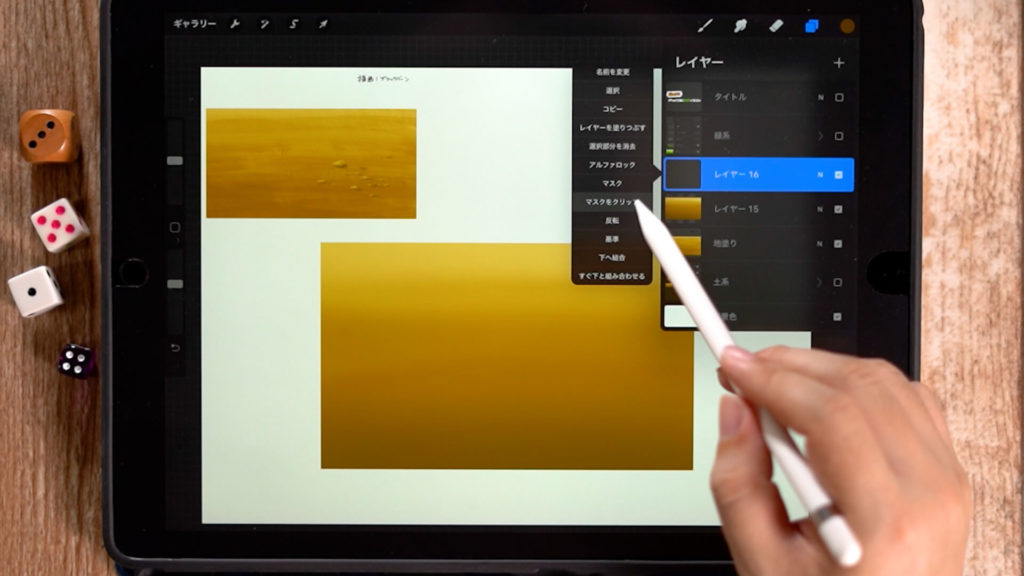
Create a new layer and “Clip Mask” in Layer Settings.
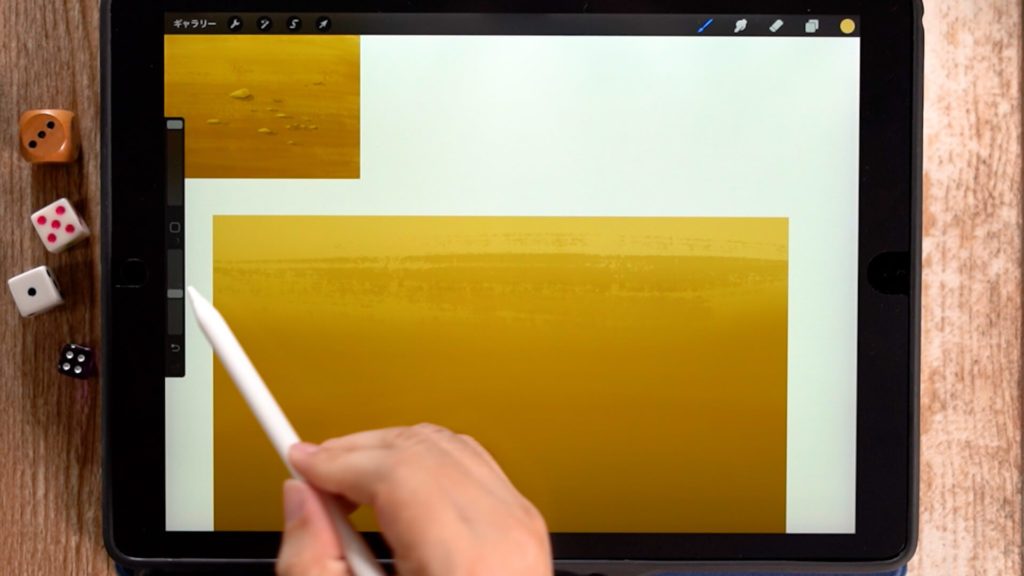
Use the “Black Burn” brush from the “Paint” menu, and add a color to the foreground while lowering the transparency of the color with an eyedropper.
“Black Burn” has a rough texture.
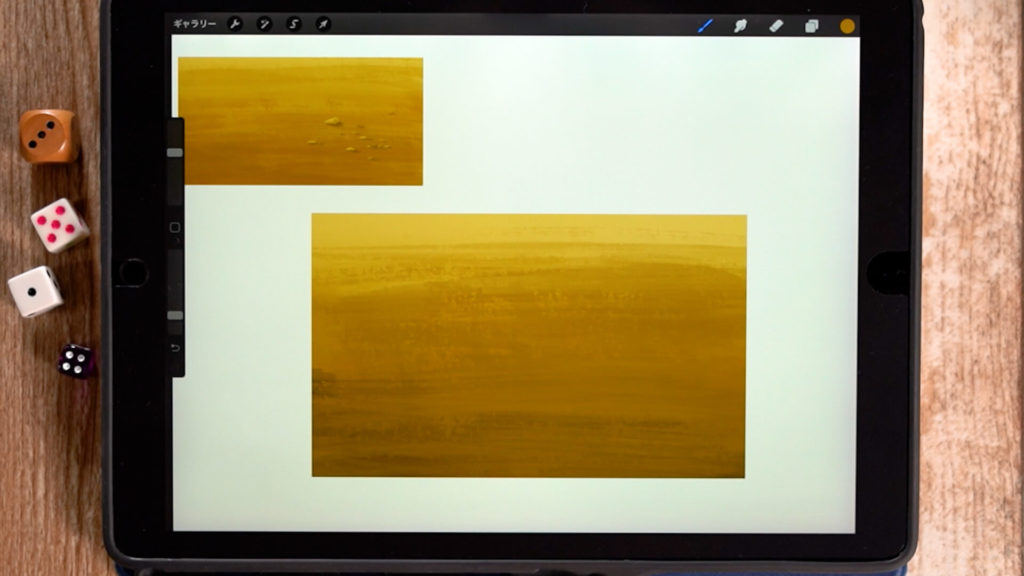
The touch is like sliding sideways.
Repeat this process to draw this kind of wasteland.
Drawing pebbles
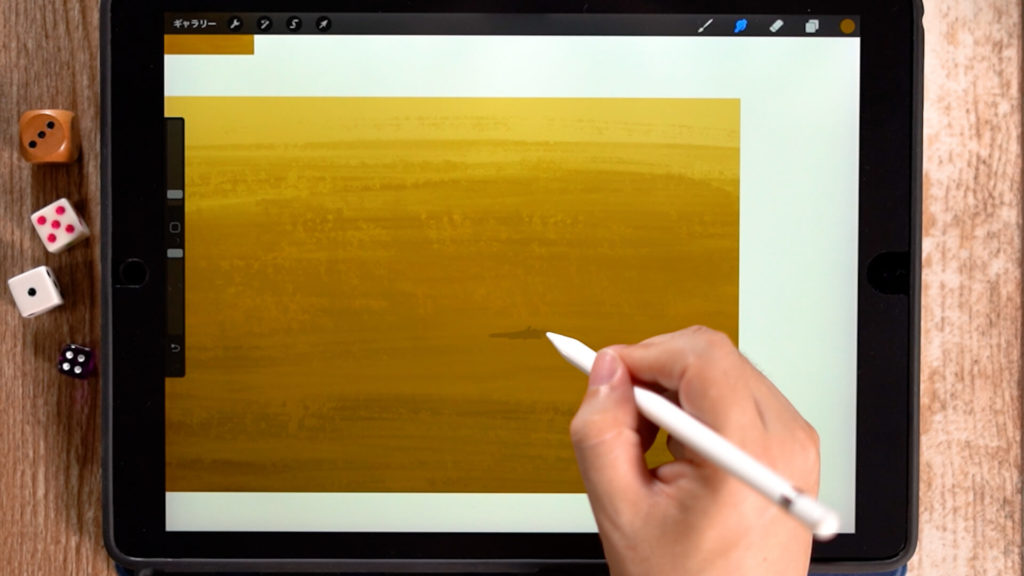
First, add shadows. You can extend some of them with the fingertip tool.
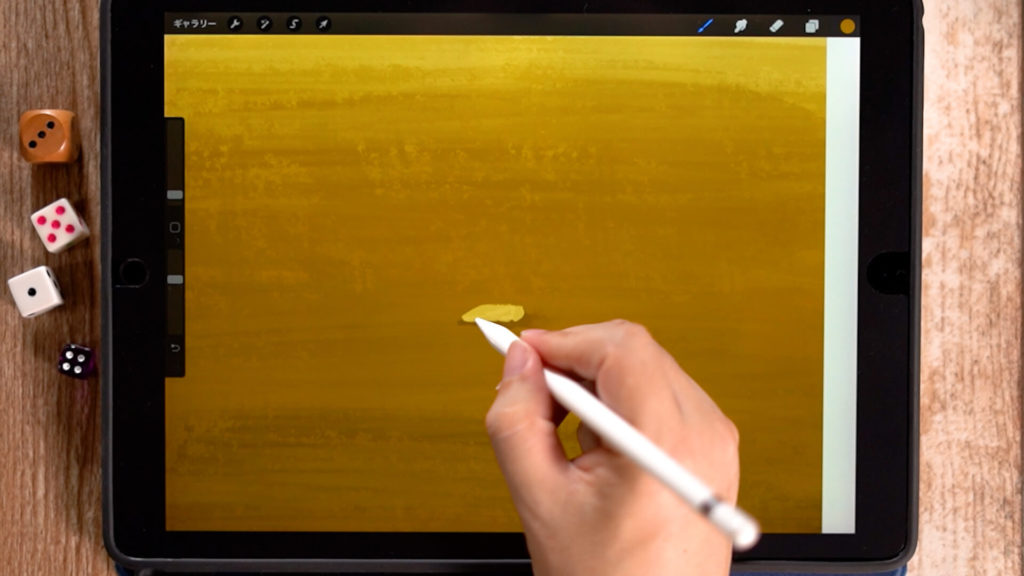
Put the color of the pebble on it.
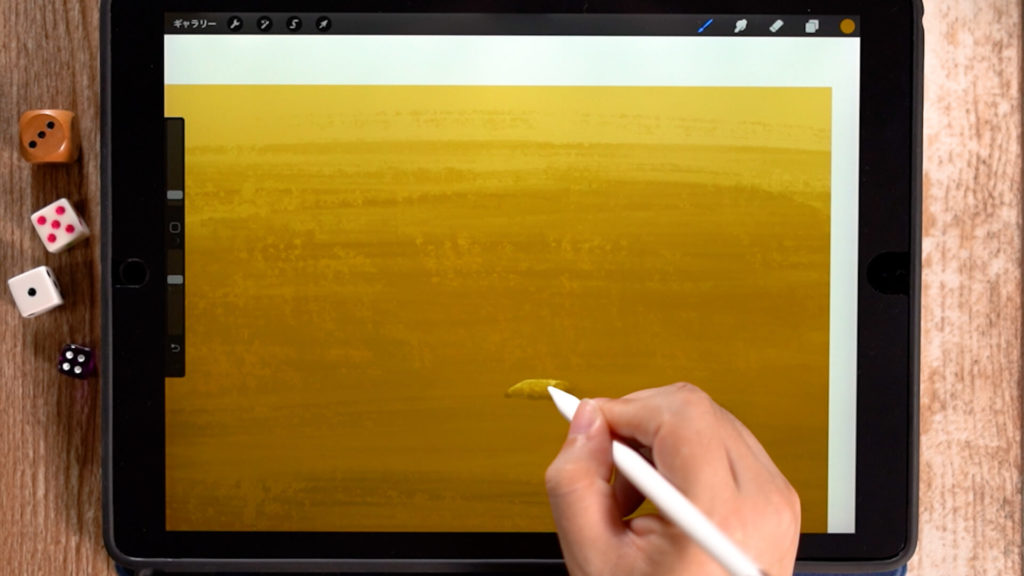
Then, reduce the transparency and paint the shadow.
Your wilderness illustration is complete!
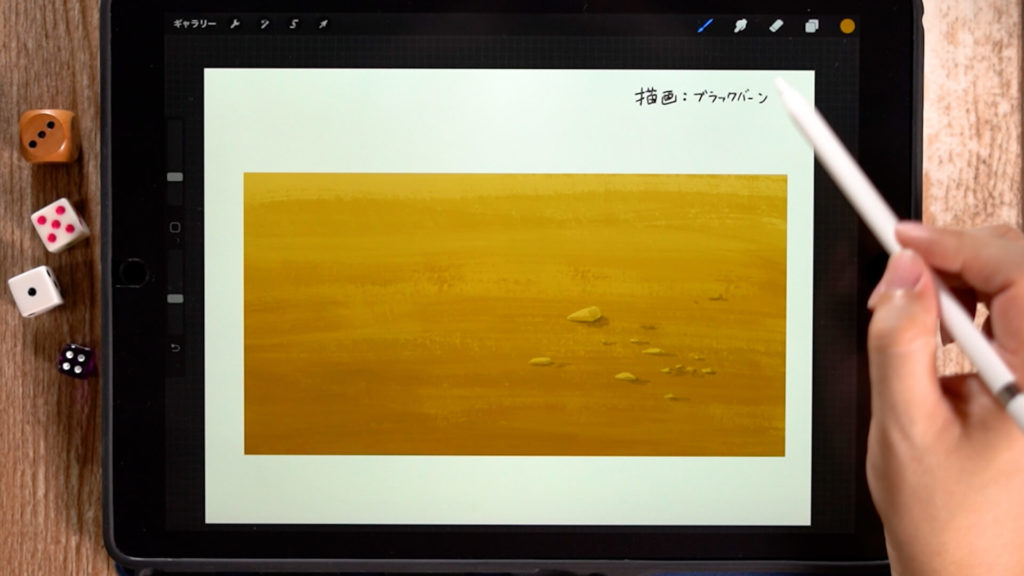
Add as many pebbles as you need while keeping a good balance, and your wilderness illustration is complete!
How to draw grass and lawn
Draw the color of the grass
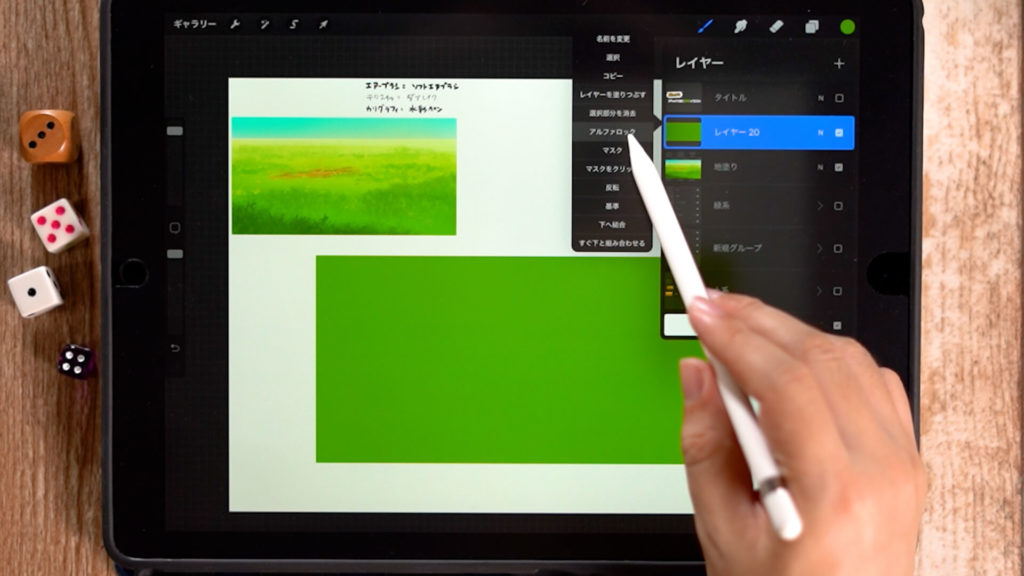
Place a basic single color and apply “Alpha Lock” in the layer settings.
Add the color of the sky.
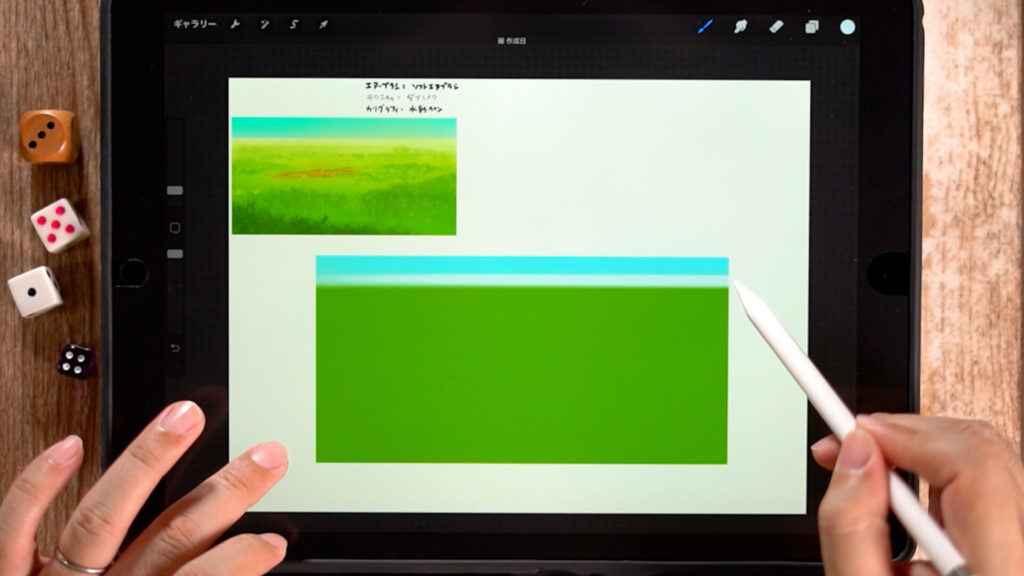
Since the back side is empty, add the sky color.
Draw a gradation of the grass
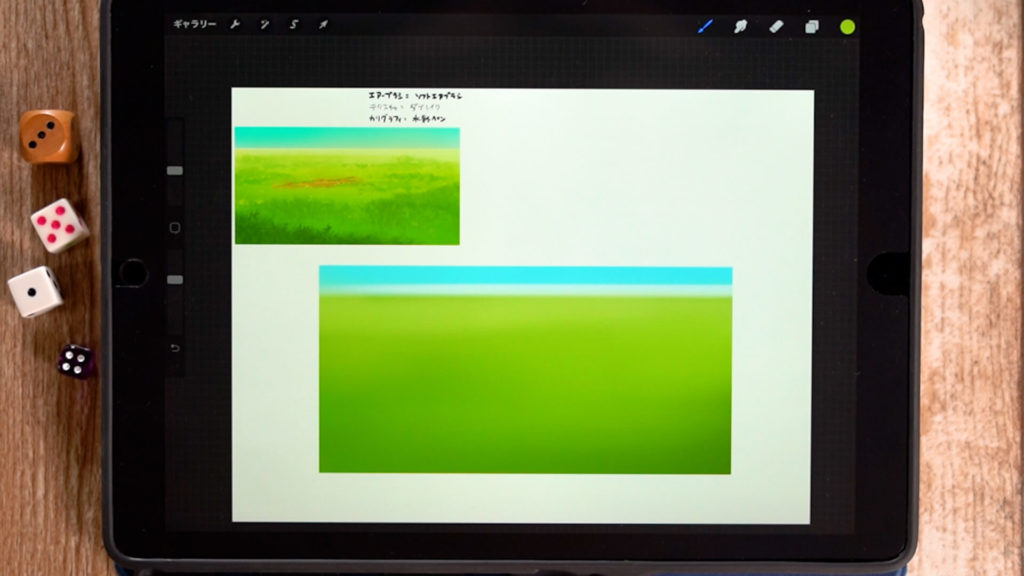
Use “Air Brush” and then “Soft Brush” to make the front side darker and the back side lighter.
Select colors according to the atmosphere and season of the illustration you want to create.
Adding texture
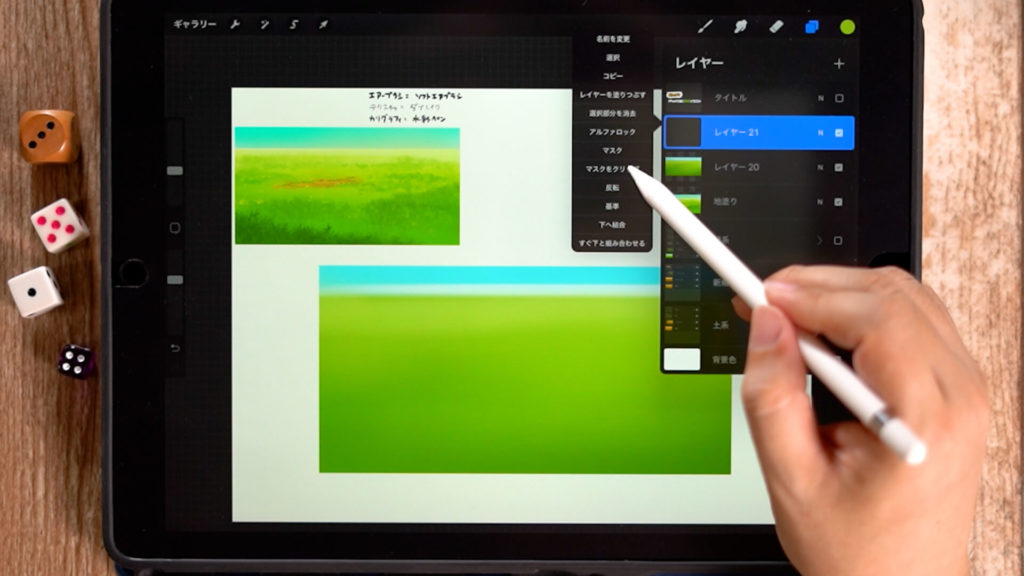
Create a new layer and “Clip Mask” in Layer Settings.
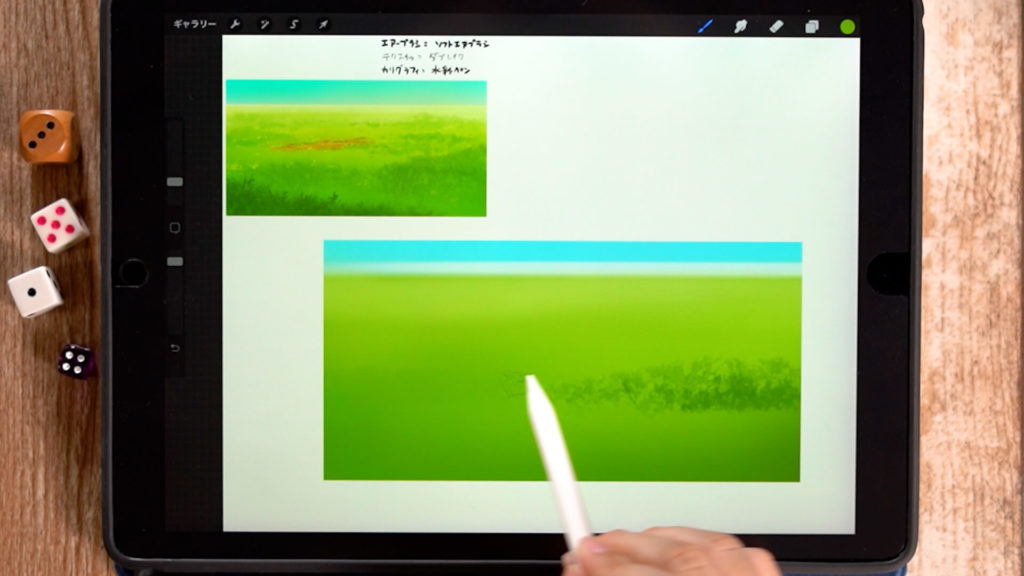
Use “Texture” -> “Dab Break” for the brush, and add color as you slide it sideways.
It can give a rough leaf-like touch, so we will draw with the shape of the leaf.
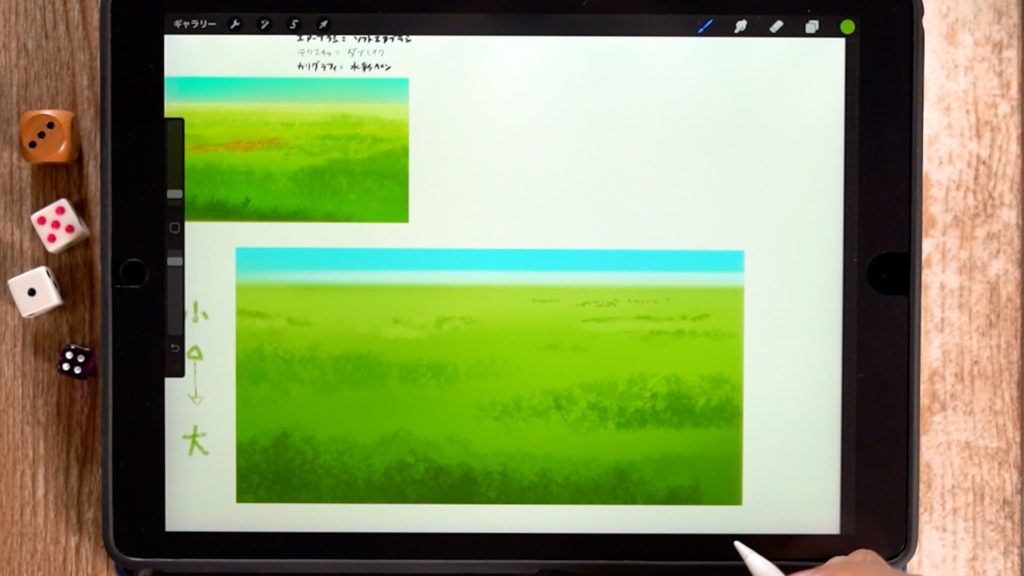
Capture the leaves in clumps and draw them so that they are not uniform.
Use a larger brush for the front and a smaller brush for the back to create a sense of perspective.
Paint the details.
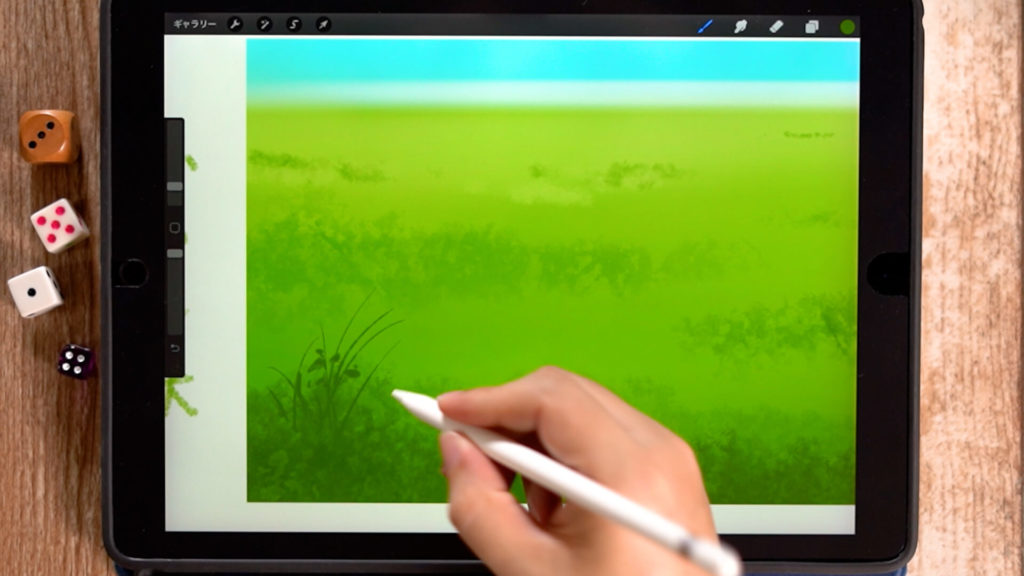
We recommend using “Calligraphy” → “Watercolor Pen” as the brush is easy to use.
Draw the details of the leaves while looking at the reference material.
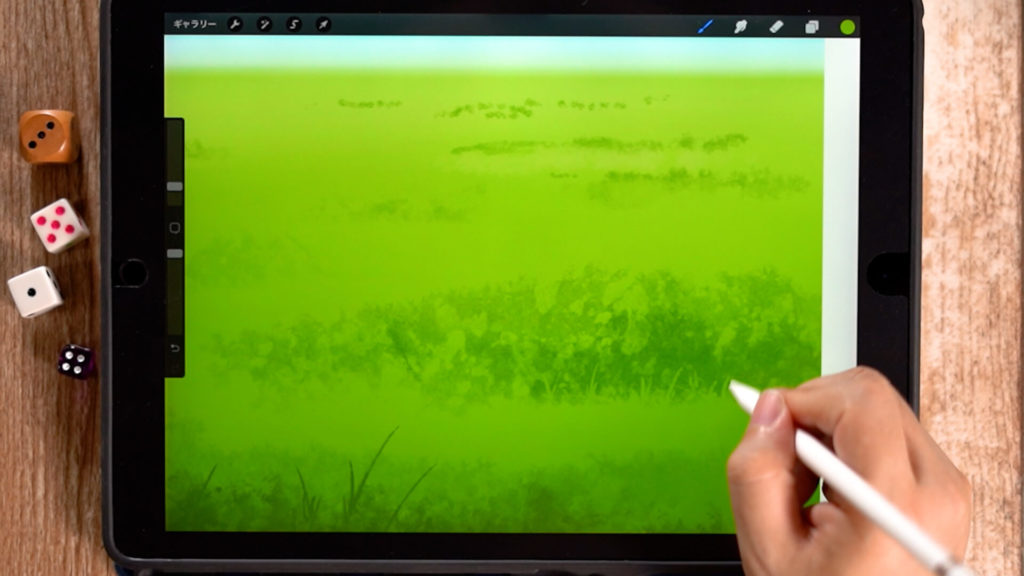
Let it grow from the clumps drawn with the texture.
The brush size should be smaller on the back side than the front side. Draw in the color border while keeping perspective in mind.
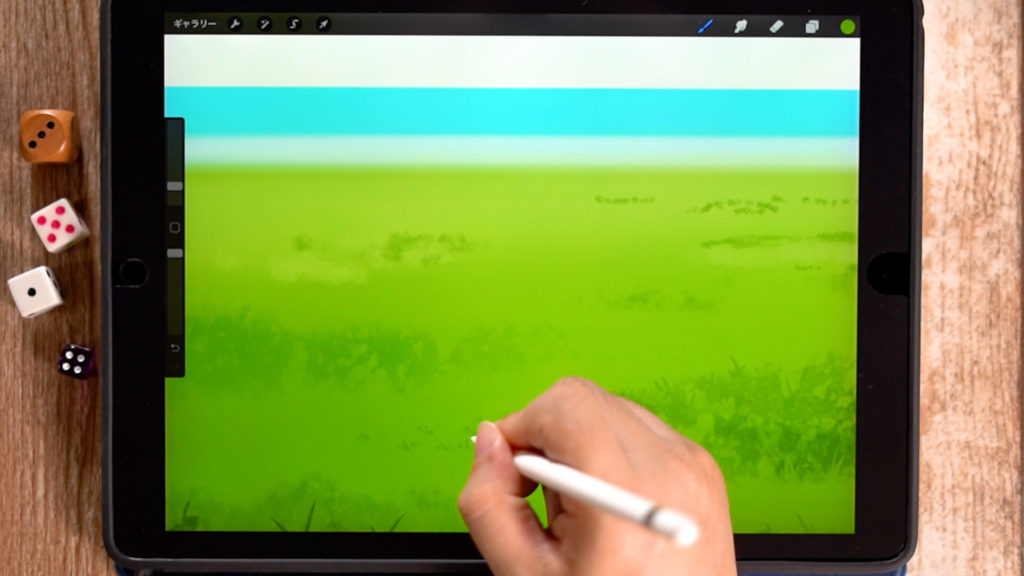
Besides that, it is also good to put small dots in places where there is no border.
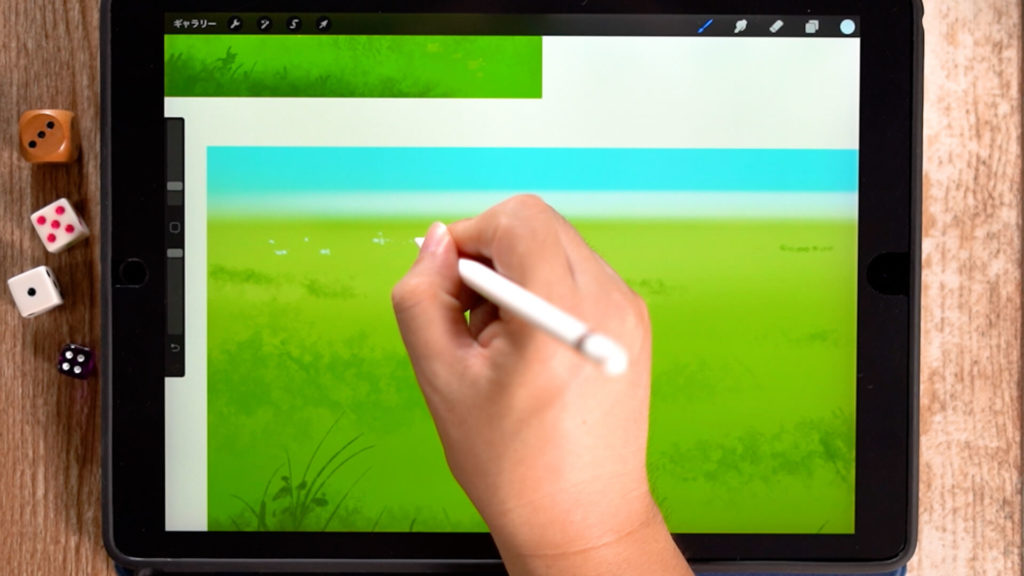
On the far side, it is enough to put small dots.
Putting in a rough terrain
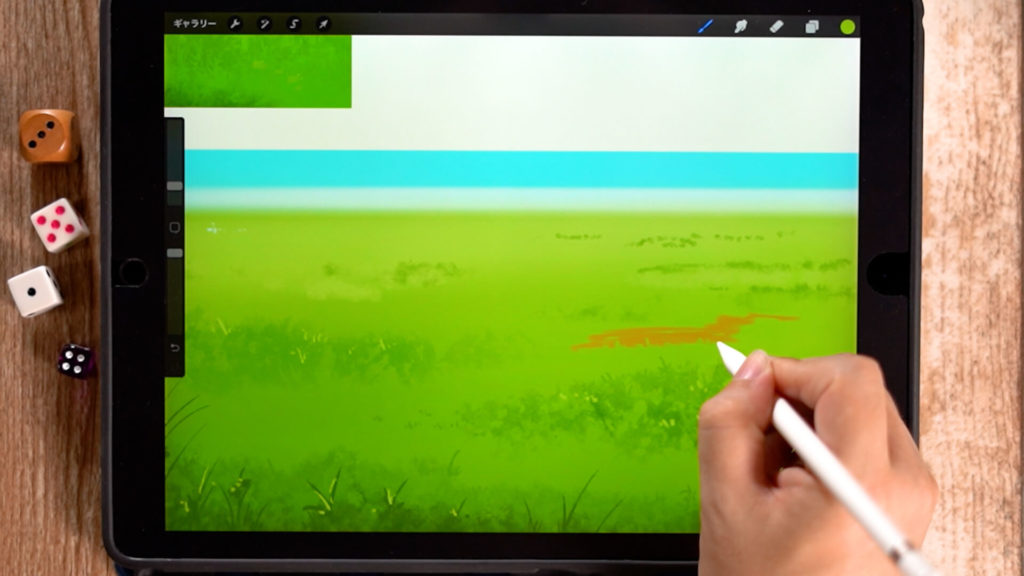
Rough terrain can be added as an accent.
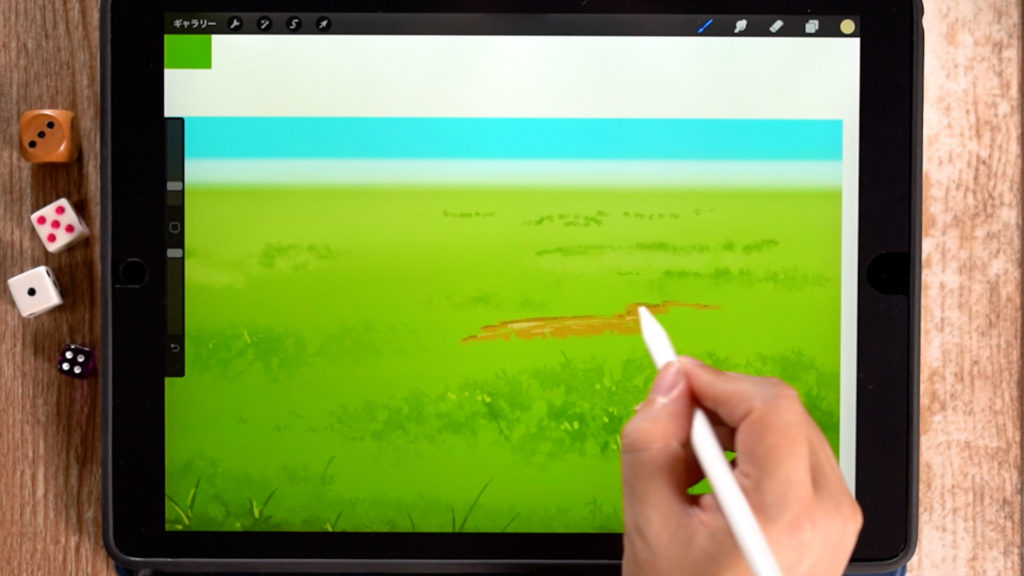
Draw the details in the same way as you would draw grass on the border.
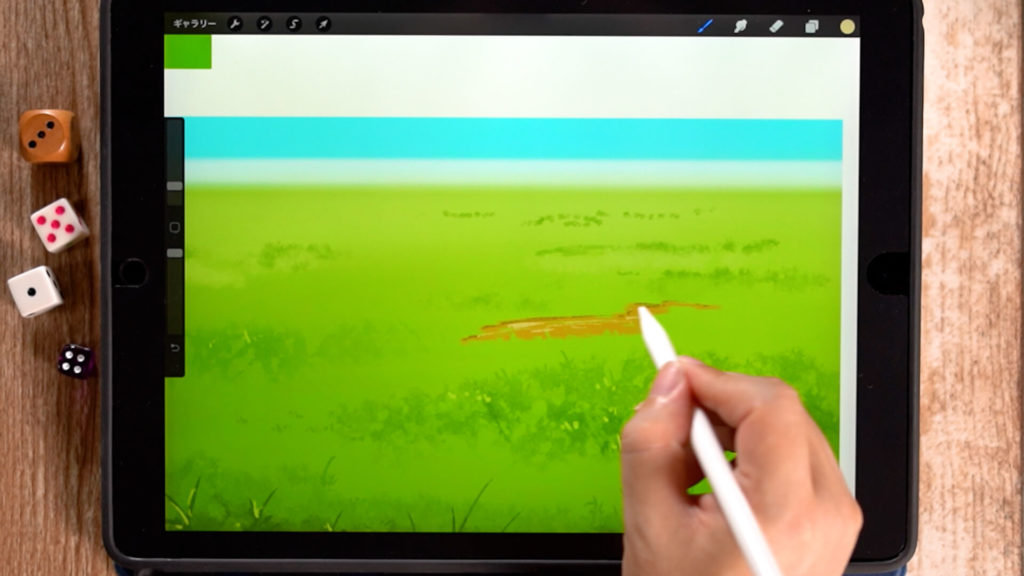
Add shadows to the bumps, adjust the colors, and you are done.
Completion of the grassy area!
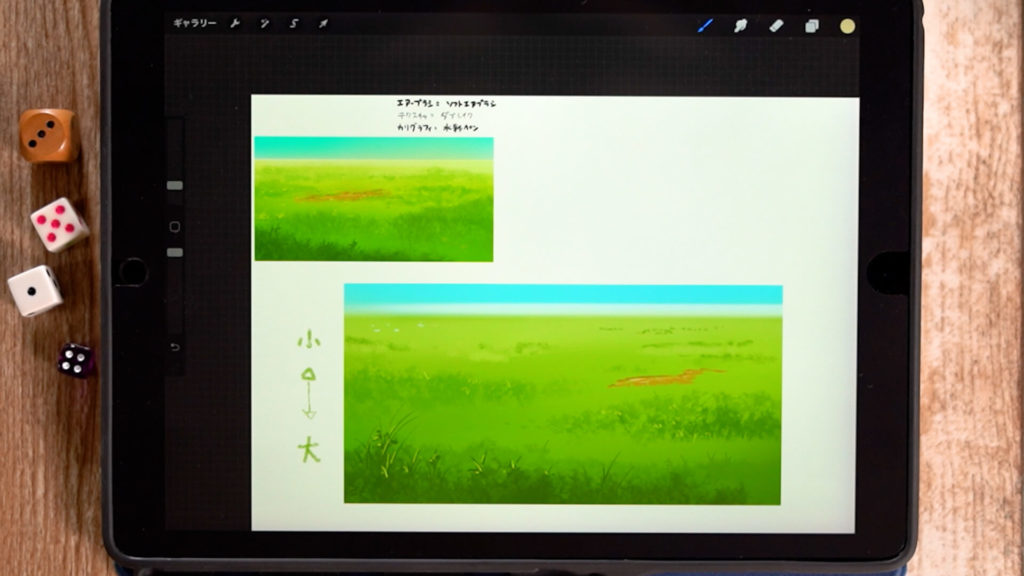
Add highlights and flowers to the grassy areas, and you are done!
Detailed Explanatory Video
In the video, detailed explanations are given while drawing. If you want to check it out, please click here.
Related Videos
Please refer to other videos and articles on how to draw natural objects.
→Click here for a list of “How to Draw Natural Objects” articles.
Conclusion
In this article, we introduced “how to color the ground (grass and wilderness),” which tends to be the second largest area to paint after the sky when painting natural objects.
Using Procreate’s default brushes, you can easily paint with just a touch, so please try painting while making use of the brushes.
Thank you for watching until the end.
See you again in my next post!


