I am Ari, a Concept Artists.
In this article, we explain “Tips for Placing Clouds”. By learning this method, you will be able to create natural and well-balanced cloud placement.
In the previous issue, we introduced a simple way to draw the sky and clouds, so please take a look at this issue as well. This time, we will show you how to arrange the clouds to make them look better.
→[How to paint the sky and clouds] Let’s color the sky and clouds!
The equipment and apps used in this article are iPad and Procreate; please try Adobe Photoshop, CLIP STUDIO PAINT, and other apps as well, as you can also draw by applying the concept.
If you are not sure which illustration app to use, please refer to this page. Here is a summary of recommended apps.
The video provides detailed explanations. If you want to check it out thoroughly, please click here.
[adchord]
Points for drawing clouds
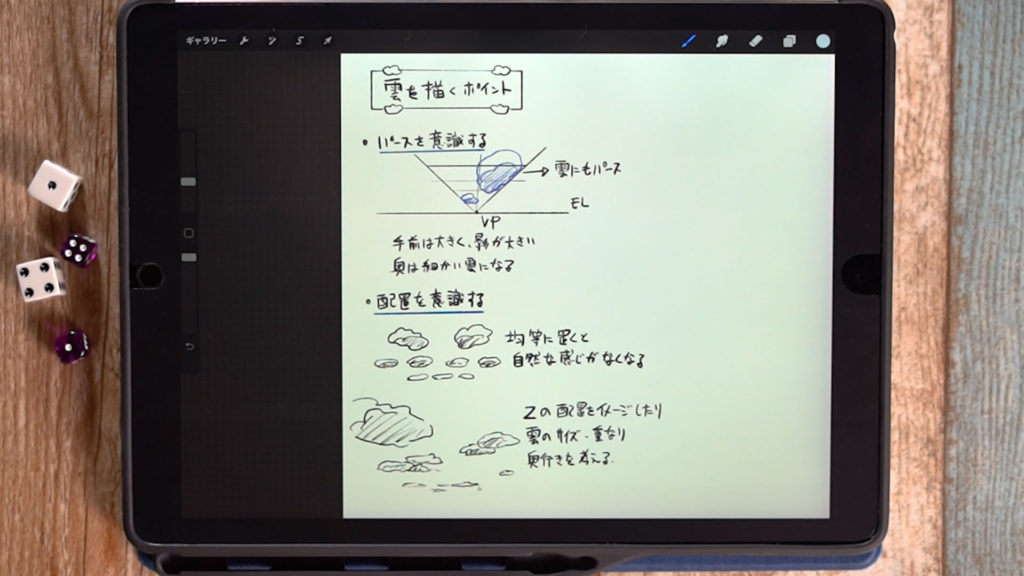
Be aware of the perspective
Clouds also have perspective, so paint large shadows in the foreground. The clouds in the back should be detailed. Also, be aware that light shines from above and shadows fall to the bottom.
Be aware of the placement
If the clouds are placed evenly, they will not look natural, so imagine the placement of the Z’s and consider the size, overlap, and depth of the clouds as you place them.
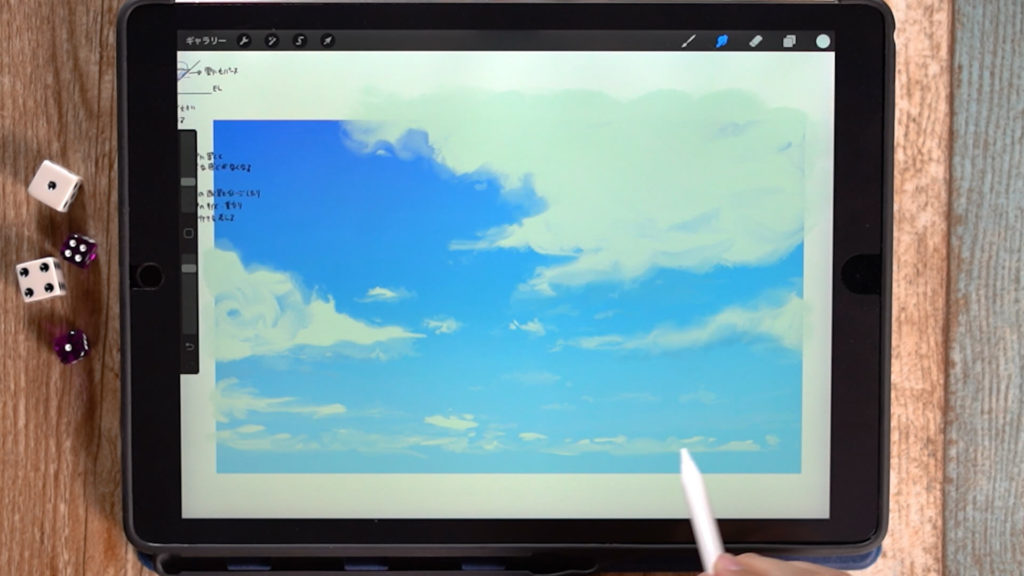
Let’s try drawing clouds in the sky.
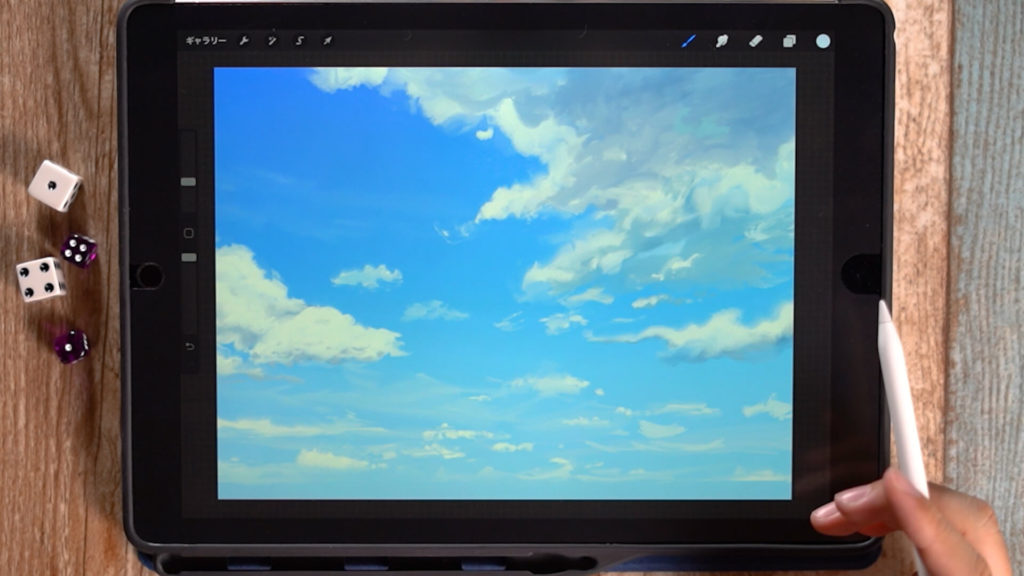
Here is a sample of an actual drawing.
The clouds in the foreground are large, and the shadows are large because they are looking up. Also, the clouds are placed so that they are arranged in a Z configuration.
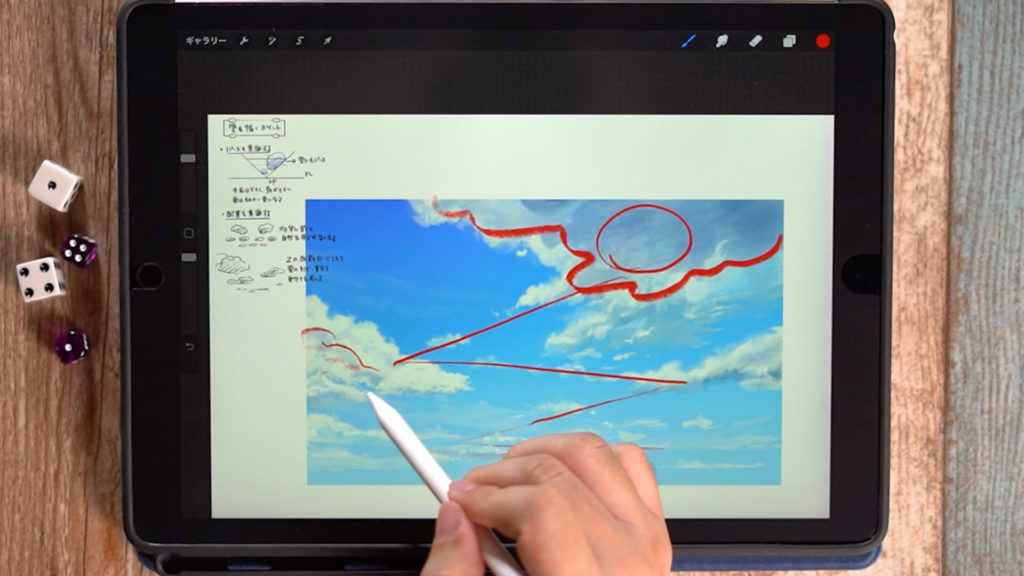
The clouds in the middle left are placed a little further back, so their shadows are smaller than the clouds in the foreground, and their shapes are different.
I also placed thin clouds, clouds that are being swept away by the wind, and small clouds on the far side of the image while keeping a good balance between them.
Drawing the sky
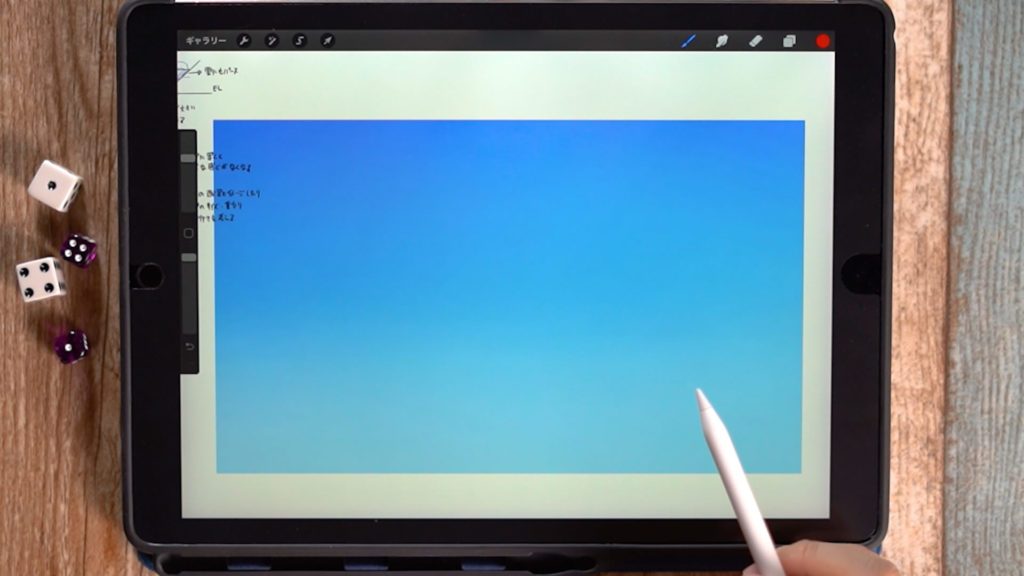
The bottom layer contains the sky. For details on how to draw the sky, please refer to the previous article.
→[How to paint the sky and clouds] Let’s color the sky and clouds!
[adchord]
Drawing Clouds
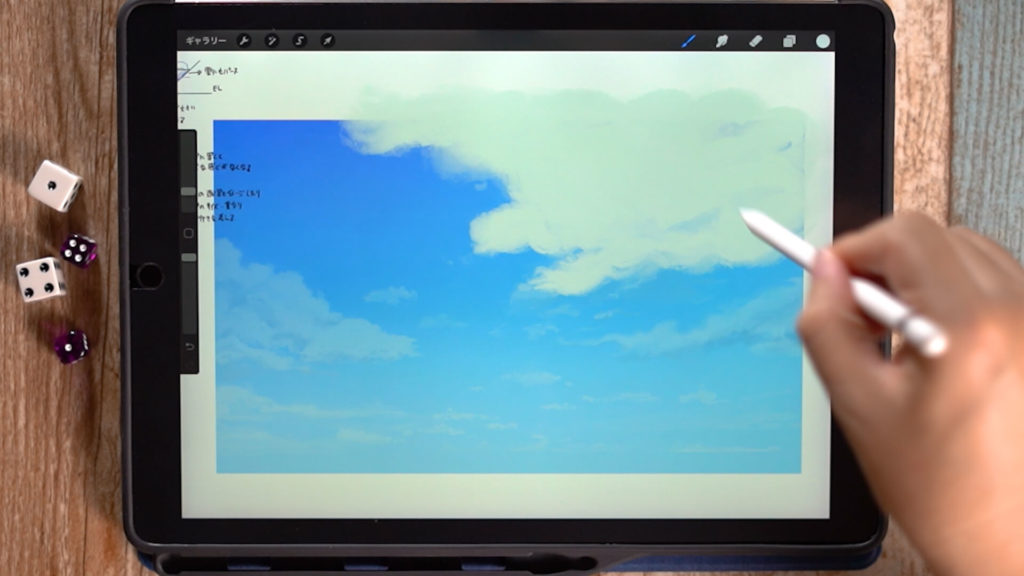
We will draw clouds on top of the sky layer.
Use “Paint” -> “Oriental Brush” for the brush, and draw the basic shape of clouds first.
A good touch can be achieved by drawing in a spinning motion.
Use the fingertip tool to shape the shape of the cloud. Create various types of clouds by shaping them, or by randomizing them. The deepest cloud can be stretched as much as you like.
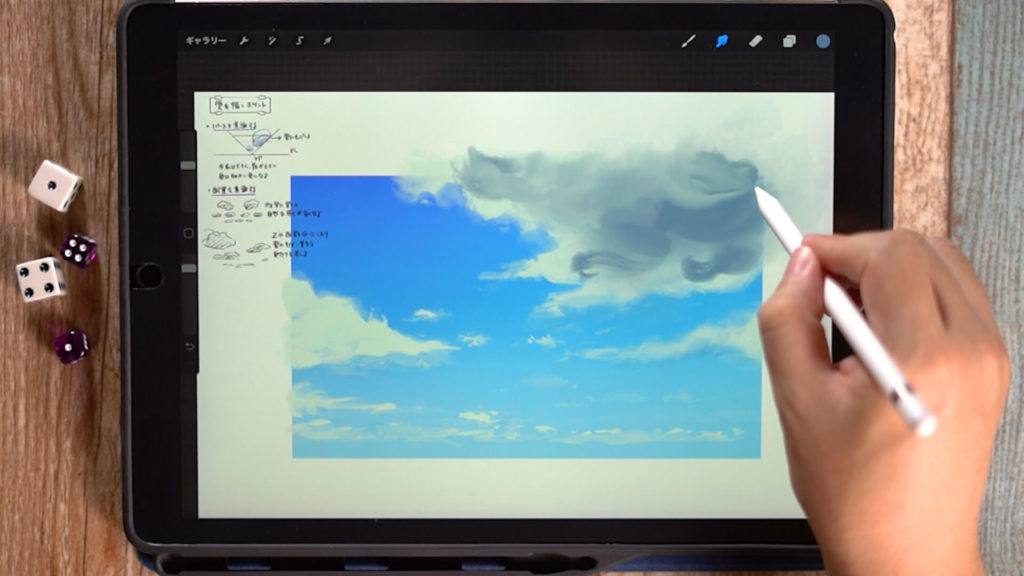
The shadows can also be adjusted with the fingertip tool after adding color using the “Oriental Brush”.

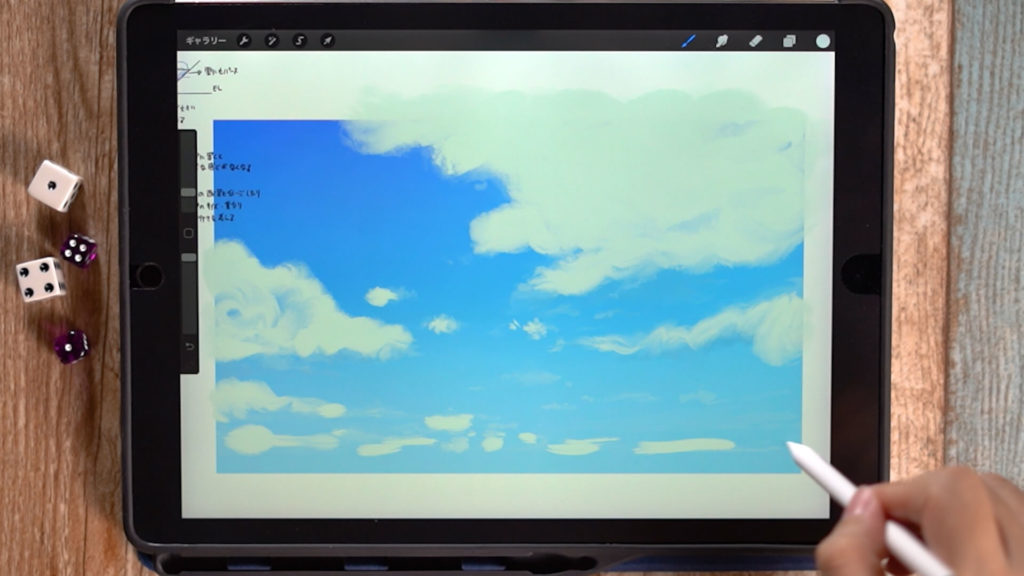
After drawing the clouds in this way, you can create an illustration like this.
[adchord]
Adding mountains and oceans
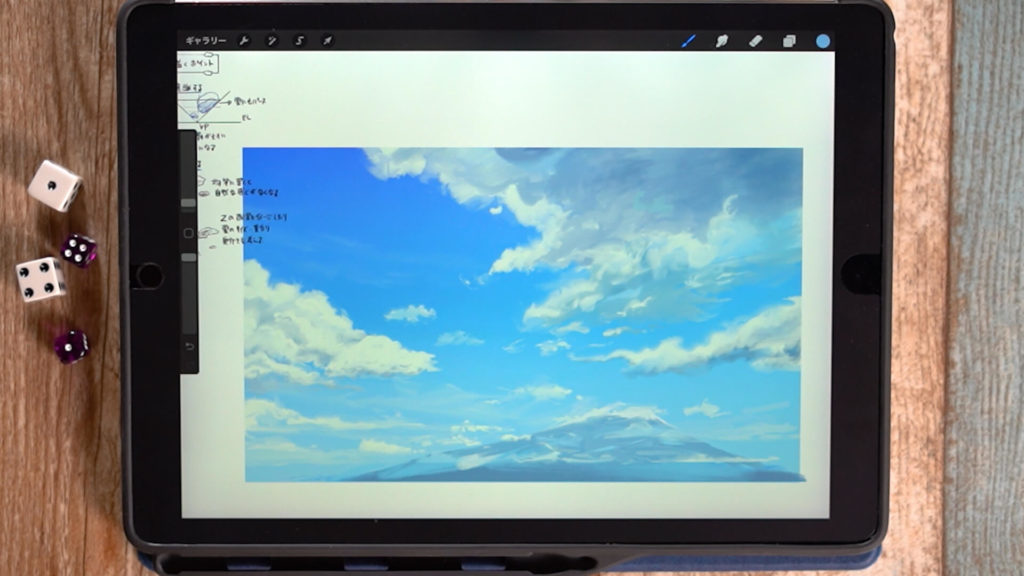
If you add not only the sky and clouds, but also mountains, you can complete the picture as a single picture. You can also include continents and oceans.
Introduce other skies
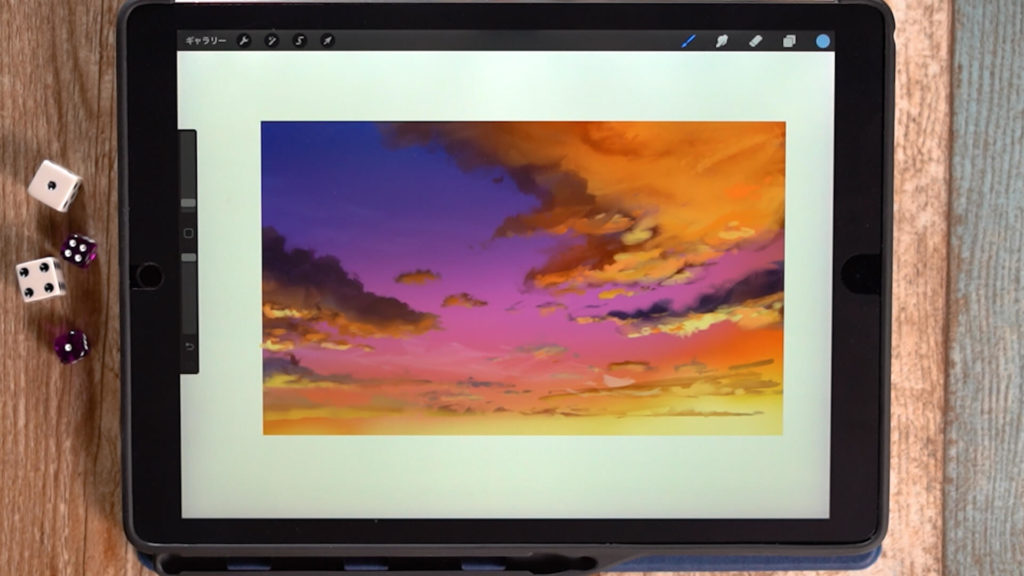
By simply changing the colors, you can also draw a sky with a different atmosphere, such as a sunset.
In the case of a sunset, the light does not shine from above, but from below, so be aware of this when drawing shadows and other elements.
Detailed Explanatory Video
The video shows a detailed explanation of the process of drawing. If you want to check it out, please click here.
Related Videos
Click here to see how to draw the sky and clouds.
If you want to check it in the article, please click here.
→[How to paint the sky and clouds] Let’s color the sky and clouds!
Summary
In this article, we introduced “Tips for placing clouds”.
Clouds will almost always appear when drawing outdoor Environment Art, so it is useful to have a firm grasp of how to draw them!
There are endless possibilities for placement and shape, so if you find a cool cloud, I recommend taking a picture of it.
Draw clouds in a cool way to make your illustrations more complete.
Thank you for watching until the end.
See you again in my next post!