I am Ari, a Concept Artists.
In this article, I would like to introduce “How to draw a room using one-point perspective,” which is an easy way to draw a room.
By learning this method, you will be able to draw a room like the background of a game illustration.
The equipment and apps used in this article are iPad and Procreate; please try Adobe Photoshop, CLIP STUDIO PAINT, and other apps as well, as you can also draw by applying the concept.
If you are not sure which illustration app to use, please refer to this page. Here is a summary of recommended apps.
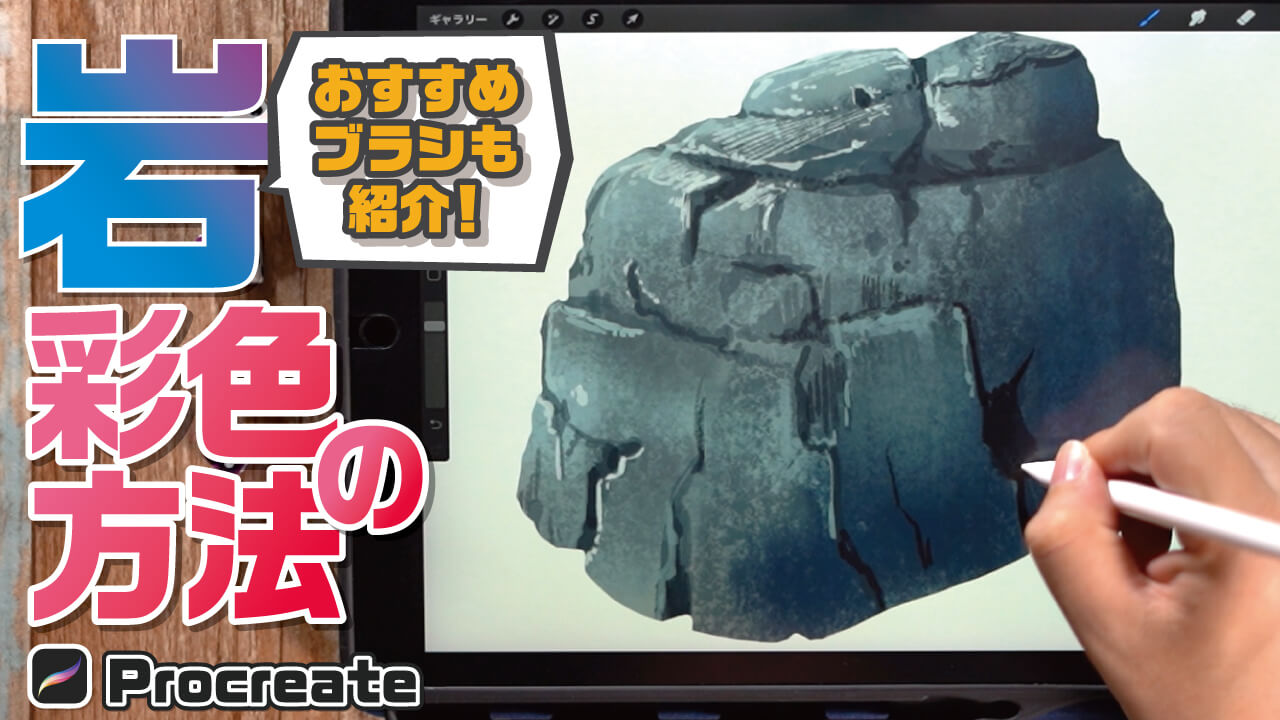
The video provides detailed explanations. If you want to check it out thoroughly, please click here.
[adchord]
Figuring out the size of furniture
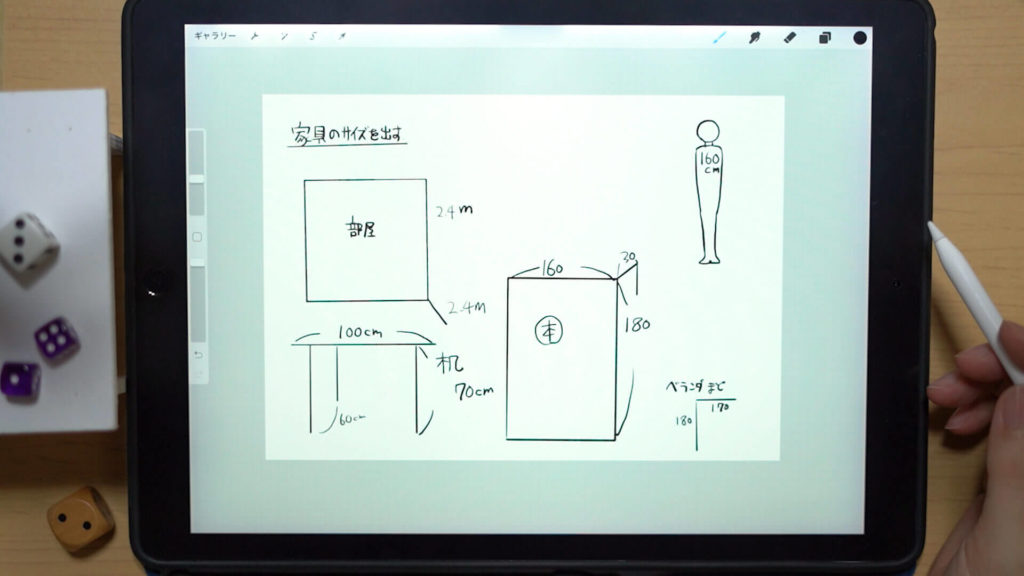
First, figure out the size of the furniture and the room by looking at familiar objects and floor plans. This process will help you draw a background that looks comfortable.
How to draw a room
Draw the innermost part of the room.
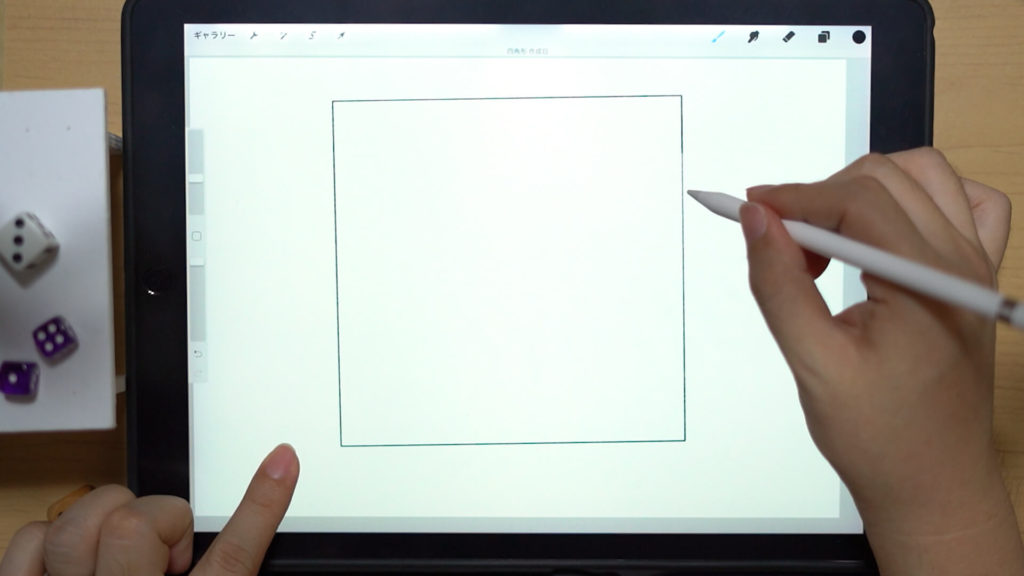
After drawing a square freehand and holding it down, you can draw a square by pressing the screen with one finger.
Bring out the center to determine the vanishing point.
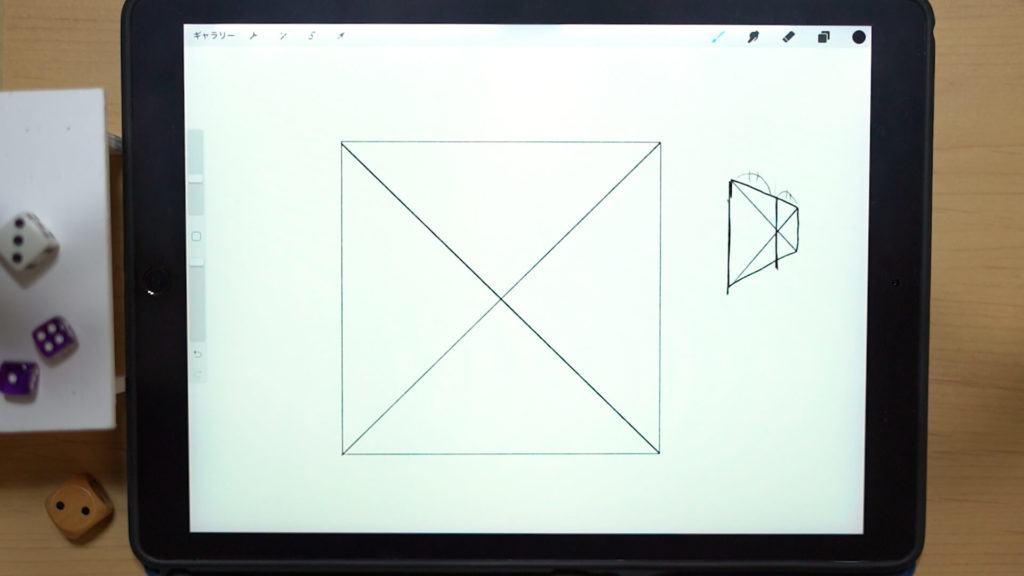
Draw a diagonal line to bring out the middle of the square. This method can also be used for squares that are perpendicular.

Draw the line in this manner as it will come in handy when drawing the room later.
Setting the Drawing Guide

Tap “Action” > “Drawing Guide” and set eye level.
If you set it to up, the illustration will look down; if you set it to down, the illustration will look up. You can set it as you like.
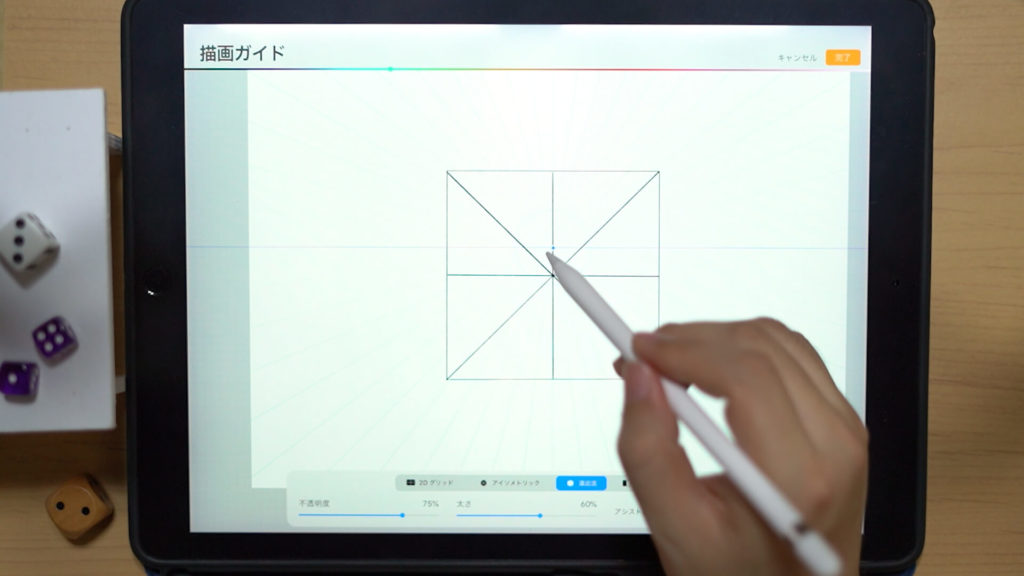
In this case, we will set it at a position above the middle.
[adchord]
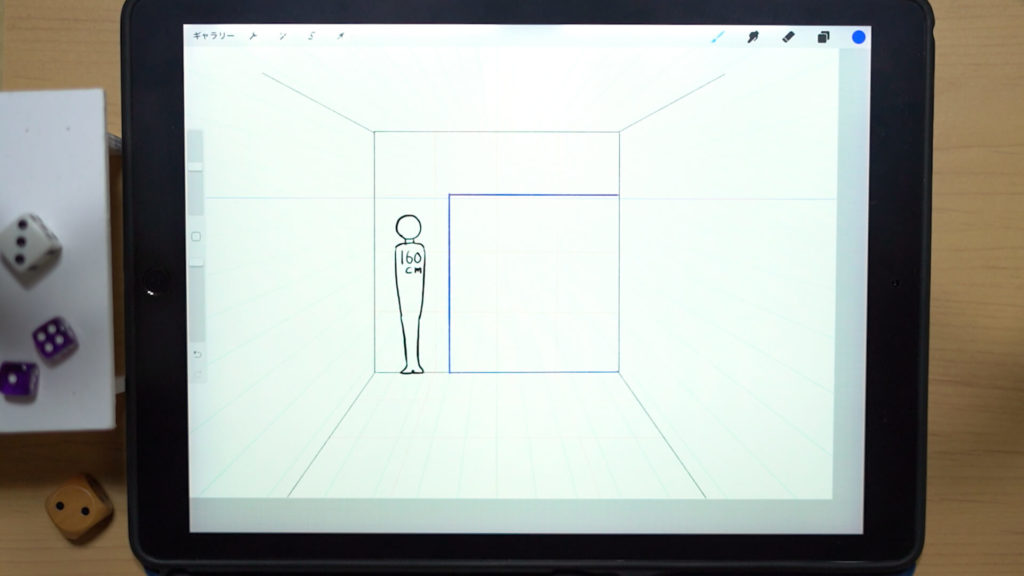
Calculate the size from the room.

Since the room is nicely divided, we will use the room size we first prepared as a reference to dividing the values.
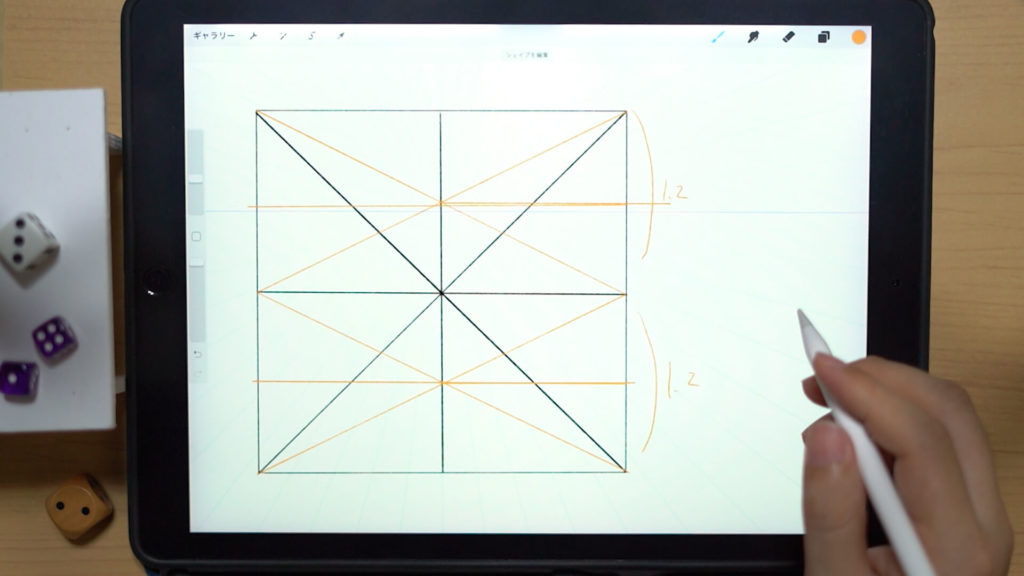
If we further divide the room in half, we can get another value by taking out the diagonal line of the halved part. In this way, we can draw a line of 4 divisions (in this case, the size of 60 cm).
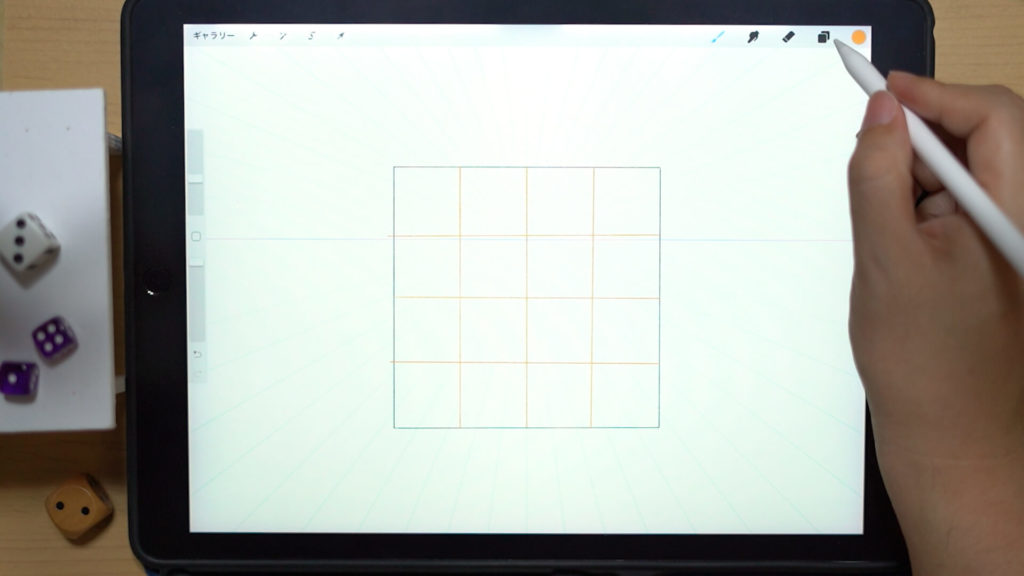
If you draw a vertical line in the same way, you can create such a guide.
You can create a guide just by random drawing, but if you want to draw it exactly right! or when you are not sure about the size of the image! or when you are not sure of the size of a room.
Drawing the corners of the room
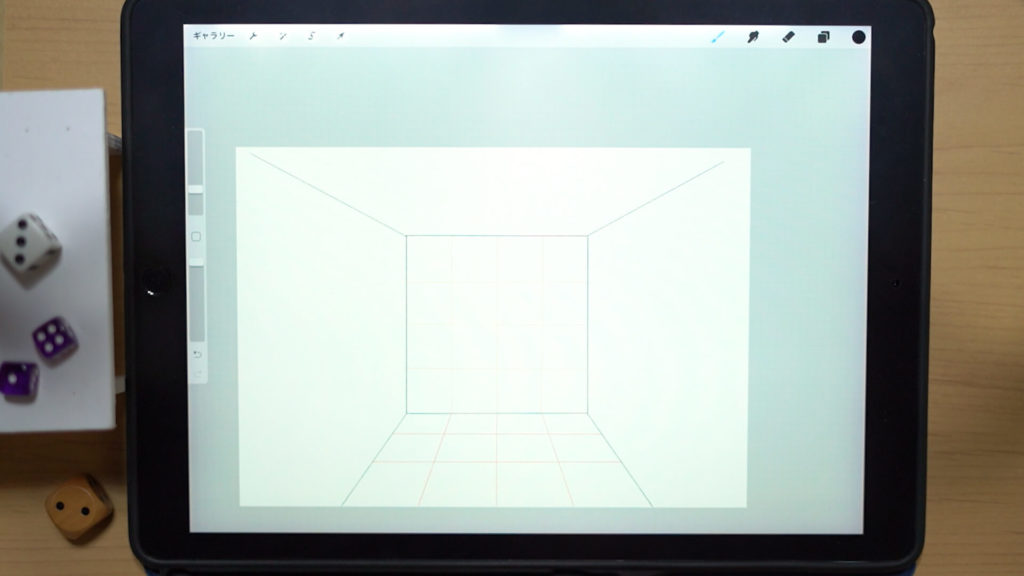
Draw the corners of the room and create a scale guide for the bottom of the room as well.
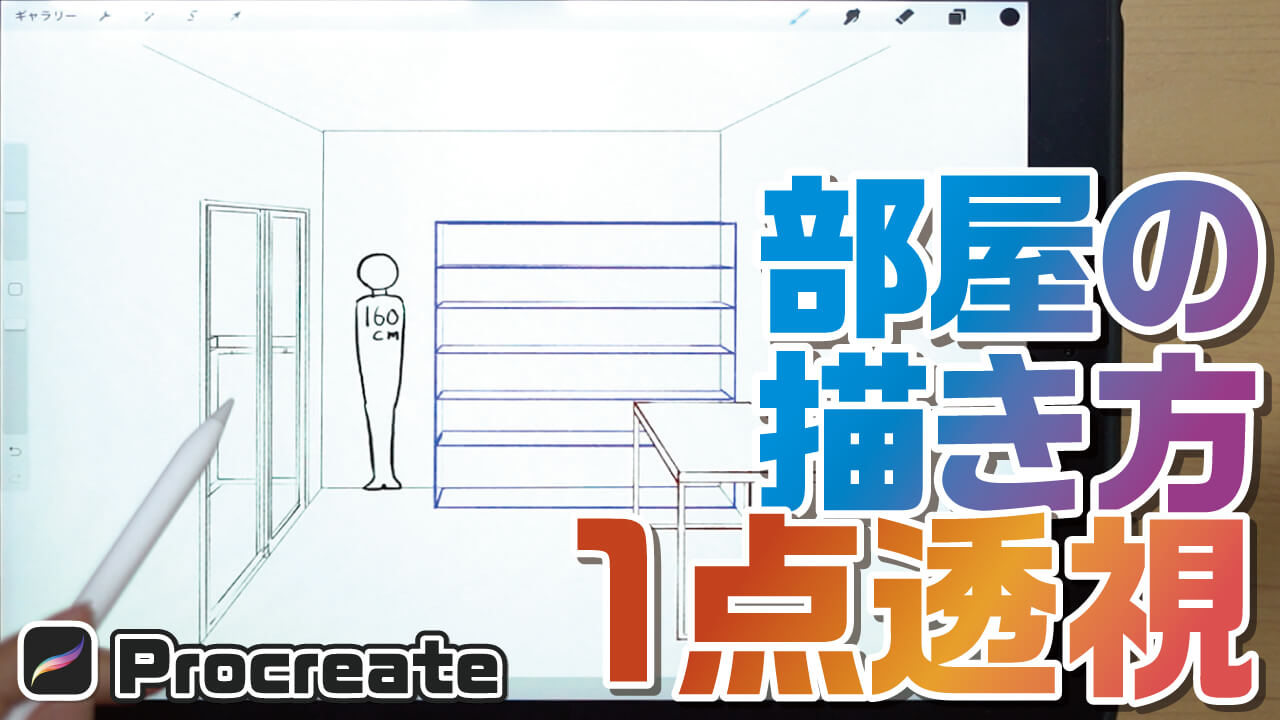
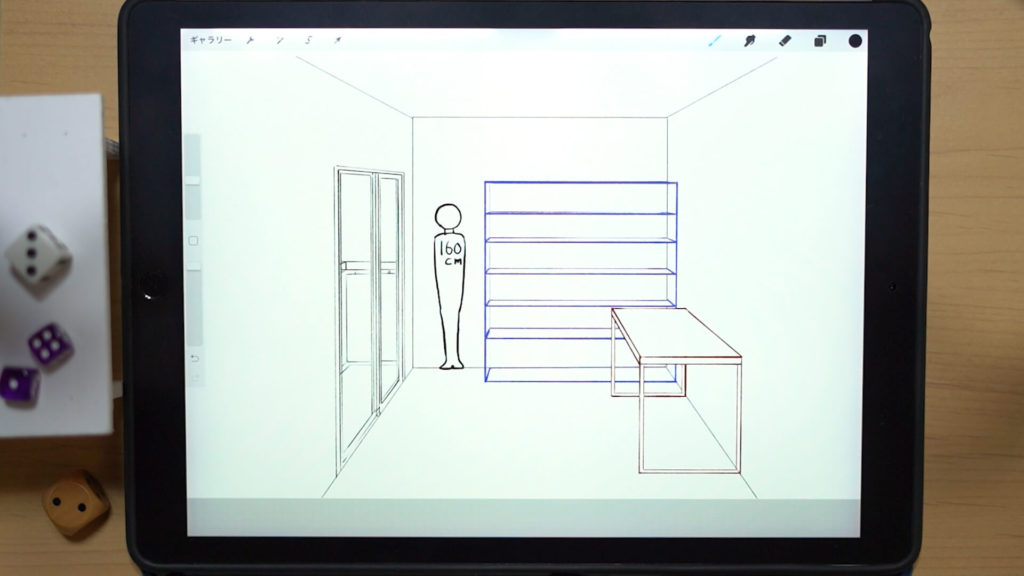
Place people
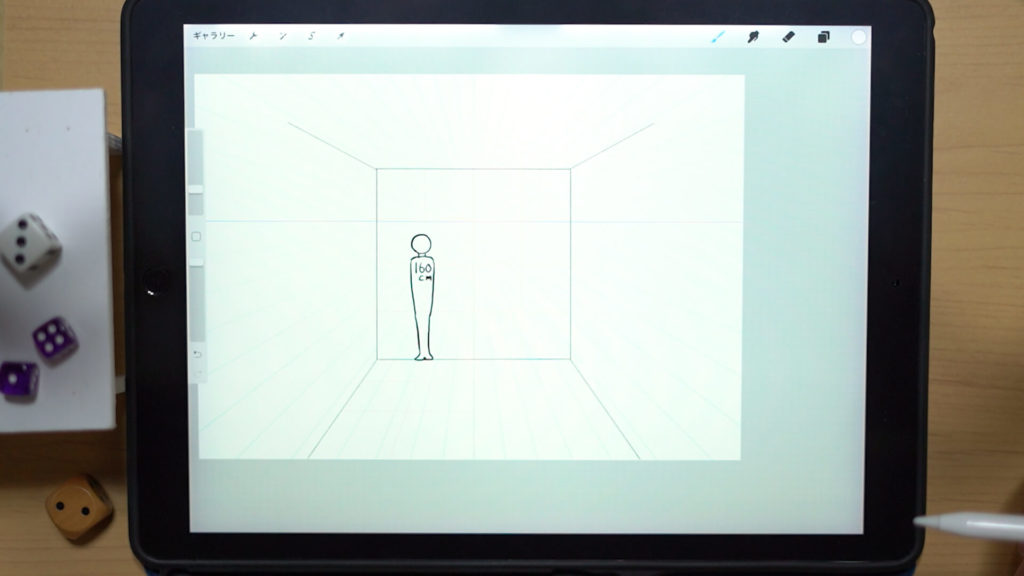
Place people according to the guide, as it will serve as a guide.
Drawing the furniture
Using the scale guide as a guide, draw the furniture.
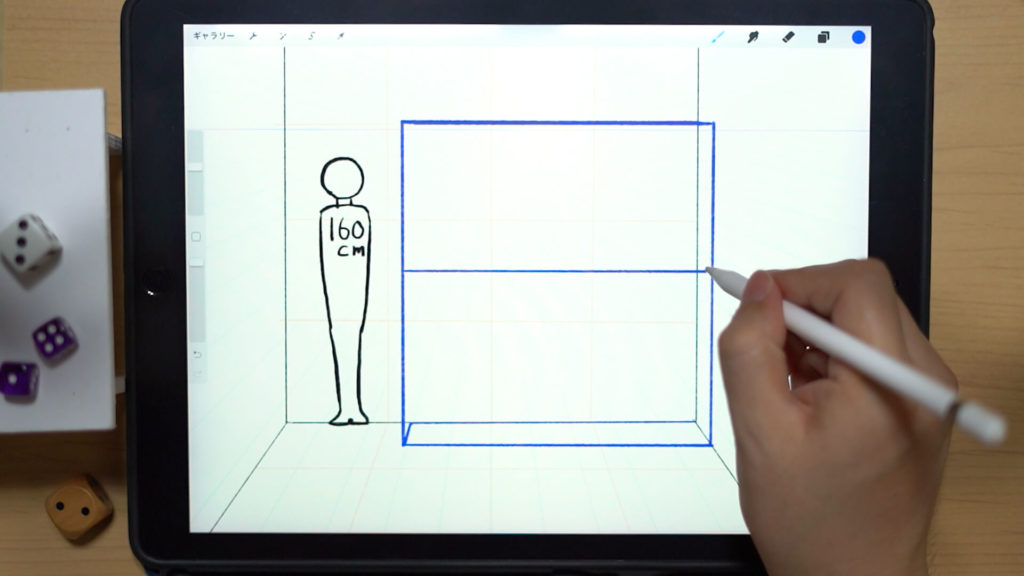
First, draw a bookcase. The depth is also drawn using the guide below as a guide.
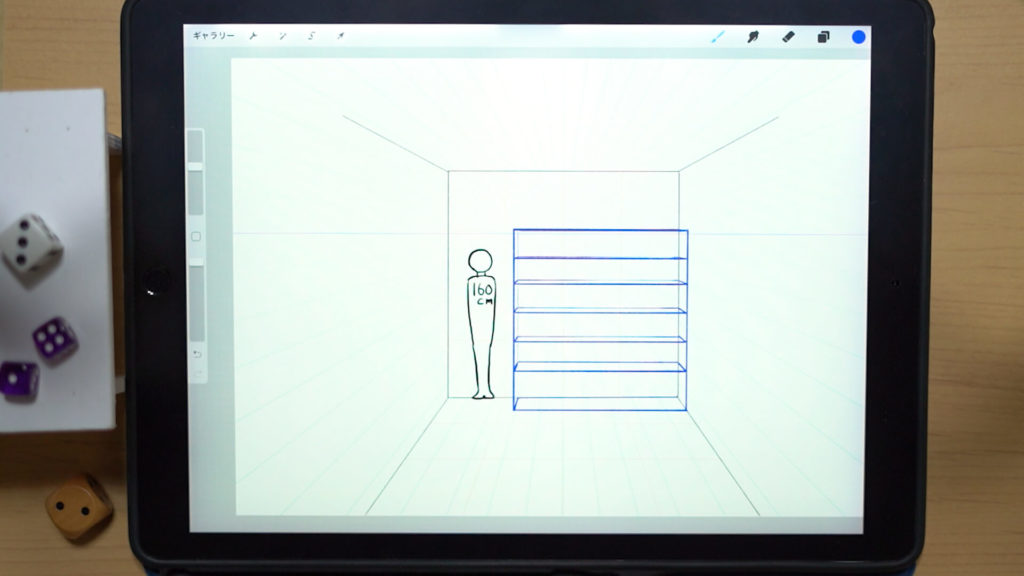
The back of the bookshelf may not be visible when the contents are filled, but if you are not yet familiar with it, it is a good idea to draw the parts that are not visible to get a better grasp.
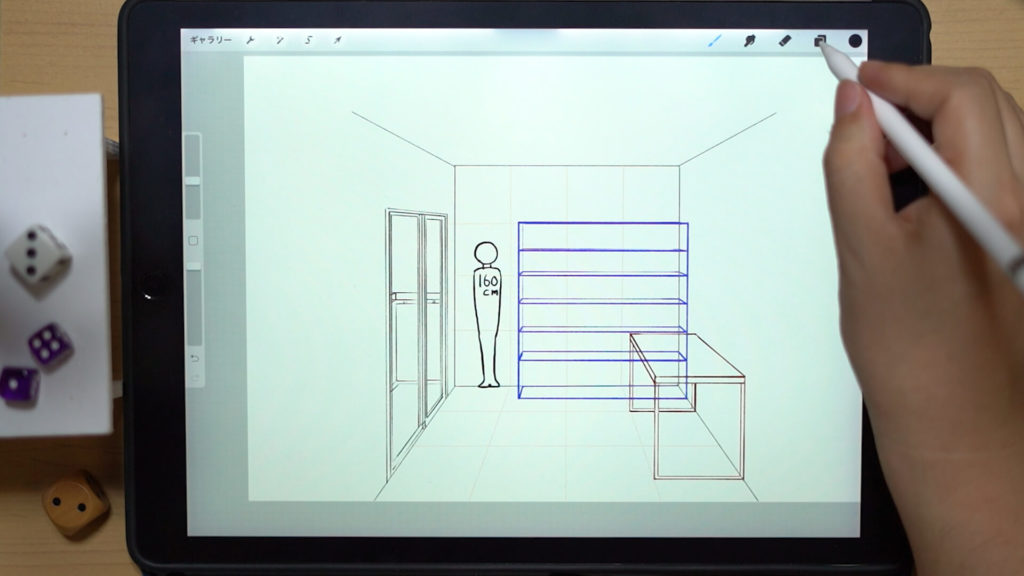
Other furniture and balconies are also drawn with reference to the guide.
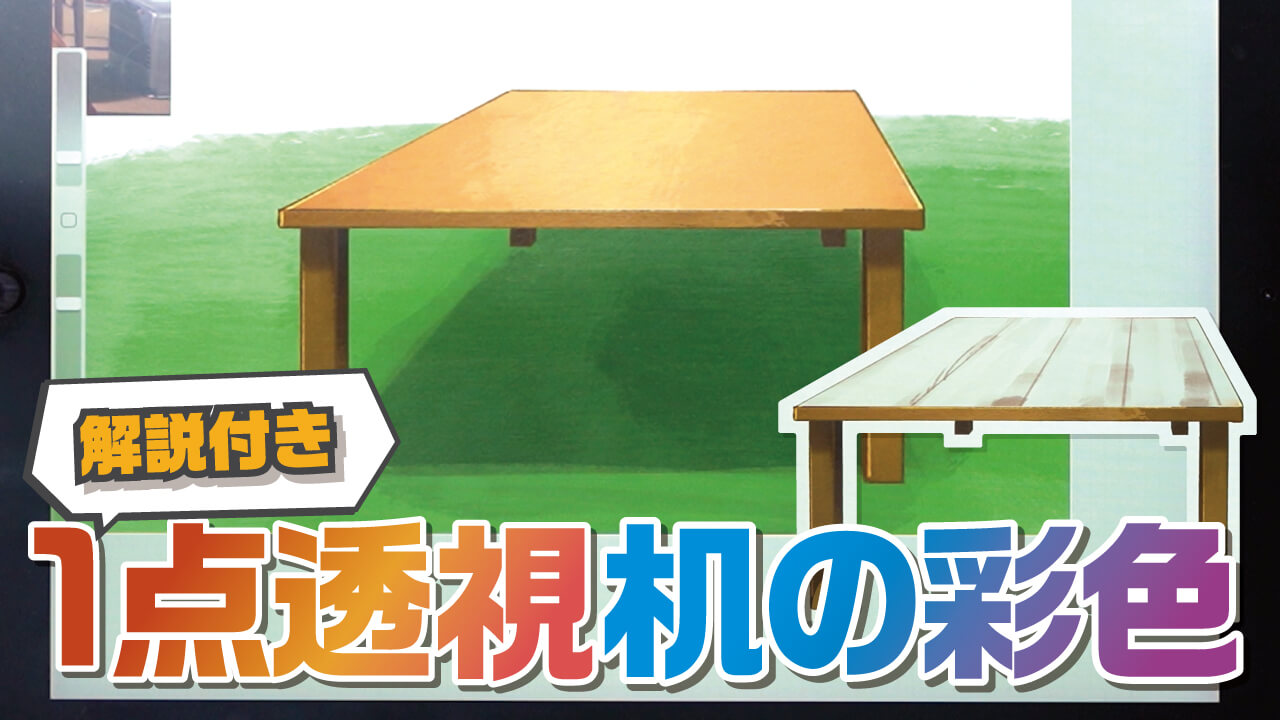
For more information on how to draw this, please watch the video below on YouTube.
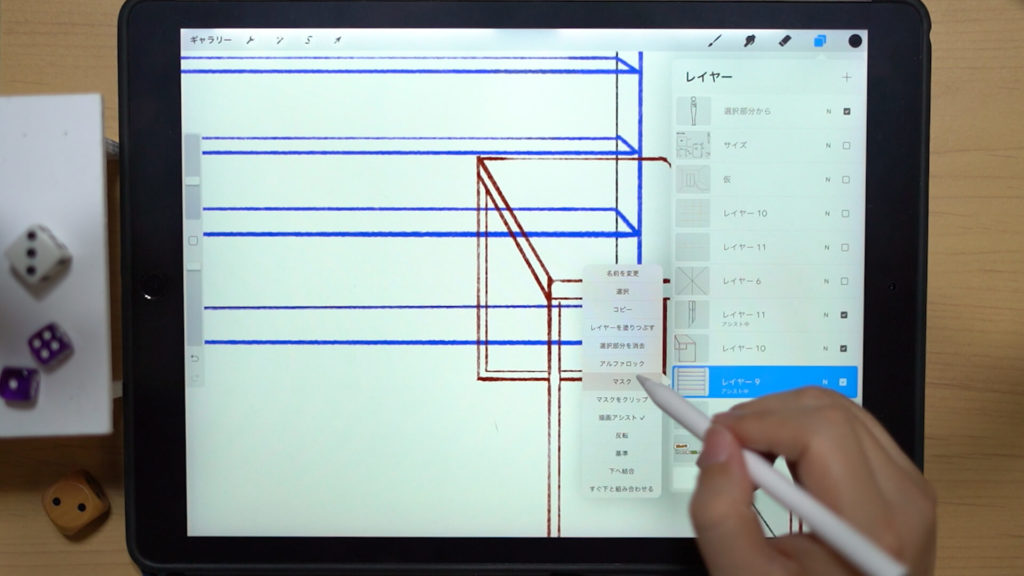
Use the layer mask function to make the overlapping areas invisible.
By using this function instead of actually erasing with the eraser, you can make the overlapping areas invisible while keeping the data you have drawn.
To learn more about the mask function, please click here.
[adchord]
Completing the illustration!
The room to be drawn in one-point perspective is now complete.
Detailed Explanatory Video
The video provides detailed explanations while drawing. If you want to check it thoroughly, please click here.
Summary
This time, we have shown you how to easily draw “How to draw a room using 1-point perspective”.
The important points are to “draw a scale” and “design the size”.
When drawing background, the size of the object is important!
If an object is too big or too small for a person, it will look uncomfortable, so drawing with a scale will help you to be aware of this.
If you draw with this in mind, you can increase the realism and persuasiveness of the picture, so try drawing Environment Art with the above points in mind!
Thank you for watching until the end.
See you again in my next post!