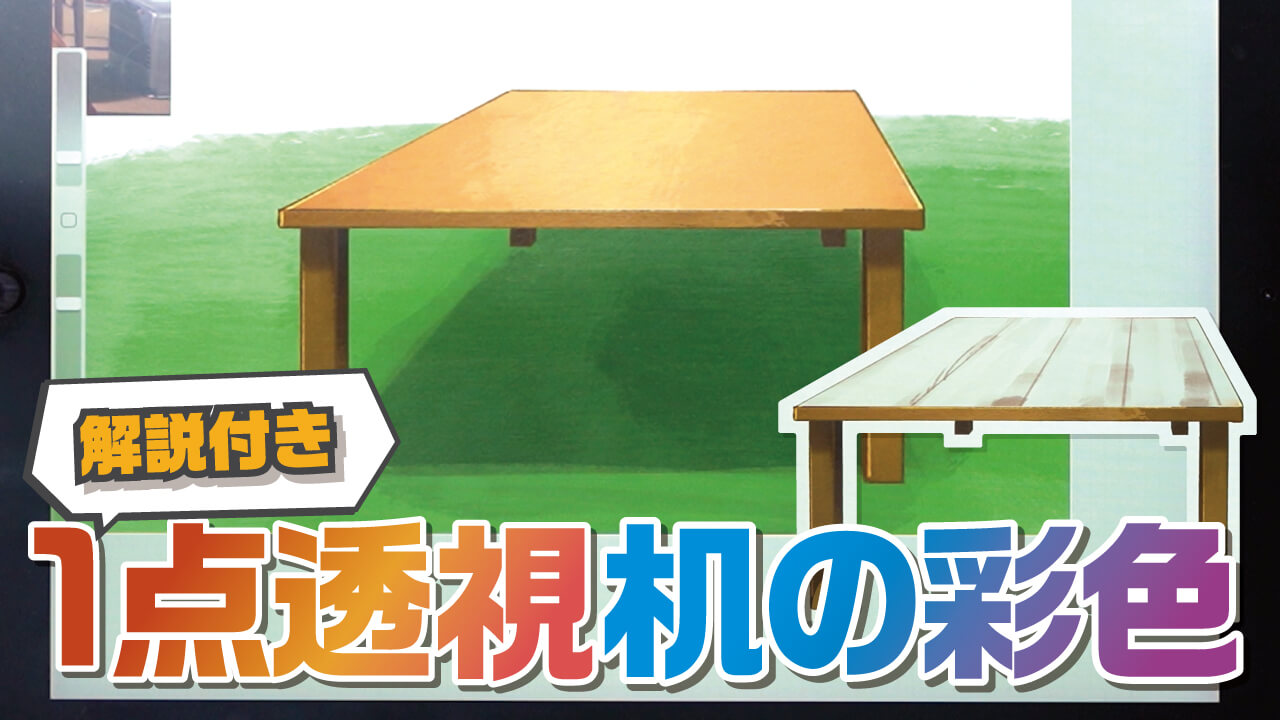
I am Ari, a Concept Artists.
In this article, I would like to explain how to color objects by dividing them into parts. This is one of the most frequently used coloring methods, so please try it out.
By learning this method, you will be able to color the parts of a Environment Art.
The equipment and apps used in this article are iPad and Procreate; please try Adobe Photoshop, CLIP STUDIO PAINT, and other apps as well, as you can also draw by applying the concept.
If you are not sure which illustration app to use, please refer to this page. Here is a summary of recommended apps.
The video provides detailed explanations. If you want to check it out thoroughly, please click here.
[adchord]
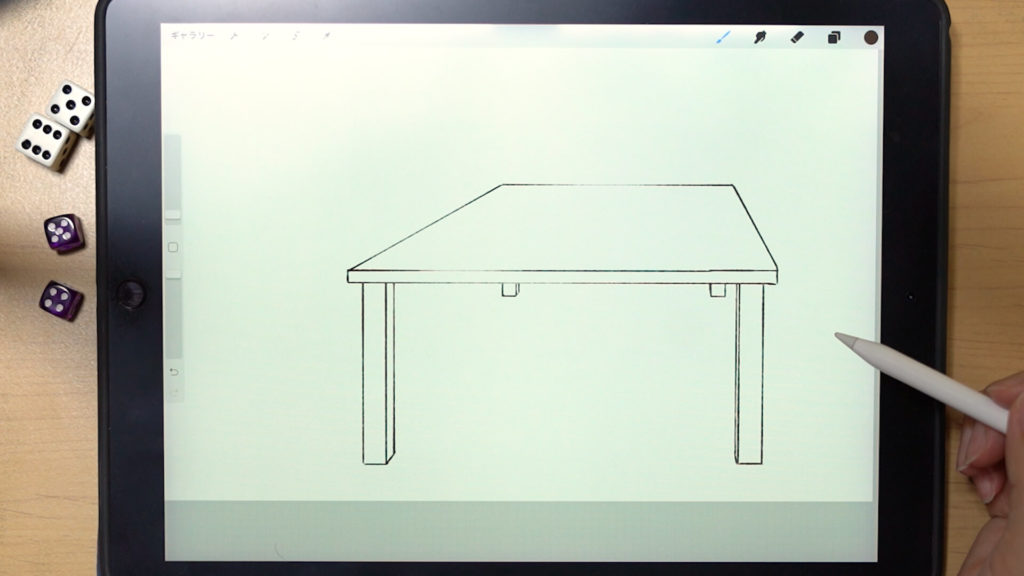
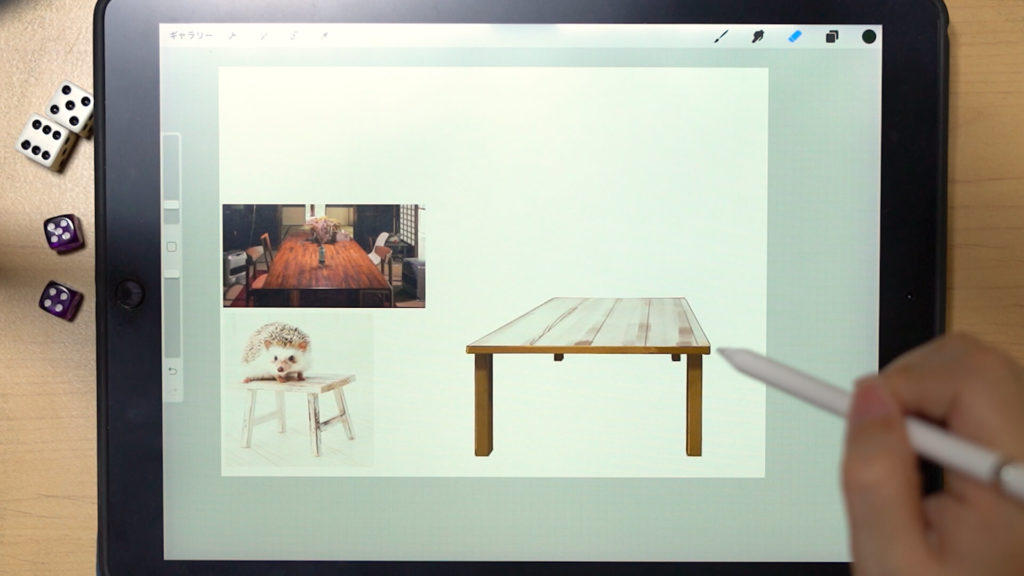
Prepare line drawings
Prepare the parts of the background you want to color.
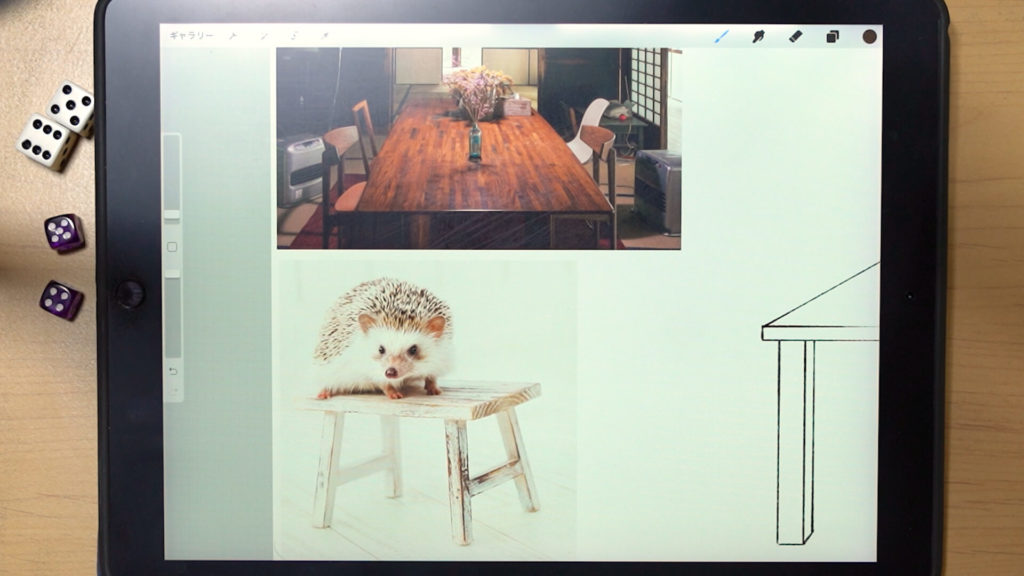
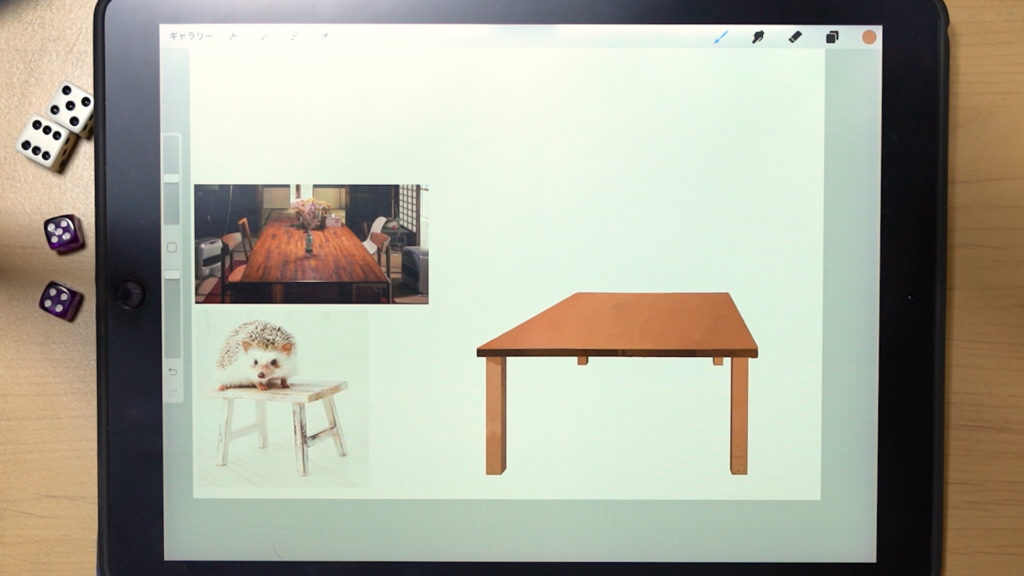
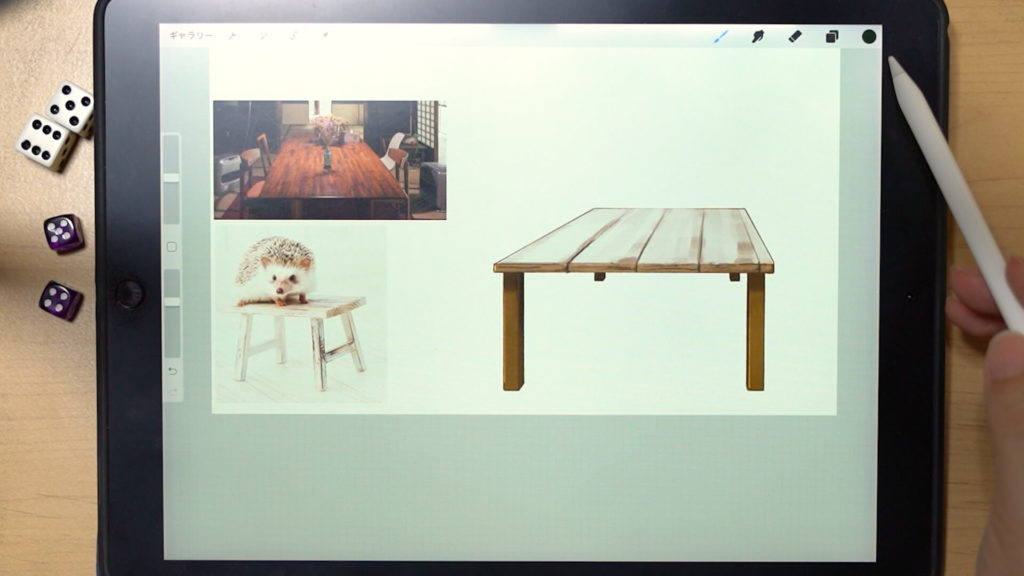
Think about what kind of paint you want to use.
If possible, prepare materials and think about what texture and look you want.
Paint each part separately.
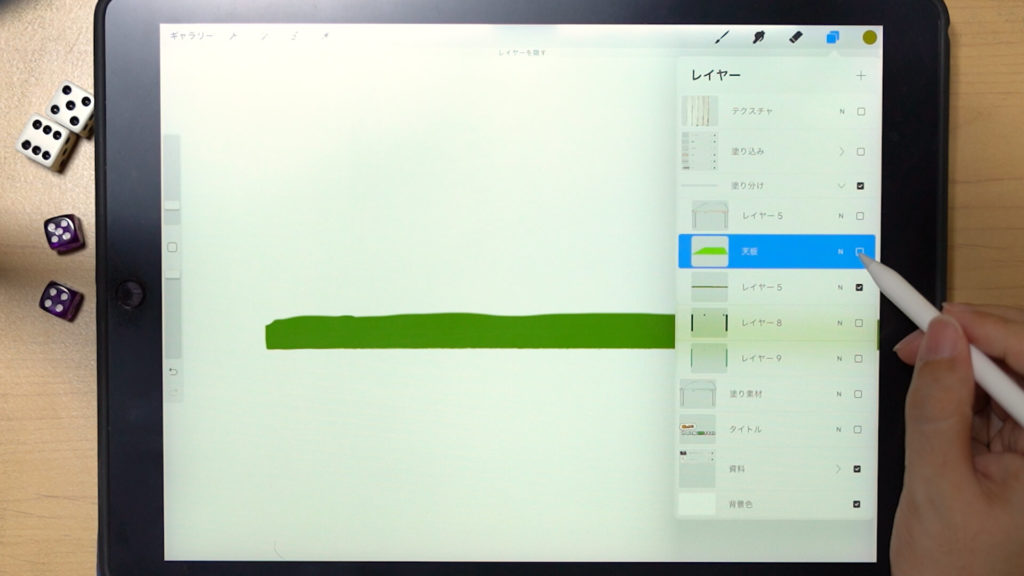
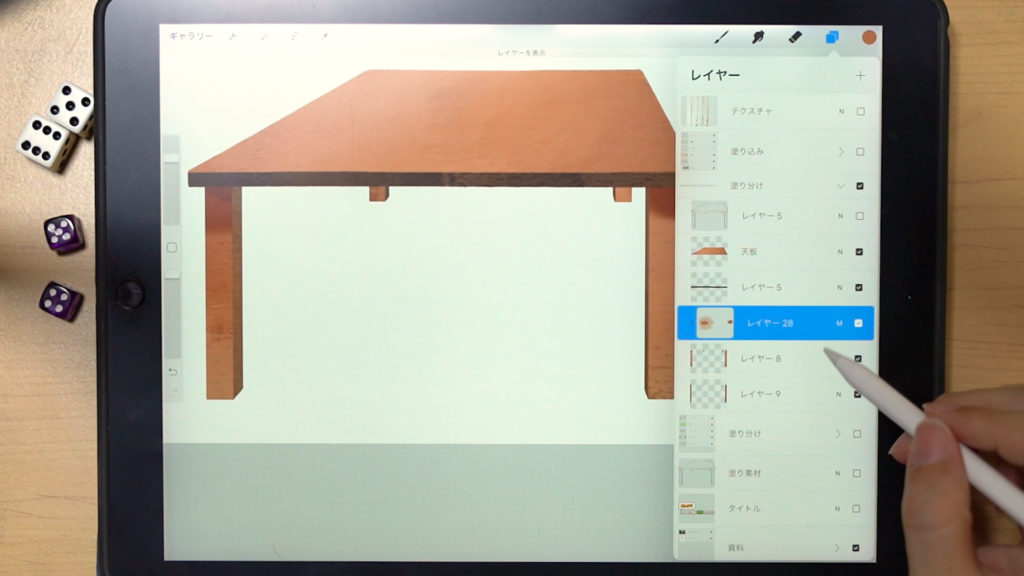
Separate the layers and paint each part separately.
By separating the layers, it will be easier to add texture or change colors later.
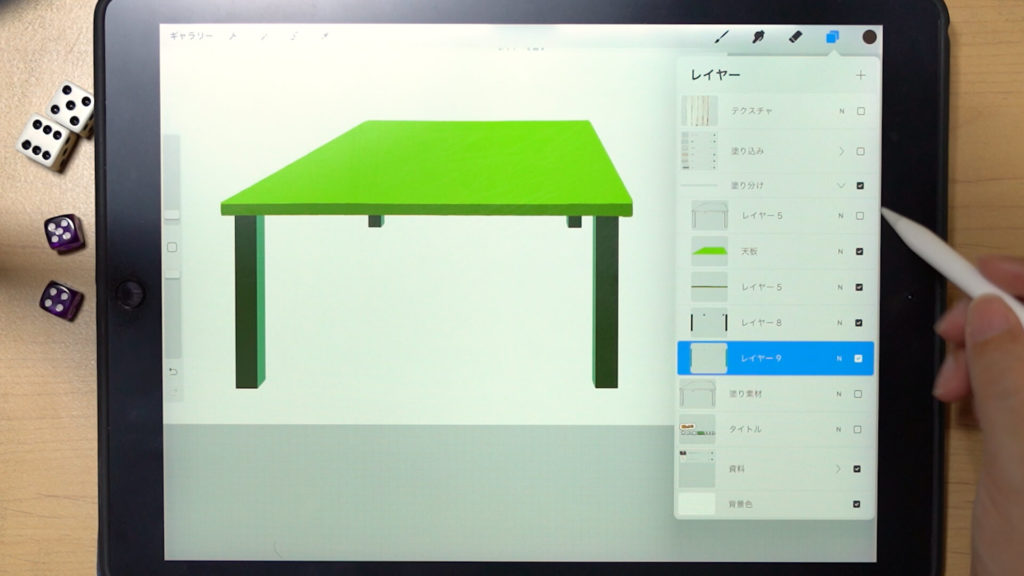
To paint, place a paint layer under the draft layer and place color on it.
You can use the pen tool to paint, or you can copy the line drawing, fill in the colors, delete unnecessary areas, and then use “alpha lock” to fill in the areas that overlap with the line drawing. (See the video for more details).
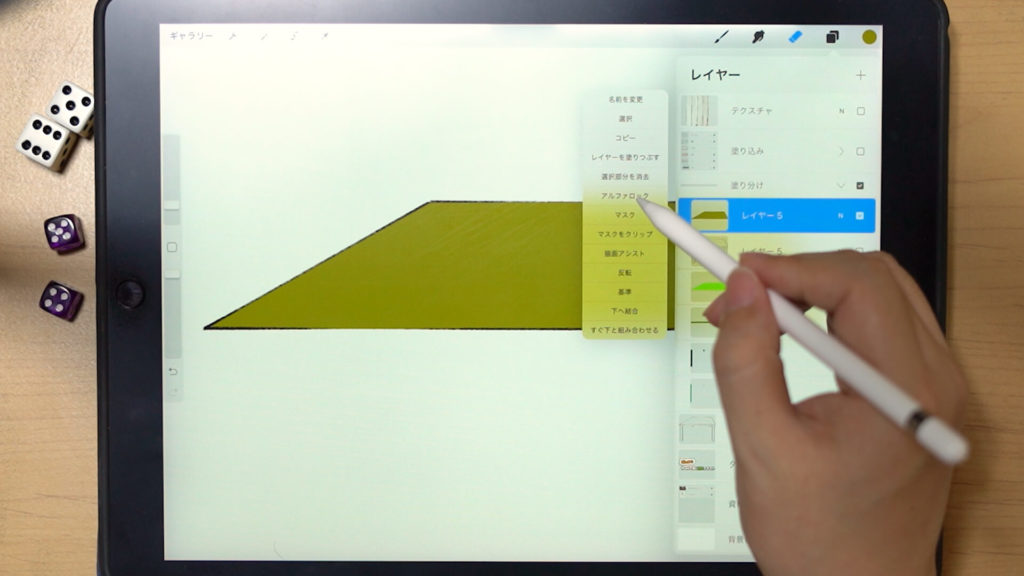
Layers will not be visible where they overlap on top, so you can put the top panel on top and paint over the overlapping areas.
[adchord]
Fill in the paint.
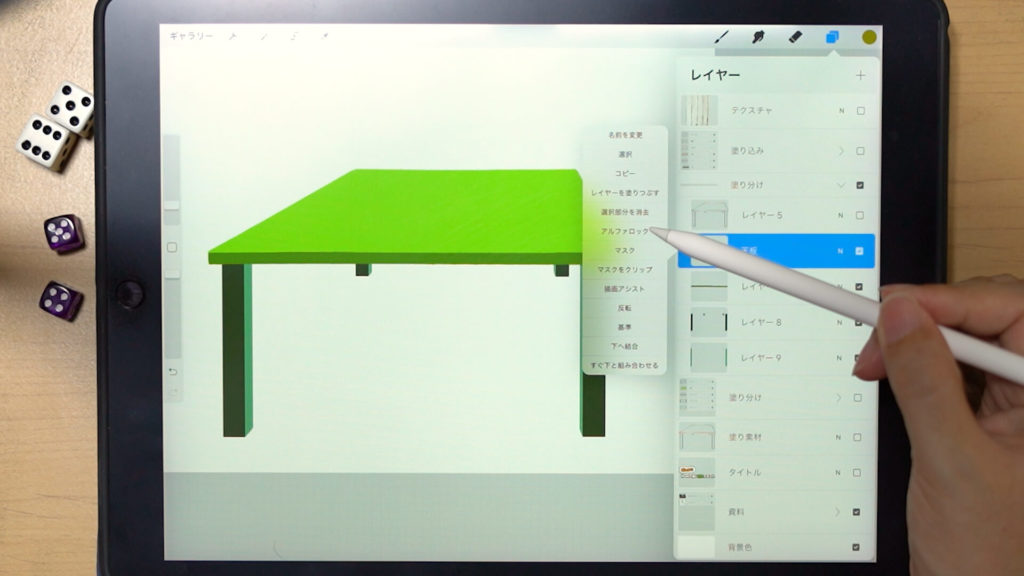
First preparation
Tap the layer to be painted and set “Alpha Lock”. This setting will prevent transparent areas from being painted.
Add basic color
Use “Paint” -> “Gouache” brush. This brush has a rough texture.
Procreate has many easy-to-use brushes.
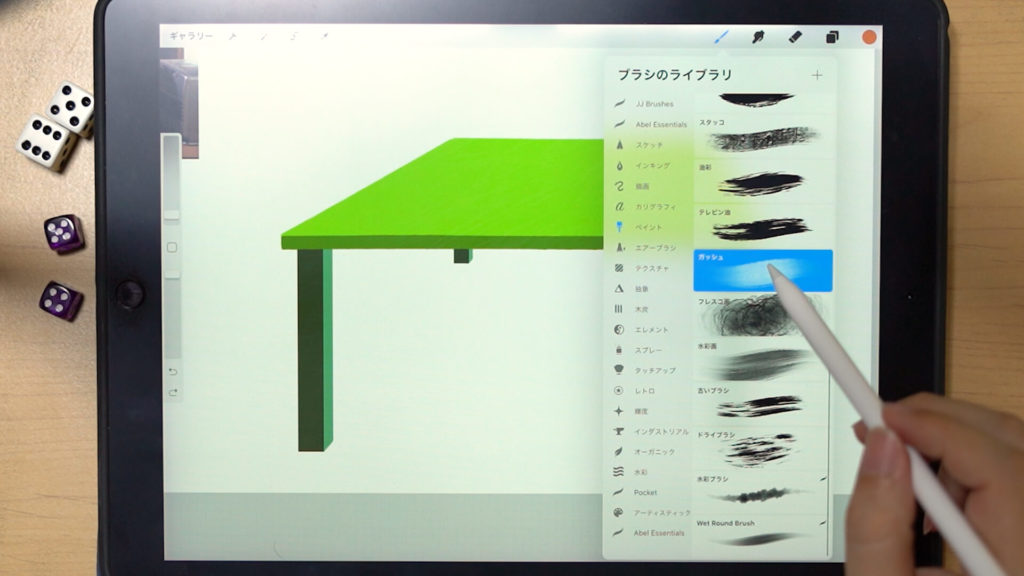
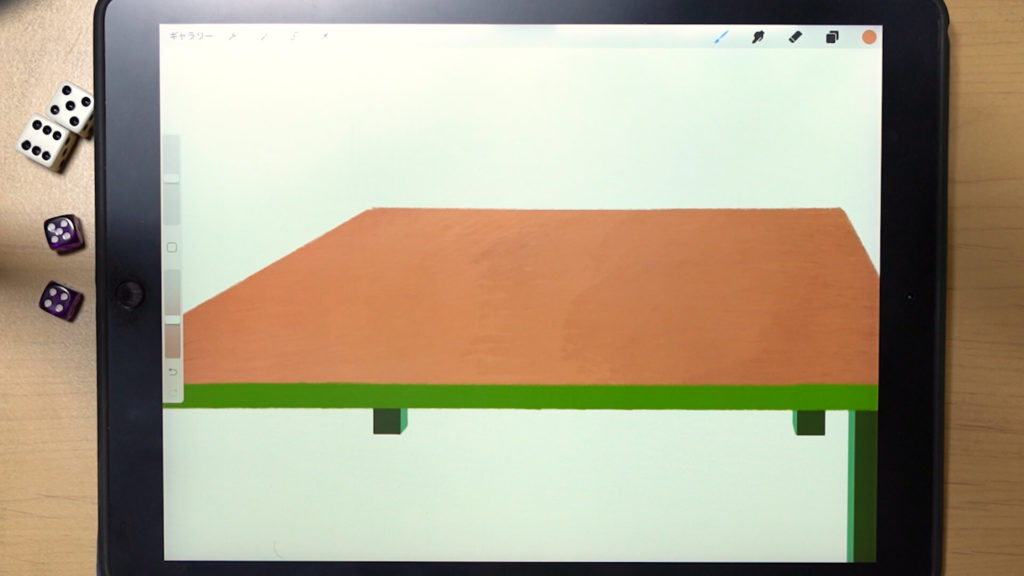
Fill in with a basic color.
Put in a lighted area.
Use a brighter color than the basic color, with larger brush size and less transparency, and apply the color as if you were placing a ton of paint.

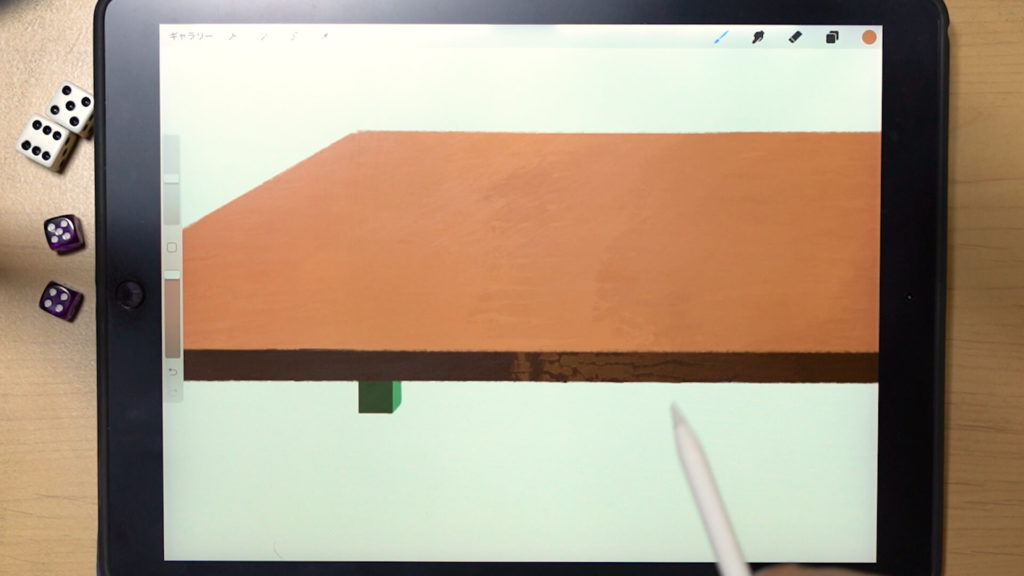
Create unevenness in color.
The darker colors are applied in a thumping motion to create an uneven color.
Since the brush originally has a texture, we were able to paint with a wood-like atmosphere.
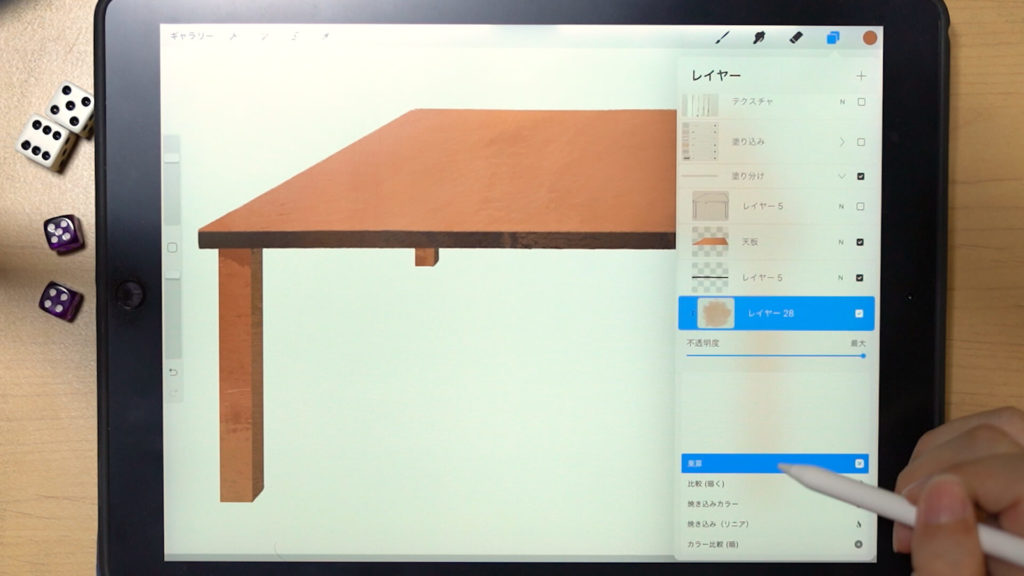
In the same way, apply “Alpha Lock” to the layer and paint over the other parts with color. Lightly layering the color of the top panel on top of the basic paint will create a natural and realistic paint.
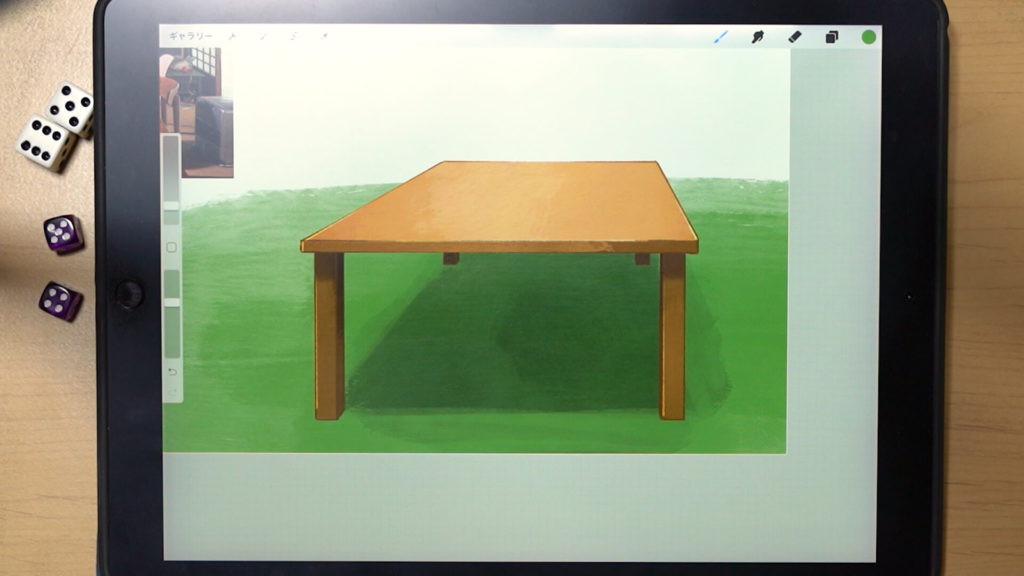
When each part is painted, the basic paint is complete.
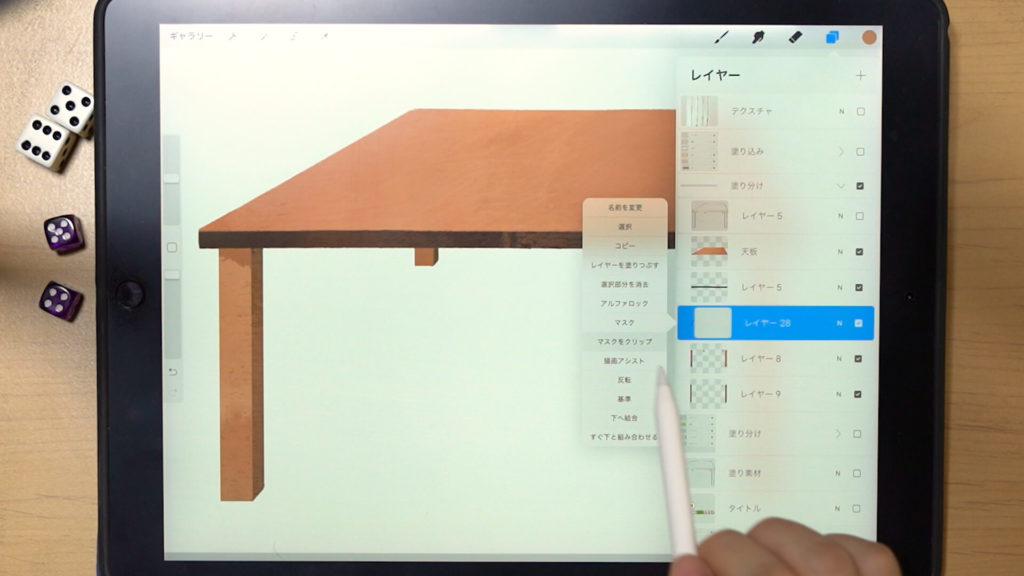
Adding shadows
Create a new layer on top of the foot layer and “clip the mask.
This setting will allow only the area painted on the layer directly below to be painted.
Use “Air Brush” -> “Soft Air Brush” for the brush and “Multiply” for the layer effect.
Put shadows.
[adchord]
Put a highlight.
Put a highlight on the edge of the image.
Use “Sketch” -> “Pencil (6B)” for the brush and “Overlay” or “Screen” for the layer effect. (In this case, we used “Overlay.”)
It is best to draw while being aware of where the light is coming from.
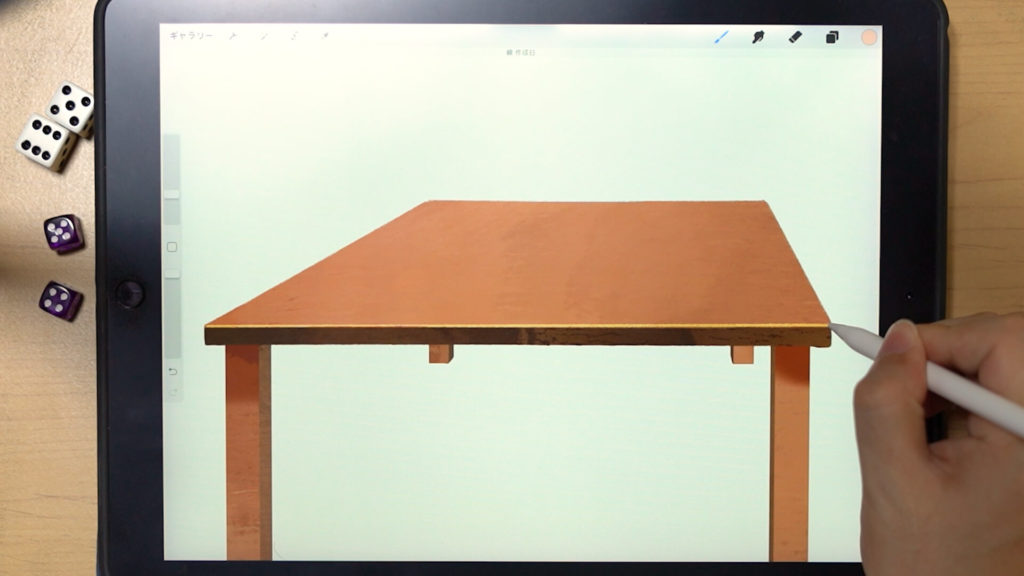
After highlighting, the object’s painting will be completed.
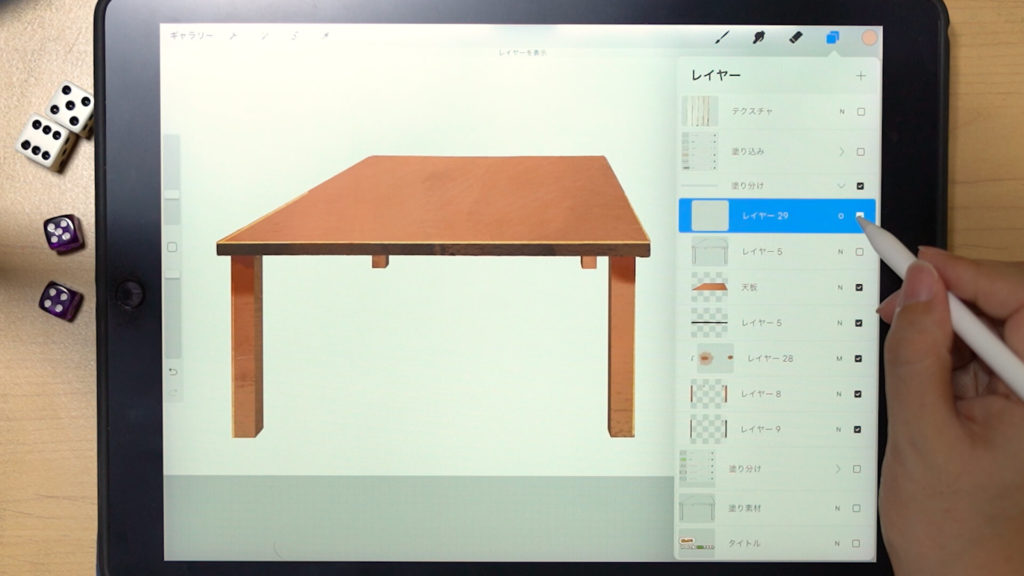
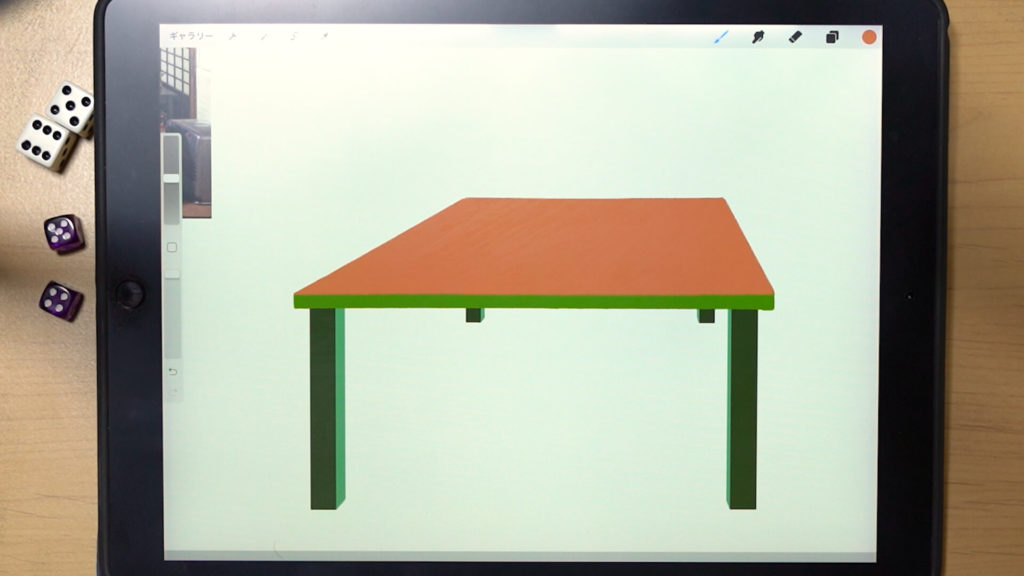
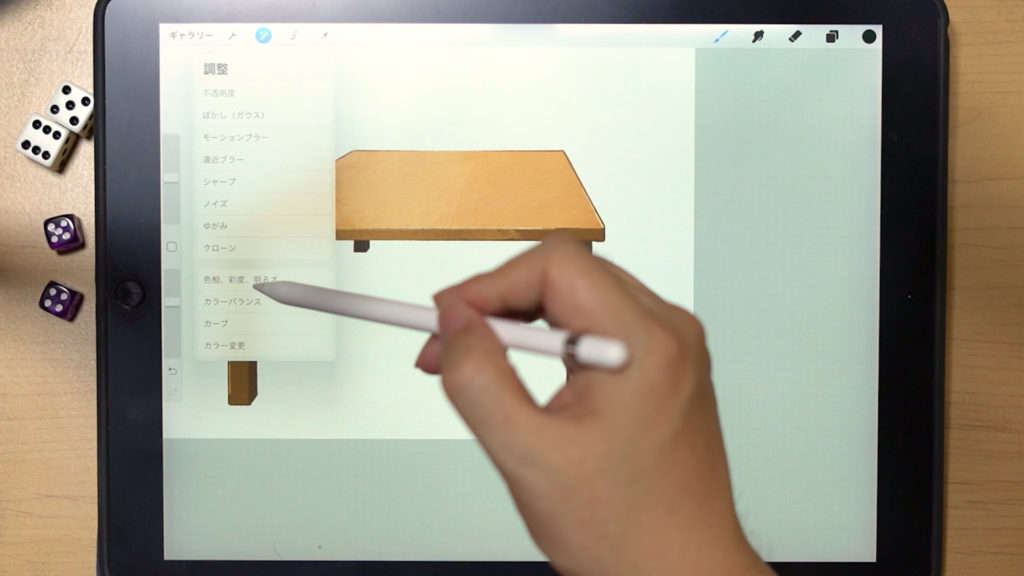
To change the color
You can also easily change the color (hue, saturation, brightness) from “Adjustment” -> “Hue, Saturation, Brightness”. If you have separated the layers by parts, you can change the color for each part, making it easier to respond to sudden changes.
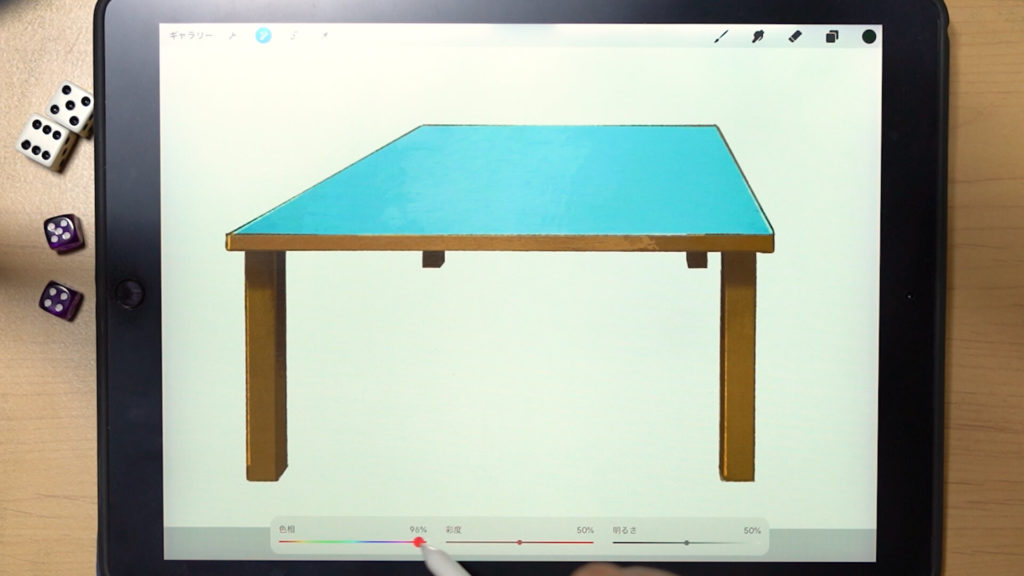
Using this method, it is also easy to change only the top panel to a different design.
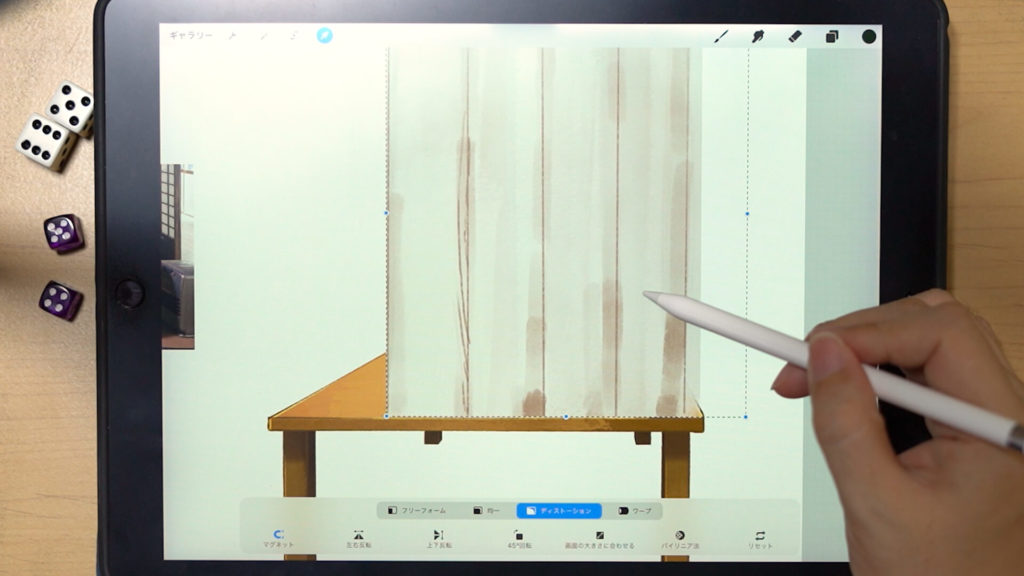
How to Paste Textures
It is difficult to draw a perspective wood grain, so it is convenient to use the “Transform” tool.
Prepare a texture on a flat surface, and then use the “Move Tool” → “Distortion” to deform it. As you can see, the texture can be easily applied.
Detailed Explanatory Video
In the video, we explain in detail while drawing. If you want to check it out thoroughly, please click here.
Related Videos
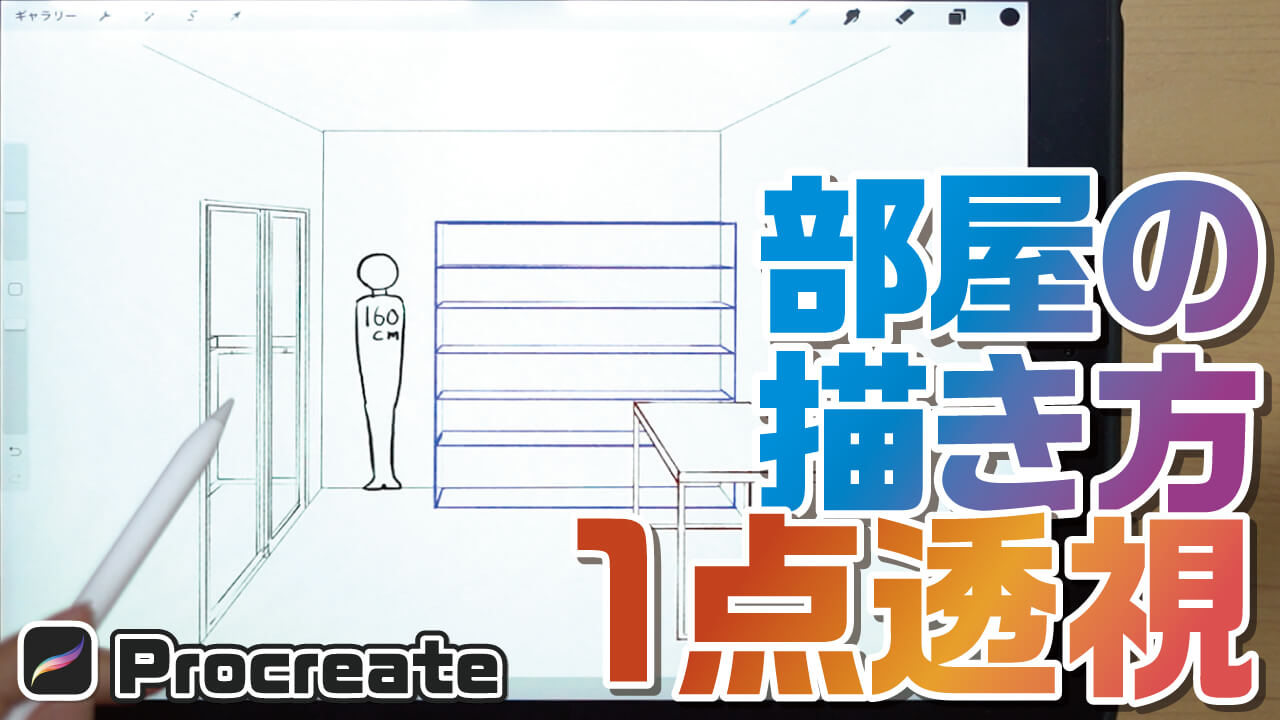
If you want to know more about the basics of 1-point perspective, please watch this video.
Conclusion
This time, I explained “how to color an object by dividing it into parts.
This is the painting method I often use when I draw Environment Art for work.
The advantage is that by separating the layers for each part, it is easier to change the image and modify each part.
I painted it, but the image was different!
The specifications have changed!
I want to change the time of day!
The layers are easy to deal with, so please try them out.
One thing to note is that the number of layers will increase, so be sure to manage layers well!
Thank you for watching until the end.
See you again in my next post!