I am Ari, a Concept Artists.

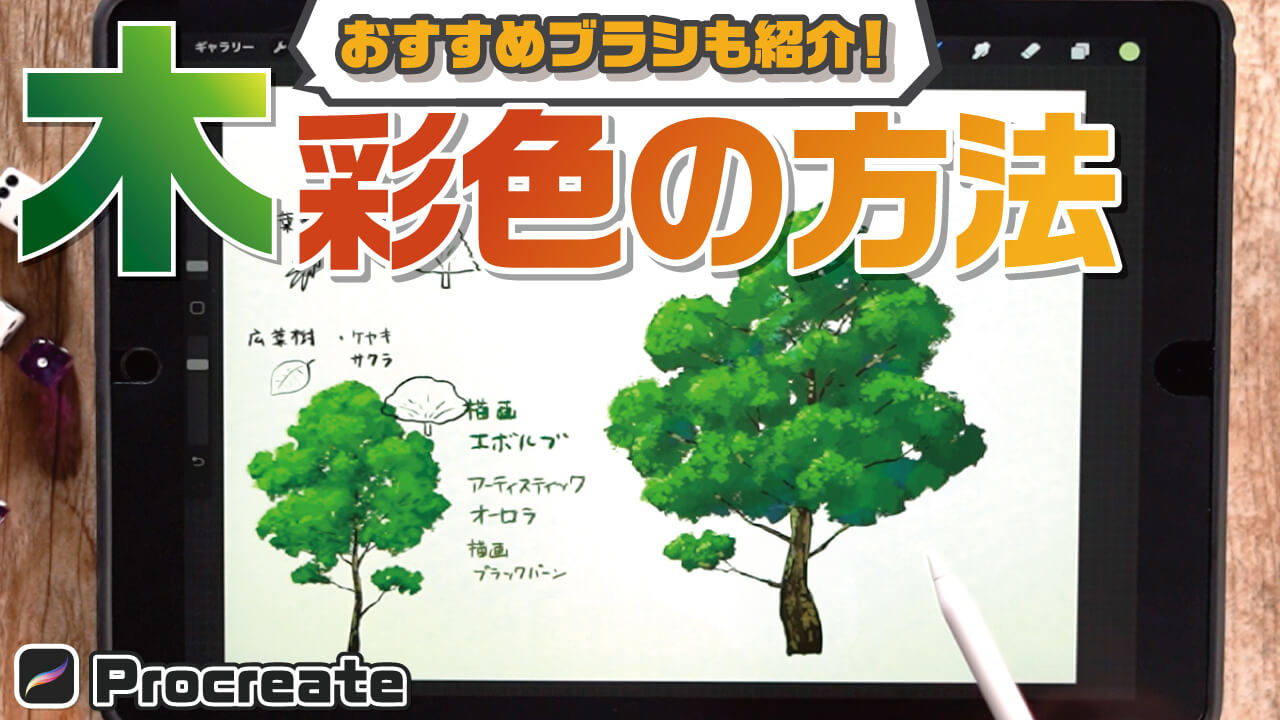
In this article, I would like to introduce “How to Color Trees” which is an easy way to draw trees.
Trees are natural objects that make a lot of appearances! By learning this method, you will be able to color trees for backgrounds.
We will also introduce the Procreate brushes we recommend for drawing trees.
I recommend this because drawing trees makes drawing Environment Art more fun! Please give it a try!
The equipment and apps used in this article are iPad and Procreate; please try Adobe Photoshop, CLIP STUDIO PAINT, and other apps as well, as you can also draw by applying the concept.
If you are not sure which illustration app to use, please refer to this page. Here is a summary of recommended apps.
The video provides detailed explanations. If you want to check it out thoroughly, please click here.
[adchord]
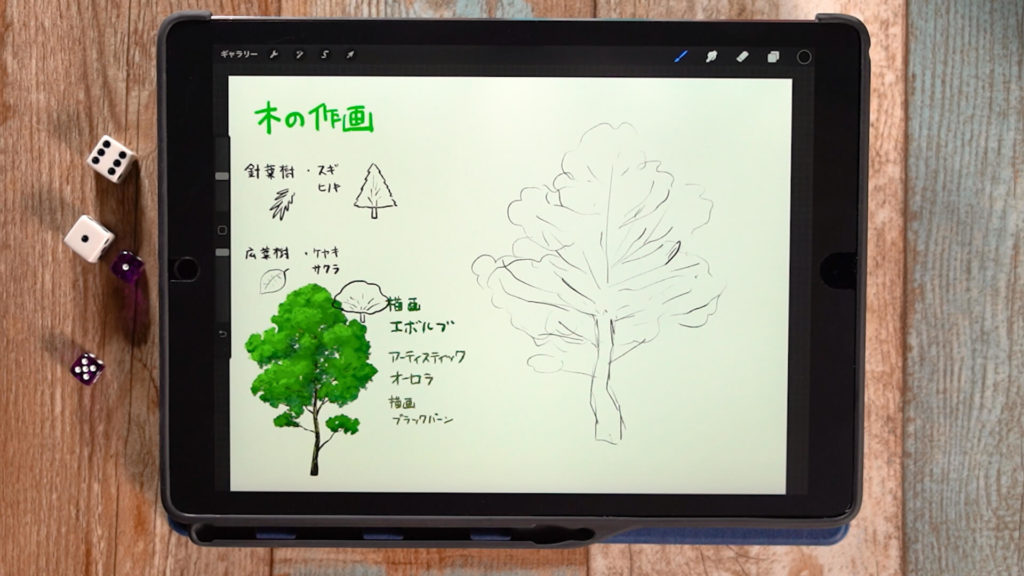
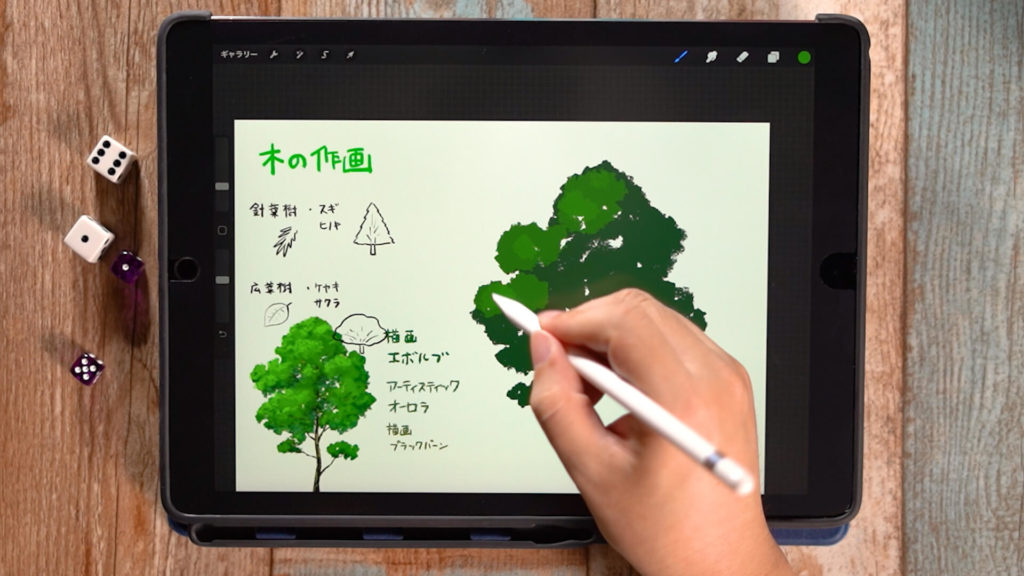
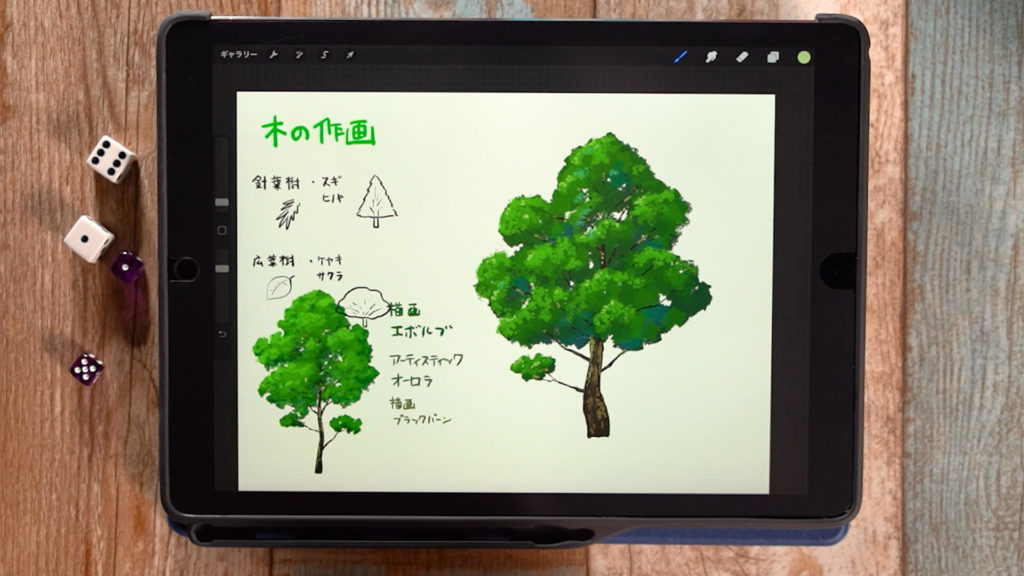
About Types of Trees
Here is a brief introduction to the types of trees.
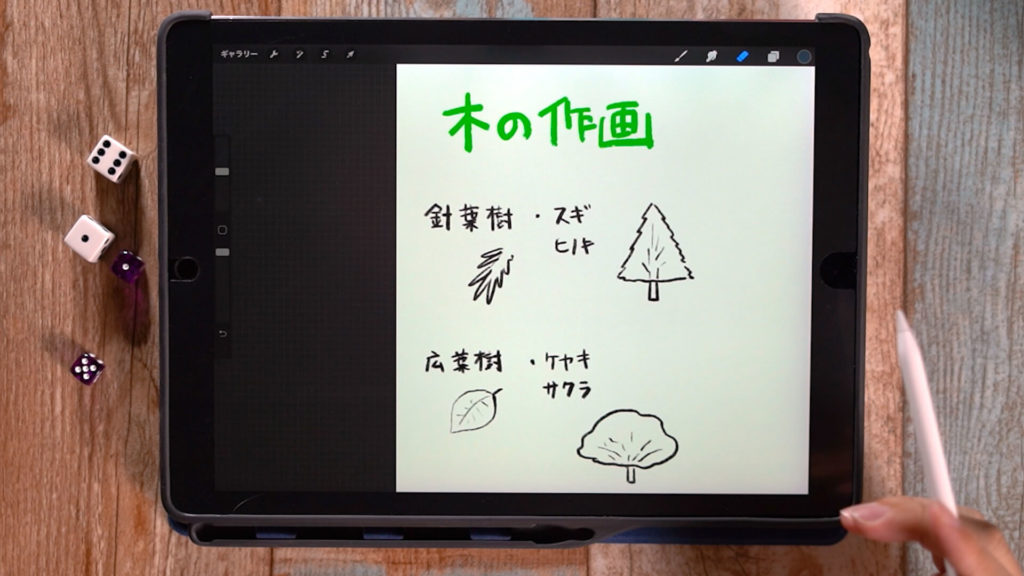
Trees can be roughly divided into two types: coniferous trees (cedar, cypress, etc.) and broad-leaved trees (zelkova, cherry, etc.).
Conifers” have prickly, pointed leaves, while “broad-leaved trees” have the broad leaves that are generally depicted when drawing leaves. It is okay if you have a vague idea of what kind of trees exist in the world.
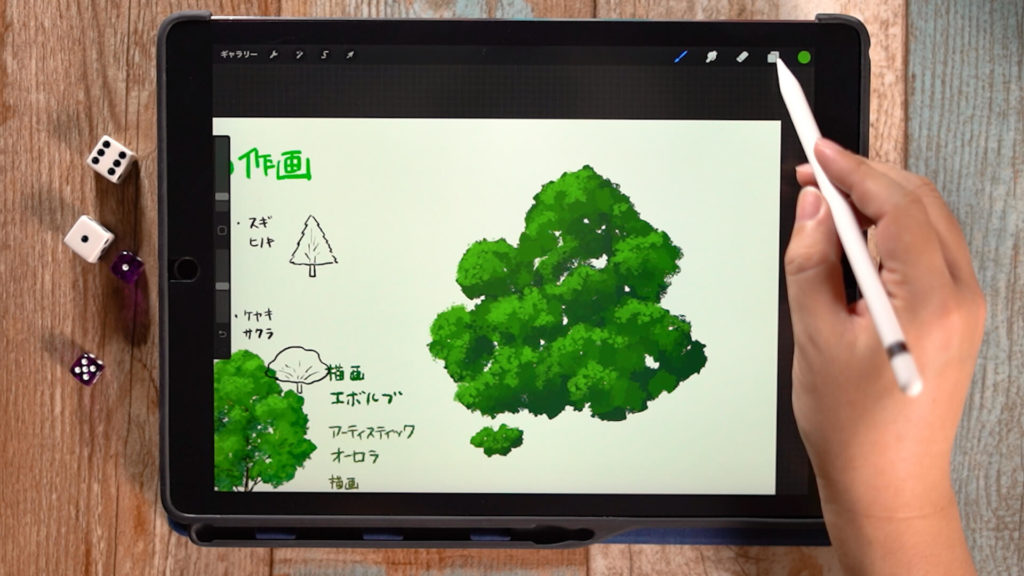
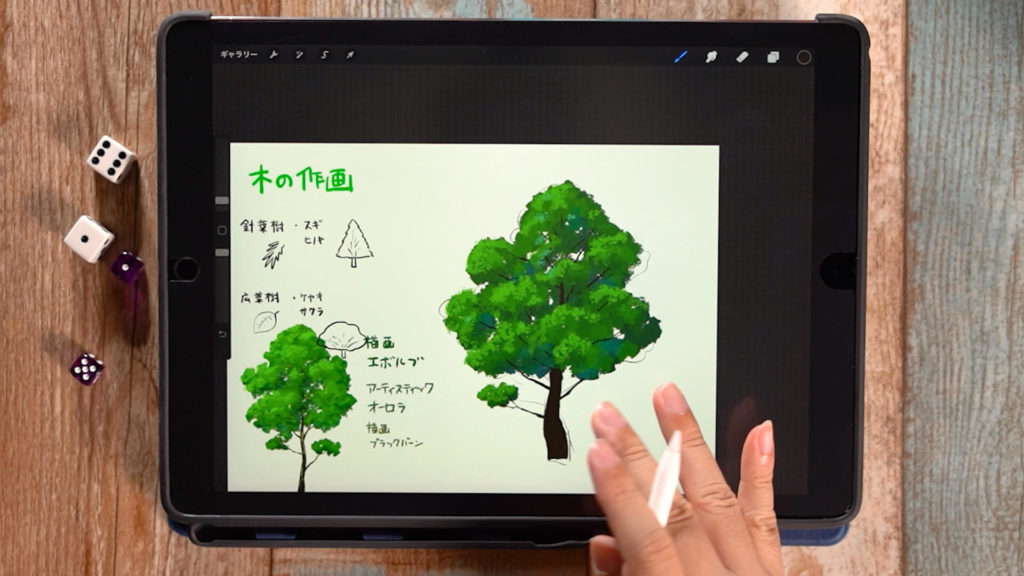
Recommended brushes for drawing trees
Here are some brushes for Procreate. For other apps/softwares, please find similar brushes for reference.
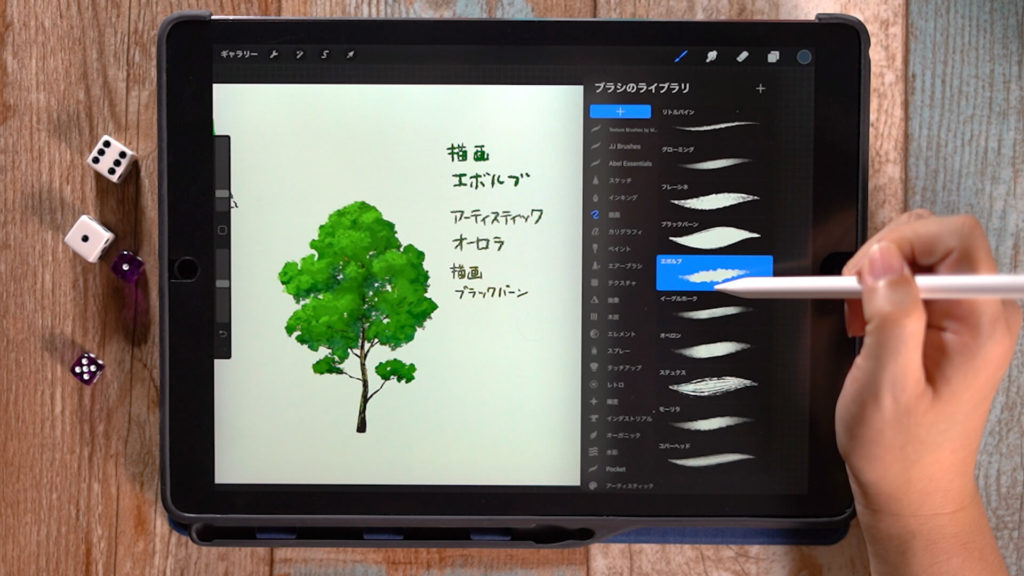
You can draw this kind of illustration using the following three types.
“Drawing” -> “Evolve”
“Artistic” -> “Aurora”
“Drawing” -> “Blackburn”
How to draw a tree
Draw a bite
Draw the general shape of the tree.
Use any brush you are comfortable with. In this case, I used “Pencil” -> “6B”.
Draw the tree by looking at the photo and the trees around you. If you find a good tree on a regular basis, take a picture of it, or use more reference materials.
It is easier to draw with the structure in mind, so try to imagine how the trunk grows as well.
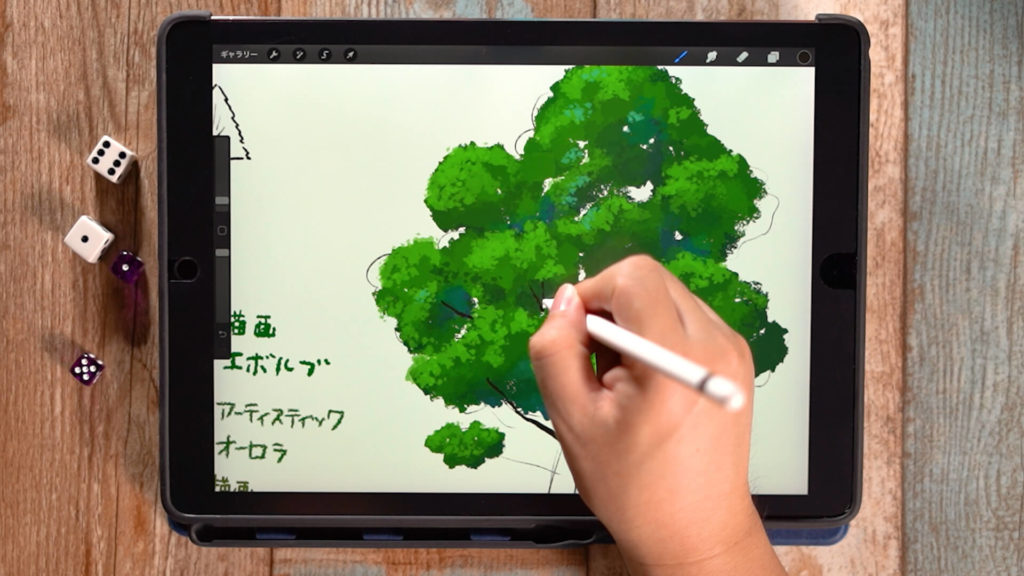
Color the leaves on the far side.
Create a new layer on top of the layer where you drew the bite, and color the tree.
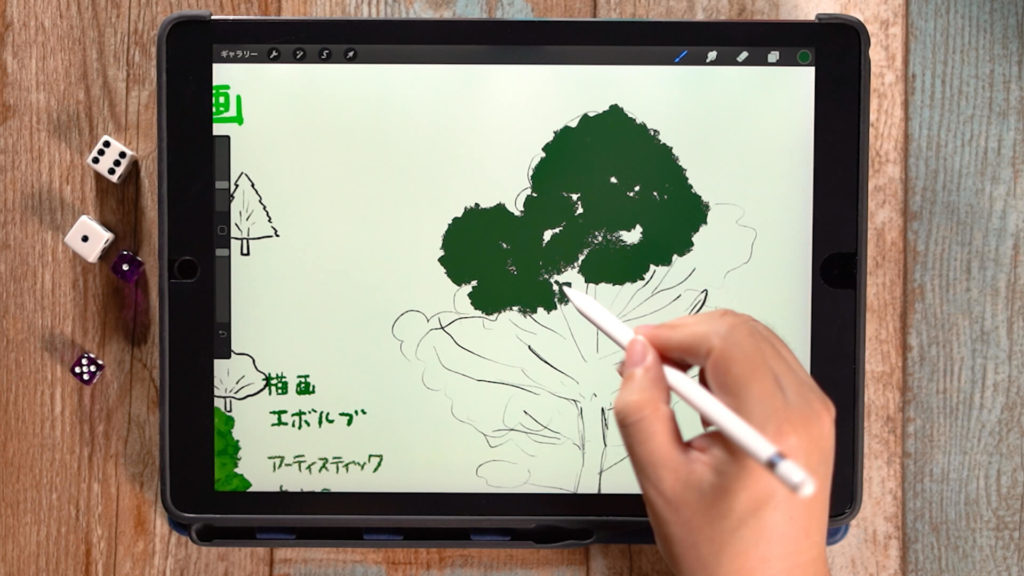
When coloring, it is best to start with the leaves on the far side of the tree.
Select a dark green color and use the brush “Paint” -> “Evolve” at this time.
The zaggy touch can express a tree-like appearance.
Be careful with the strokes.
At this point, it is a good idea to imagine the silhouette of the entire leaf as you paint.
[adchord]
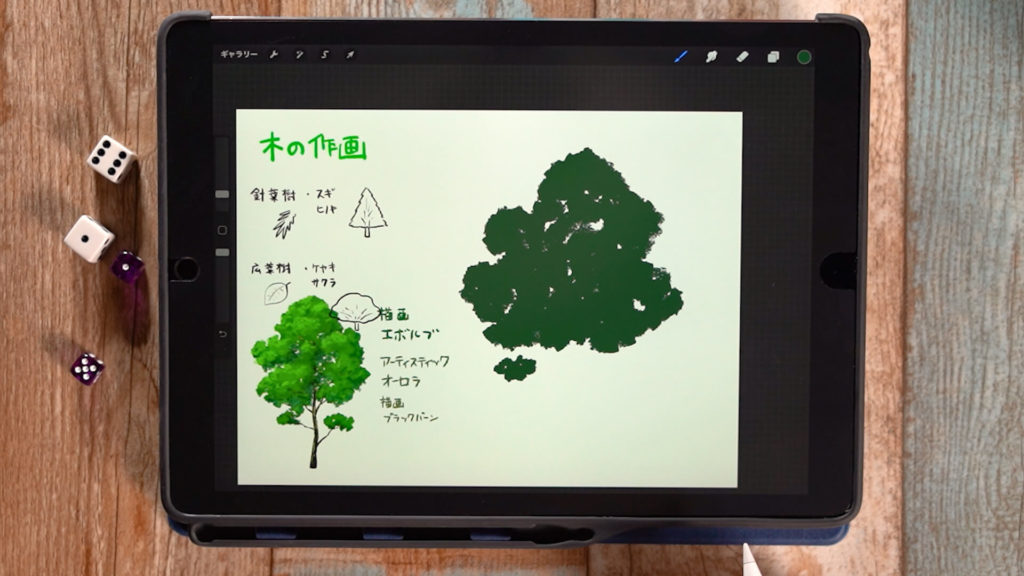
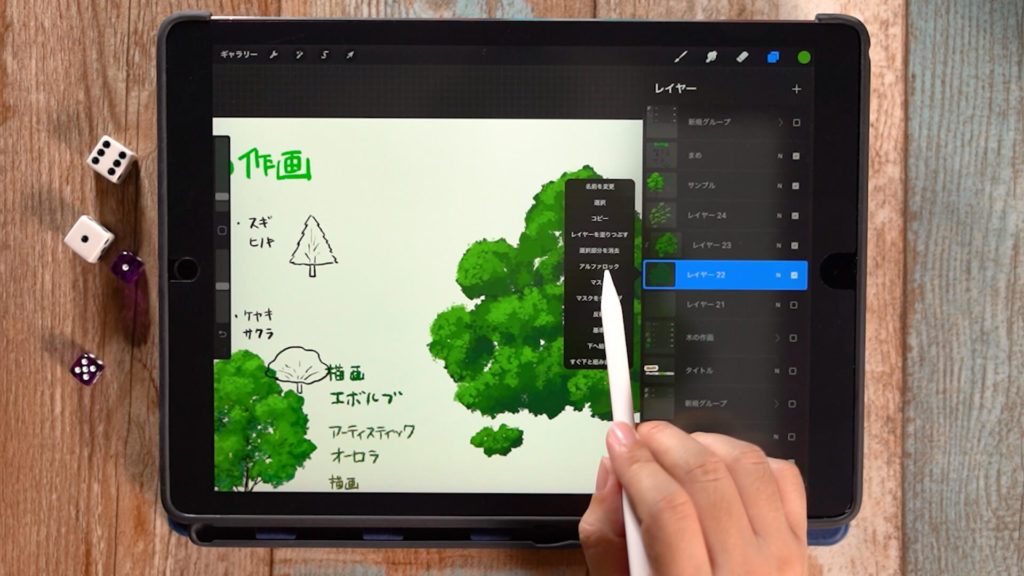
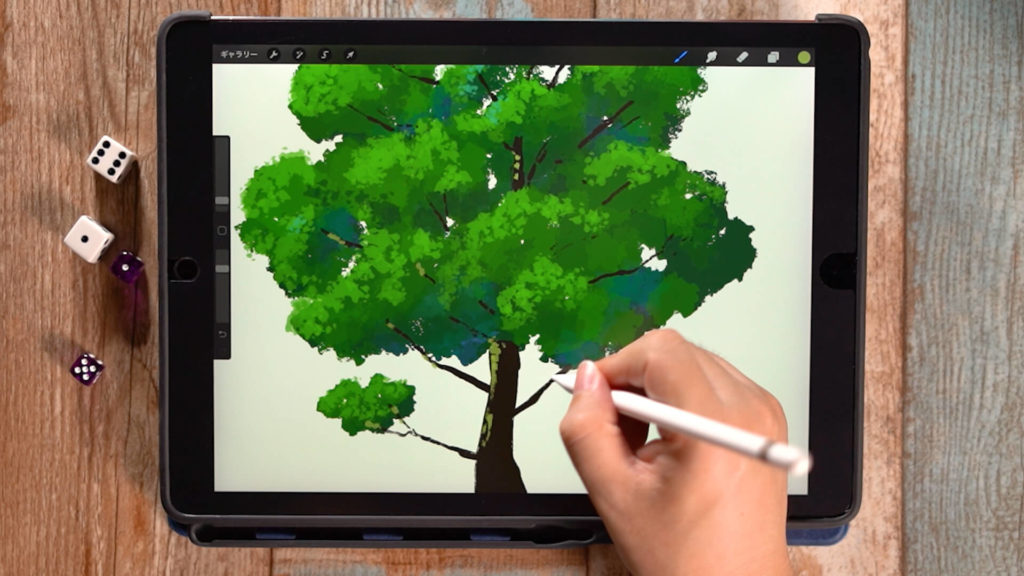
Color the leaves in the middle.
Add a new layer on top of the layer you just painted, and color the middle leaf.

Tap the new layer and tap “Clip Mask” to draw only the area you are drawing on the layer below.
If you want to draw without going beyond the area you are drawing on, it is a good idea to set this option.
The color is a little brighter green than the previous color, and the transparency is reduced a little.
Here again, as before, the strokes should be placed where the clump of leaves are.
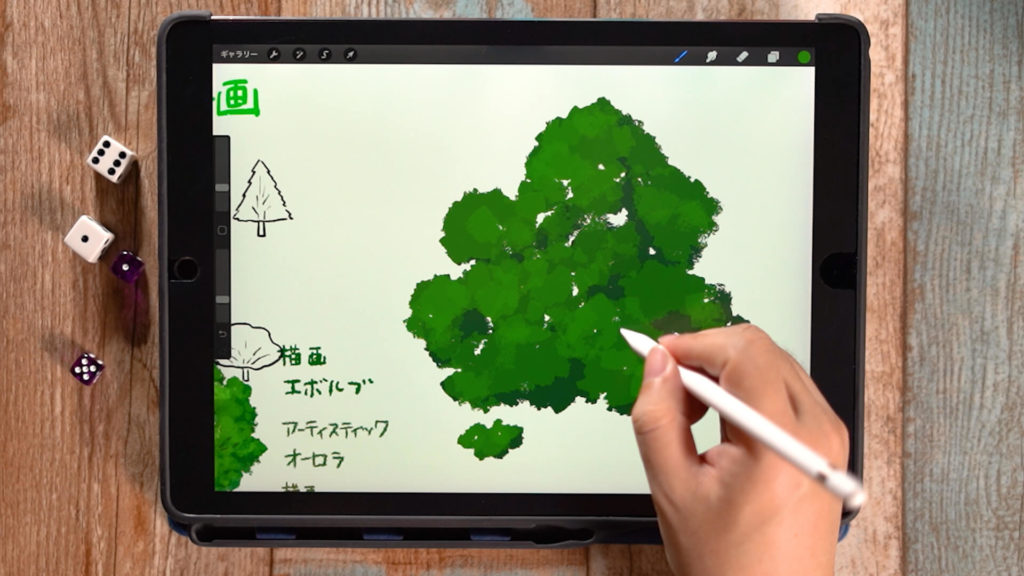
At this point, consider which direction the sun is shining from, and draw the brightest part of the leaf, and the shadow of the leaf that is not shining. (In this case, the sun is assumed to be shining from the upper left.)
If too much bright green is used, take a dropper of the darker green color at the back and paint over it with a smaller brush size.
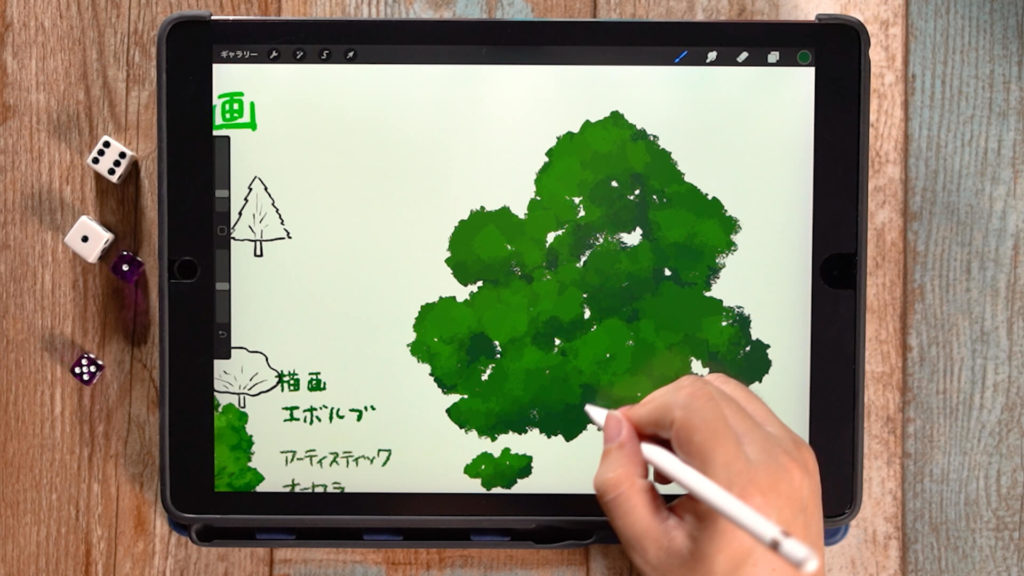
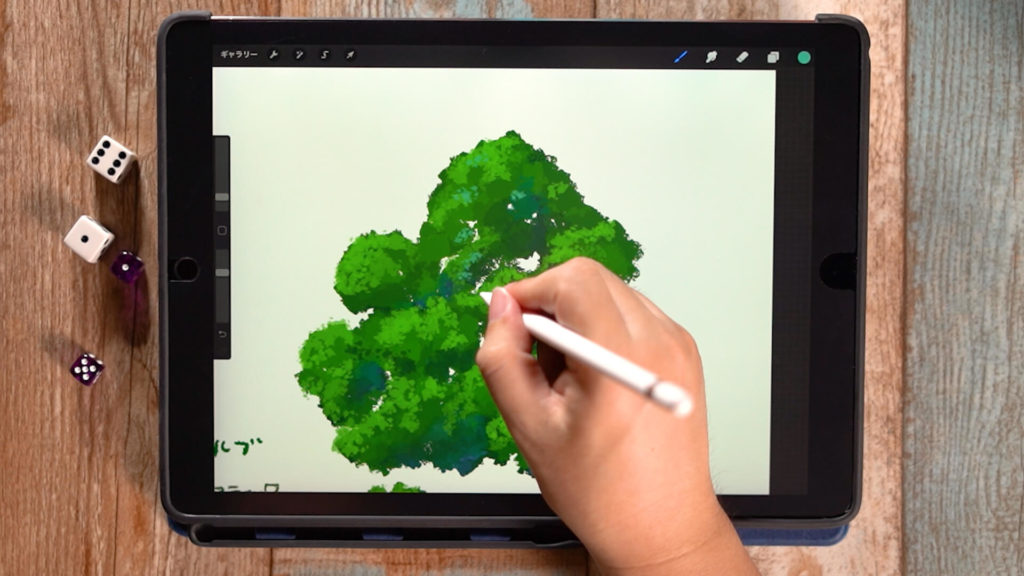
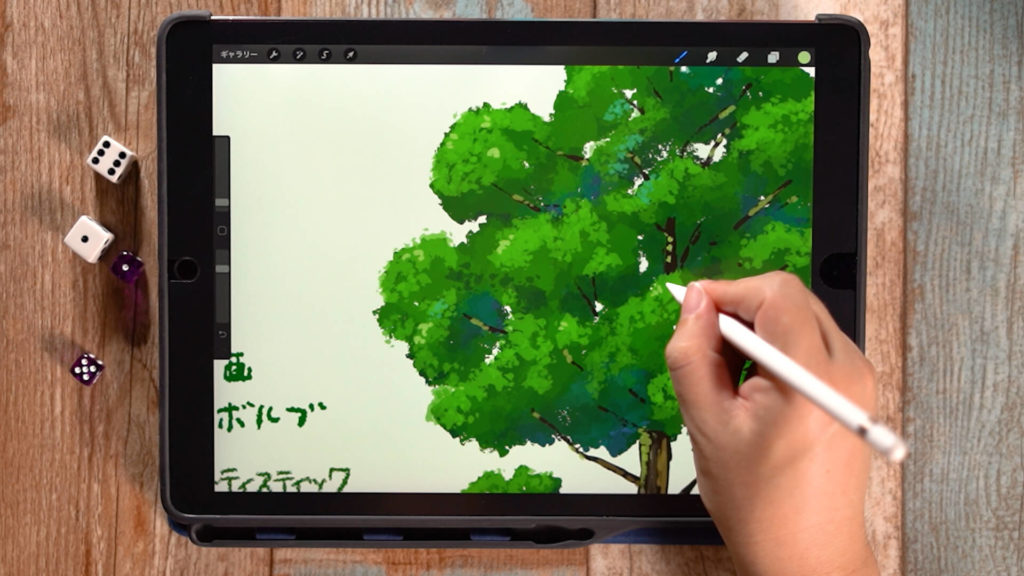
Highlight coloring
Create a new layer on top of the layer you just painted, and color in the highlights.
Use the “Aurora” brush from the “Artistic” menu.

At this point, tap the “Aurora” brush to bring up the “Brush Studio” where you can change the settings, and go to “Color Options” -> “Stamp Color Jitter” and set “No Hue”.
If there is a value here, it will be painted with various colors when stroked.
This brush can be painted with a zaggy touch like multiple leaves on it.
You do not need to clip the mask on this layer.
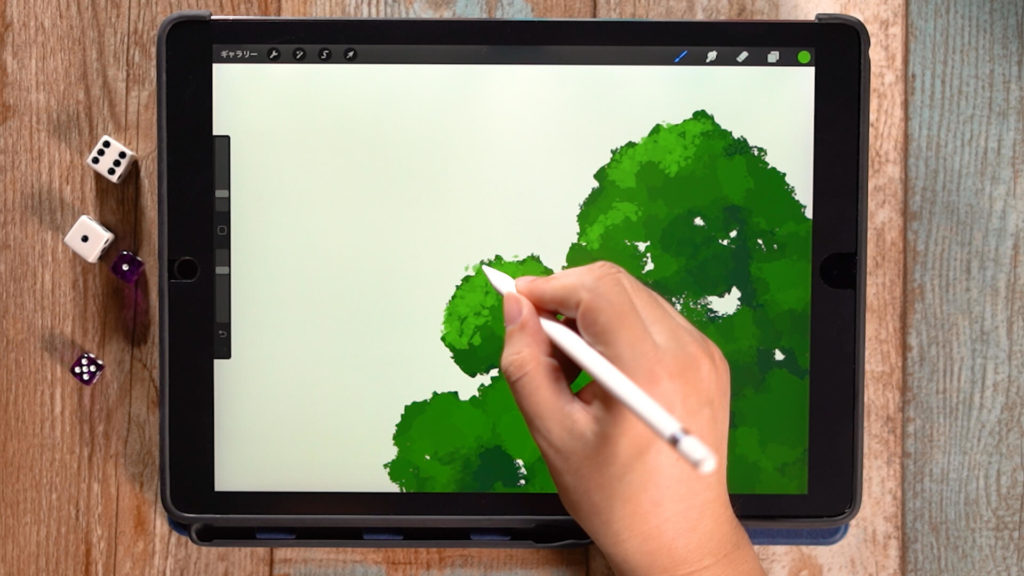
Use low transparency, small brush size, and a brighter green than the middle green, and put it on the lighted areas with a thump.
If you apply it too widely, it will be too bright, so it is best to paint only at the edges. Adjust the color by adding darker and middle colors.
Adding air color
Select the first dark green layer and tap “Alpha Lock.
With this setting, transparent areas (areas not colored) will not be able to be painted.
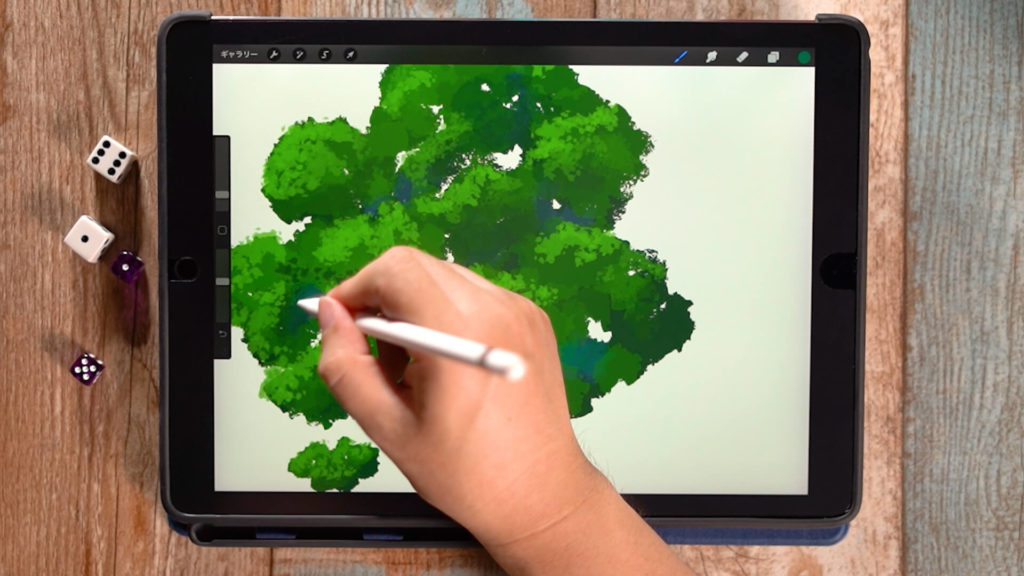
The air color will be painted in the gaps with a blue-green color with a lower transparency.
Paint the top highlight layer with a little blue-green color as well.
[adchord]
Color the tree trunk
Add a new layer at the bottom and paint the tree trunk.
Use the brush “Paint” -> “Black Burn”.
This brush also produces a zaggy touch.
Display the Atari layer and draw the tree trunk using the Atari as a reference. We will also draw the thin trunks that can be seen between the leaves. The color of the trunk varies from brown to gray, so choose a color based on the reference material.
Draw highlights on the tree trunk.
We will highlight the areas that are green and light.
Paint the bark.
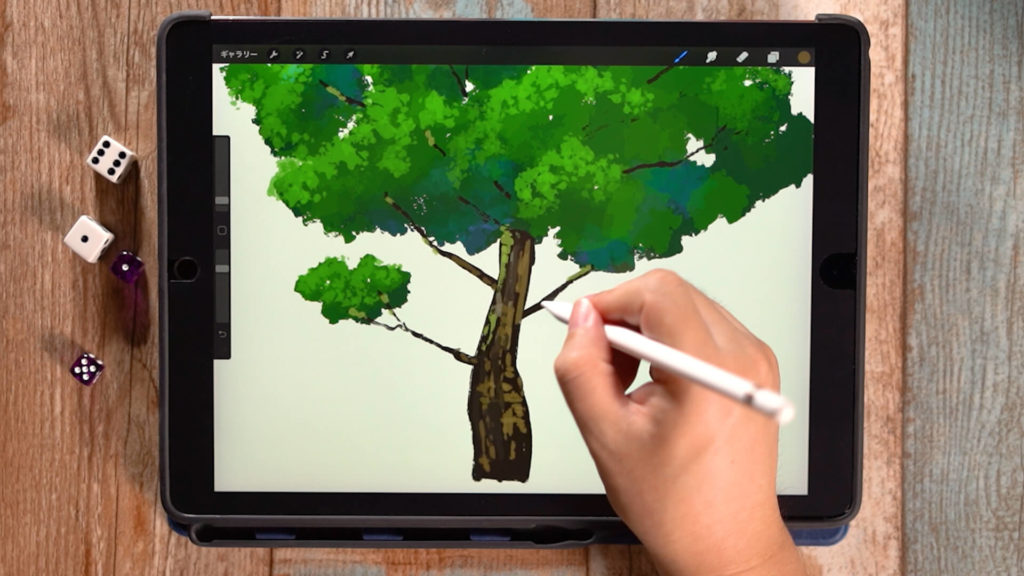
Draw vertical lines in a color lighter than the base color of the trunk. If the tree has fibers in the horizontal lines, color in the horizontal lines as well.
Add even brighter highlights to finish.
If necessary, add more bright highlights to the leaves where the light hits them the most to increase the amount of information.
If you add too many highlights, the image will look too gaudy, so it is best to adjust the highlights to match the surrounding picture.
The tree is complete!
When the whole picture is adjusted, it is complete!
It does not matter if there are places where there is no information at all, as long as the overall balance looks good.
Detailed Explanatory Video
In the video, we explain in detail while making the drawing. If you want to check it thoroughly, please click here.
Conclusion
This time we introduced “How to color a tree” which is easy to draw.
Trees are often the top-class object when drawing Environment Art.
There are various shapes and interesting, so please try to draw!
The silhouette of the tree is very important when drawing it, so take a picture of a tree that you think looks cool! It is recommended to take a picture of a tree you think is cool and use it as a reference for your drawing.
Please study cool tree illustrations.
Thank you for watching until the end.
See you again in my next post!