
I am Ari, a Concept Artists.
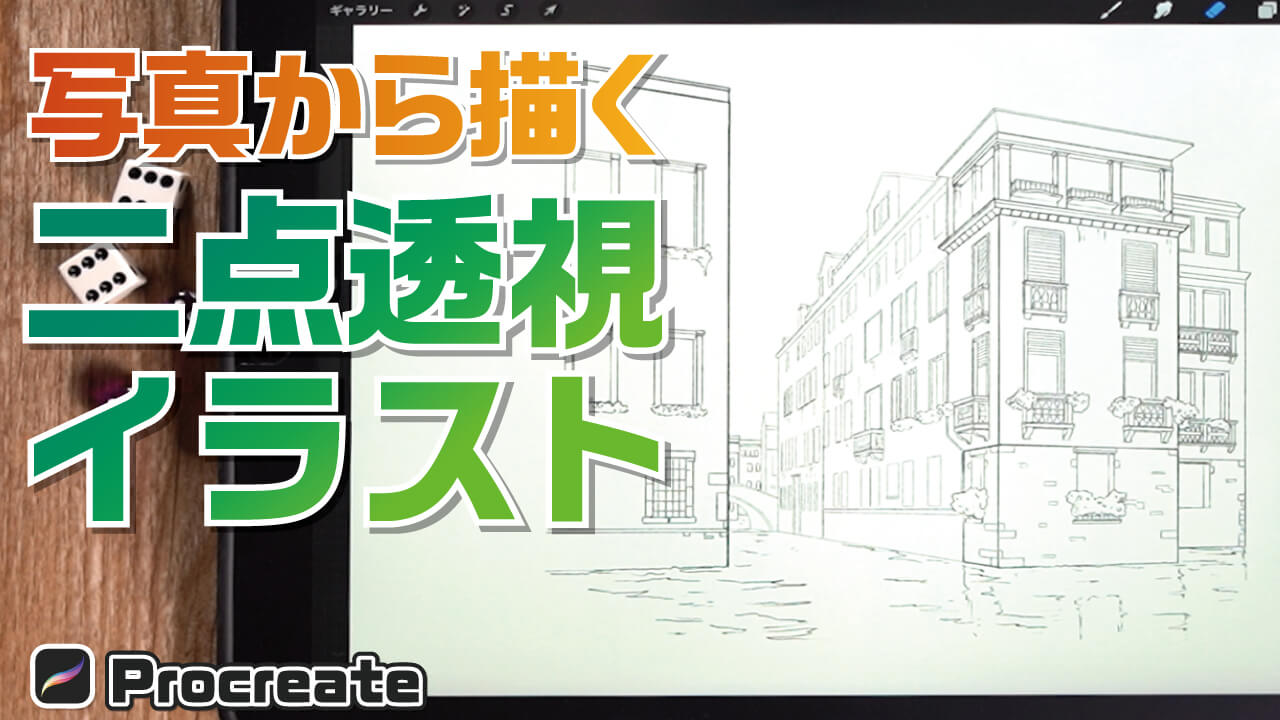
In this article, we will introduce “How to practice drawing a two-point perspective Environment Art based on a photograph.
By copying a photo with perspective in mind, you can practice making a two-point perspective illustration.
Please use your own photos or photos without copyright issues.
The photos used in this article and video are from “PakuTaso”.
PakuTaso: https://www.pakutaso.com/
The equipment and apps used in this article are iPad and Procreate; please try Adobe Photoshop, CLIP STUDIO PAINT, and other apps as well, as you can also draw by applying the concept.
If you are unsure which illustration app to use, please refer to this page. Here is a summary of recommended apps.
The video provides detailed explanations. If you want to check it out thoroughly, please click here.
[adchord]
About 2-Point Perspective

Two-point perspective is a perspective drawing method in which two vanishing points (VPs) are determined at eye level.
If you are not familiar with the 2-point perspective, please refer to this article and video for a detailed explanation of the 2-point perspective.
→The basics of 2-point and 3-point perspectives.
Let’s practice by copying a photo!
About photo selection
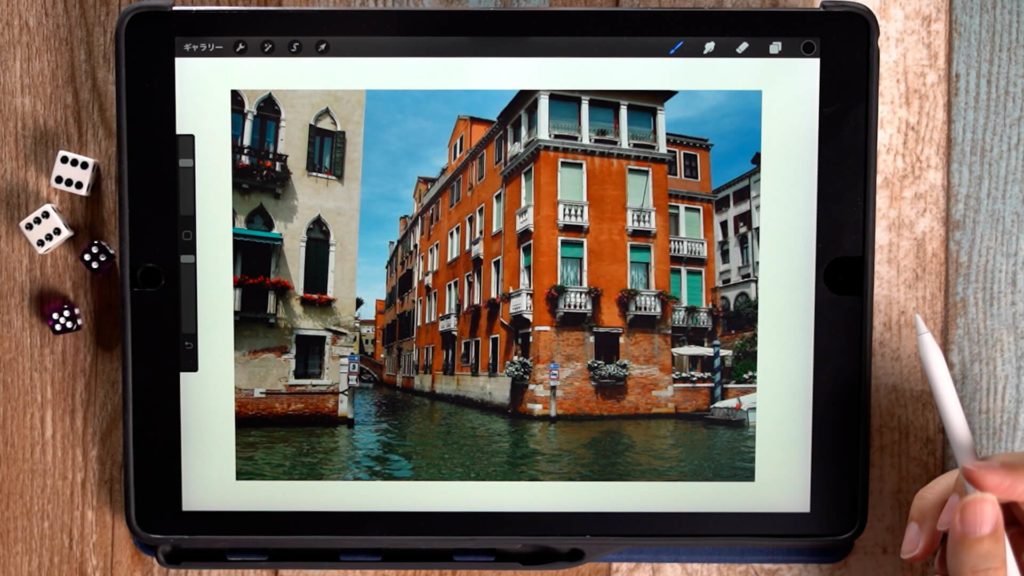
Any photo will do, but if you can see two surfaces, it is two-point perspective, so you should choose such a photo.
Vertical lines will be distorted in a photograph, so draw them so that they are vertical in an illustration.
Setting up the drawing guide

Turn on “Action” → “Drawing Guide” → “Edit Drawing Guide” to set the drawing guide for two-point perspective.
If you are not sure where the vanishing point is, there is a simple way to find it.
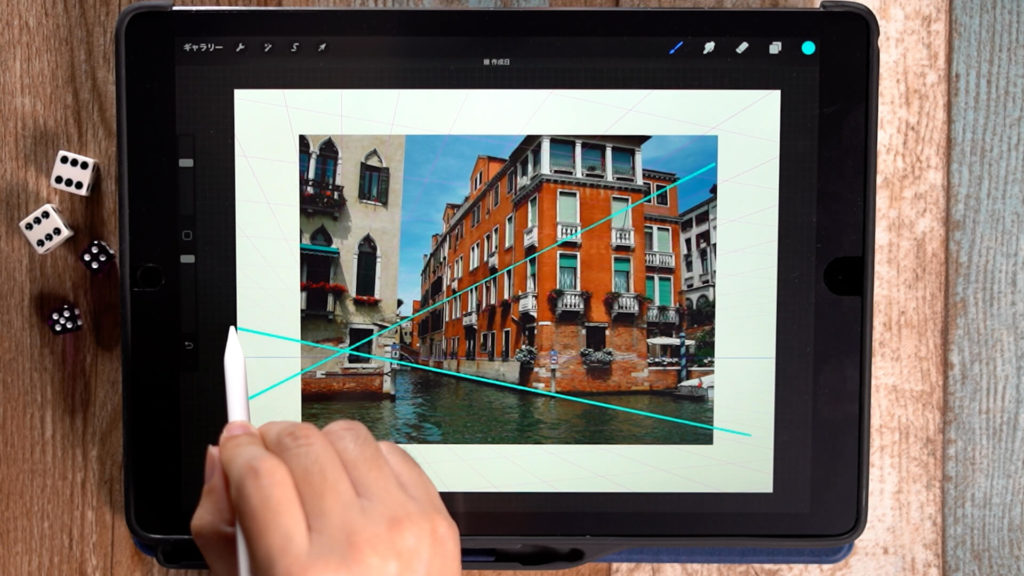
Draw a line along the building, and the vanishing point (VP) and eye level (EL) will be at the overlapping points.
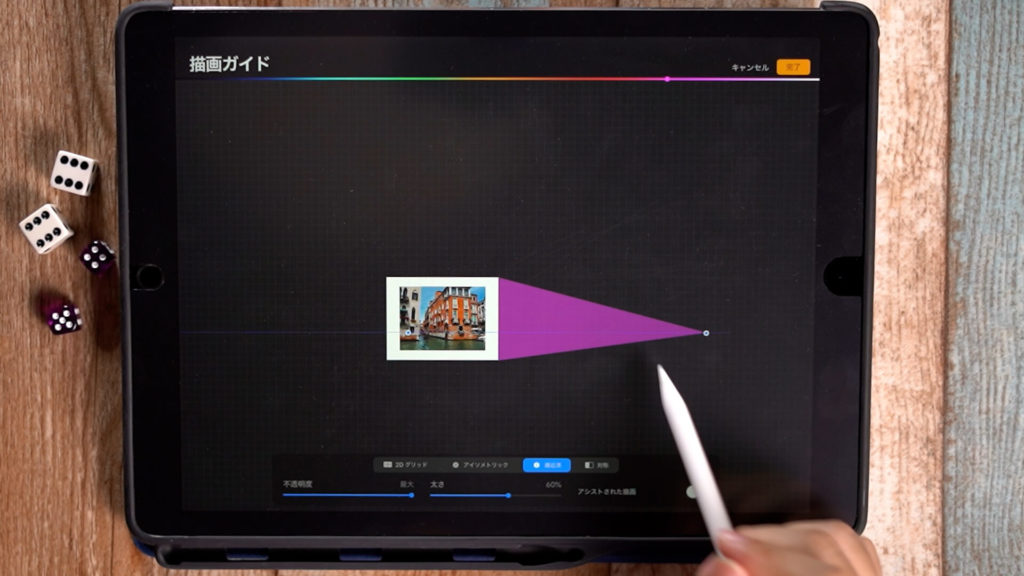
The other vanishing point is also set.
Then, reduce the transparency of the photo layer and prepare a separate layer for line drawing.
Tips for drawing
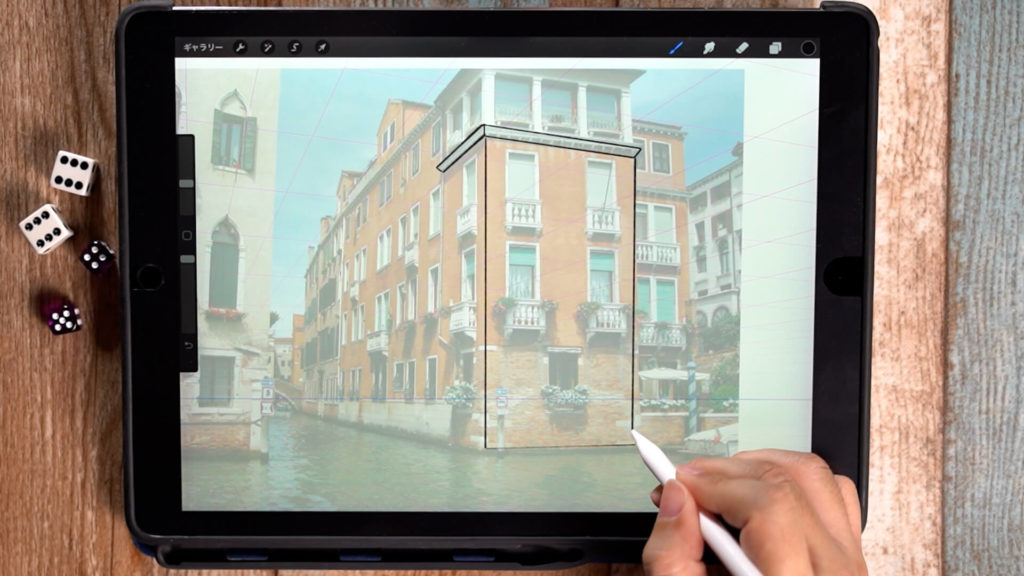
Now all that is left to do is to draw along the building. (I used a slightly thicker line to make it easier to see.)
When drawing, the trick is to simplify the picture and draw it. You can also think of your own design and draw it.

When drawing, it is instructive to check the structure of the window design, etc. while drawing.
The bottom of the object above the eye level can be seen, so try to draw that well, too.

Draw the thickness well, too.
Corrections can be made later, so go ahead and draw with gusto.
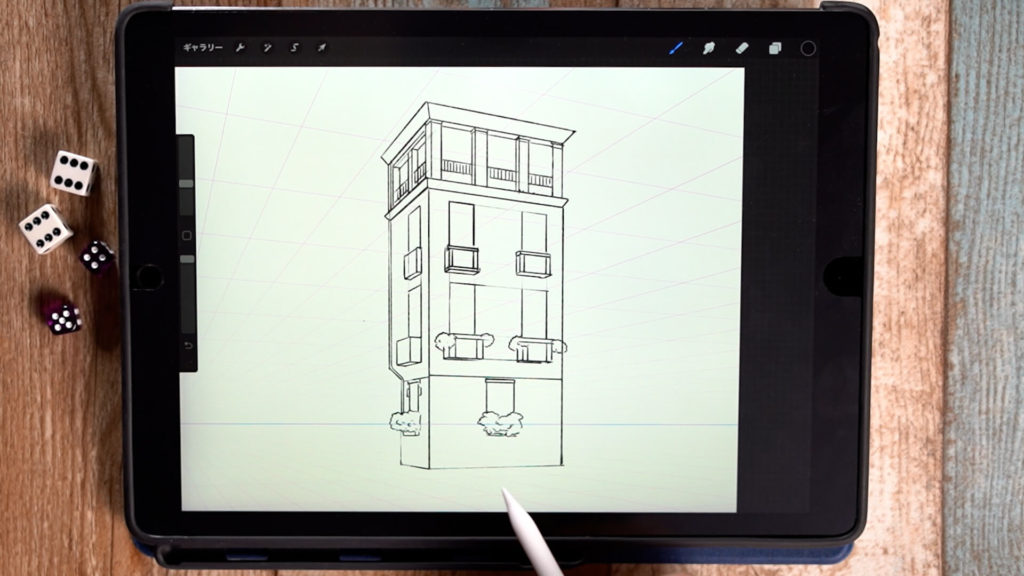
The front of the building could be drawn like this.
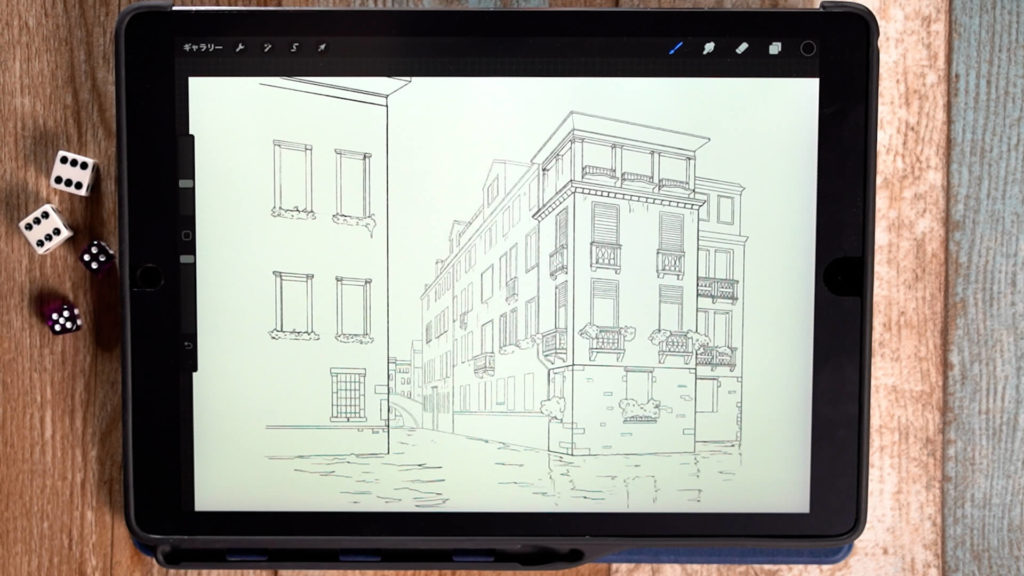
The photo reproduction is complete!
The completed illustration will look like this.
Detailed Explanatory Video
The video provides detailed explanations while drawing. If you want to check it thoroughly, please click here.
Conclusion
This time it was “How to practice drawing a two-point perspective illustration based on a photograph”.
I recommend you copy a photo because it reduces the difficulty of drawing a building, and you can also study the tips and balance when drawing a building in perspective! Please try it!
Thank you for watching until the end.
See you again in my next post!

