I am Ari, a Concept Artists.
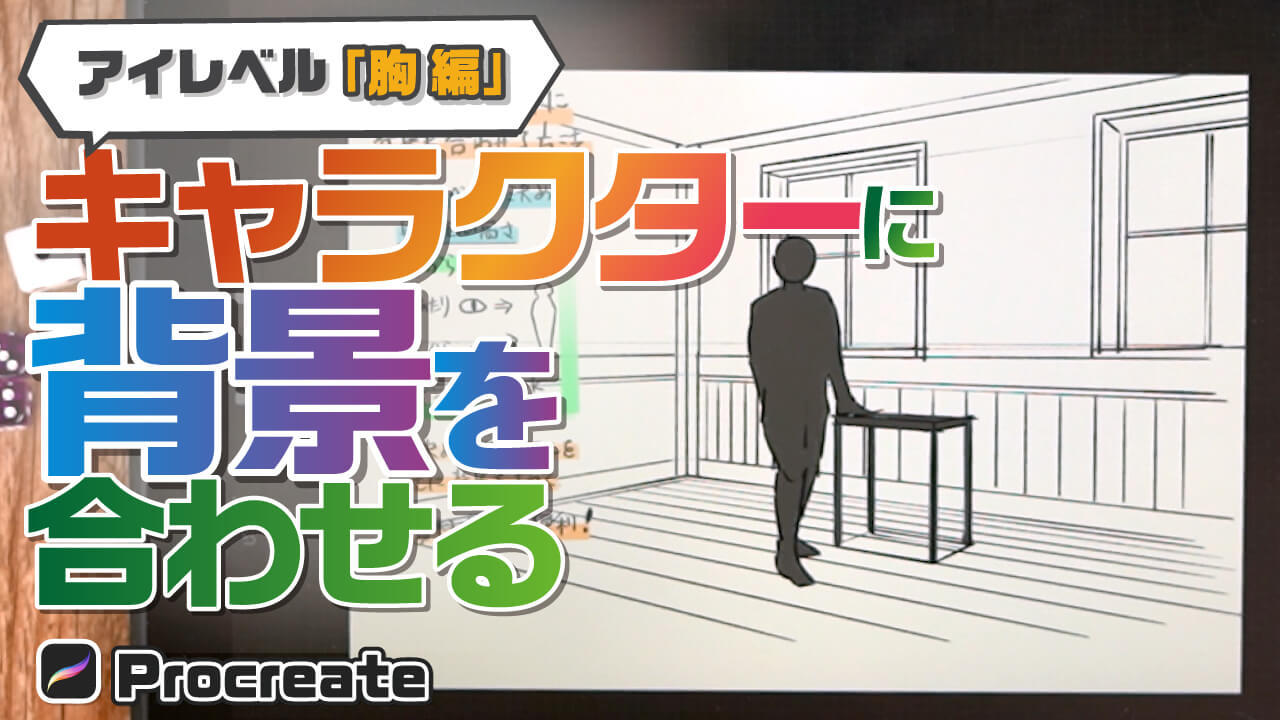
In this article, I will introduce “How to Draw a Background to Match a Character Illustration (Eye Level Chest Edition)”.
By learning this method, you will be able to draw a natural background behind the character you have drawn.
If you draw the character first and then have trouble figuring out how to draw the background…! This method will be especially helpful for those who draw the character first and then have trouble figuring out how to draw the background. We introduce it in the simplest way possible.
The equipment and apps used in this article are iPad and Procreate; please try Adobe Photoshop, CLIP STUDIO PAINT, and other apps as well, as you can also draw by applying the concept.
If you are not sure which illustration app to use, please refer to this page. Here is a summary of recommended apps.
The video provides detailed explanations. If you want to check it out thoroughly, please click here.
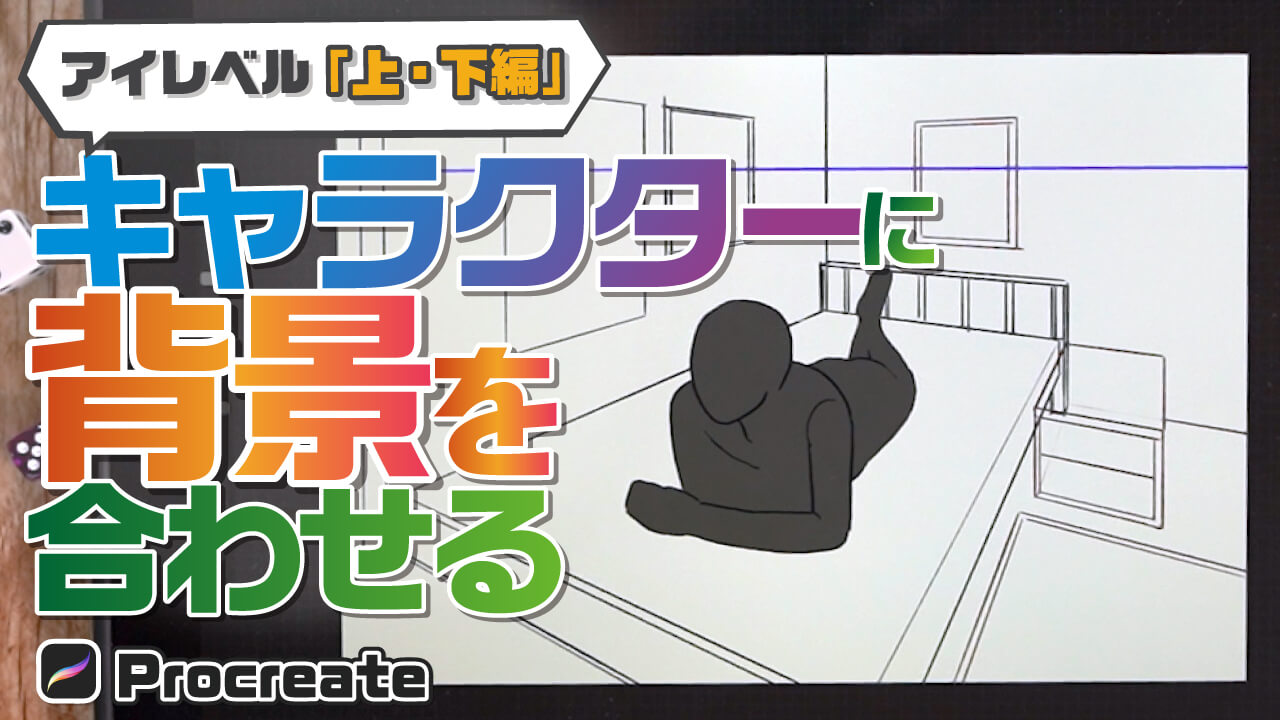
How to draw a background to match a character illustration (above and below eye level)” can be found here.
→How to Draw Backgrounds to Match Characters [Above and Below Eye Level]
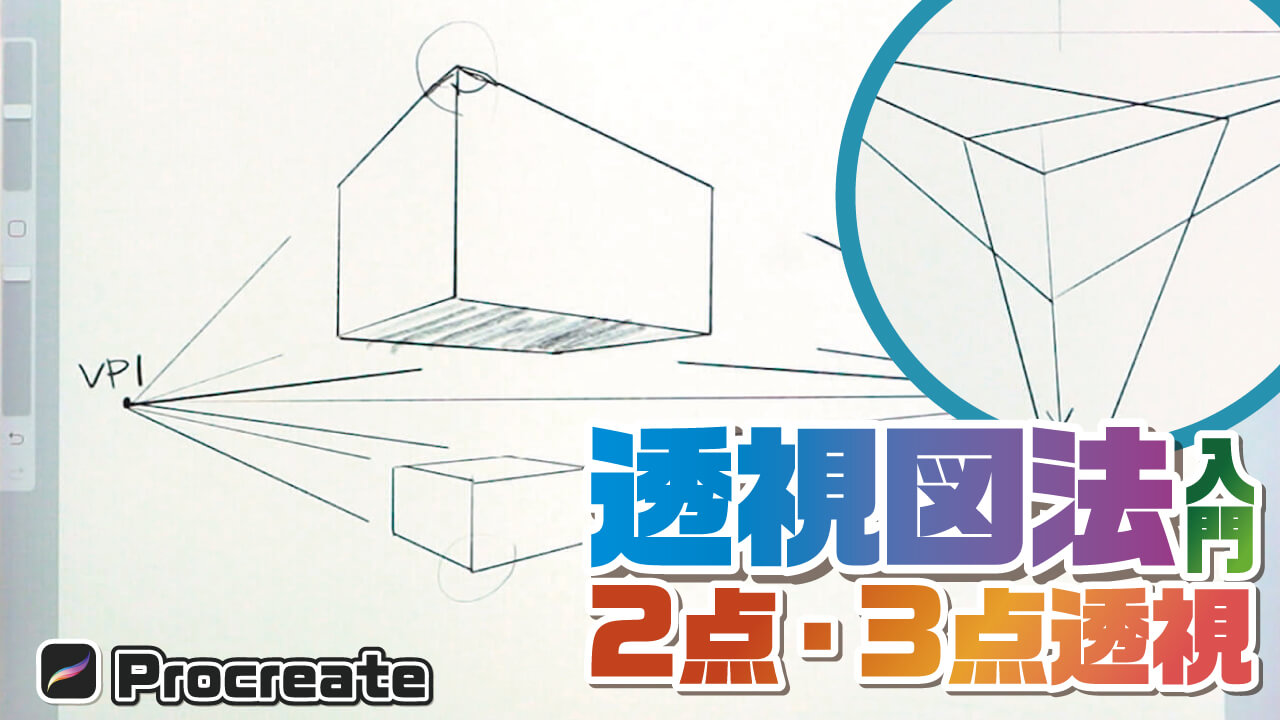
In this article, we will use one-point and two-point perspectives to draw the background. If you don’t understand perspective, eye level, and two-point perspective, please refer to this article and video. If you don’t know what perspective and eye level are, please refer to this article and video.
→What are perspective and one-point perspective? Environment Art Rudiments
→Easy Explanation! The Basics of Two-point and Three-point Perspective [Environment Art Rudimentary]
[adchord]
How to match a background to a character illustration
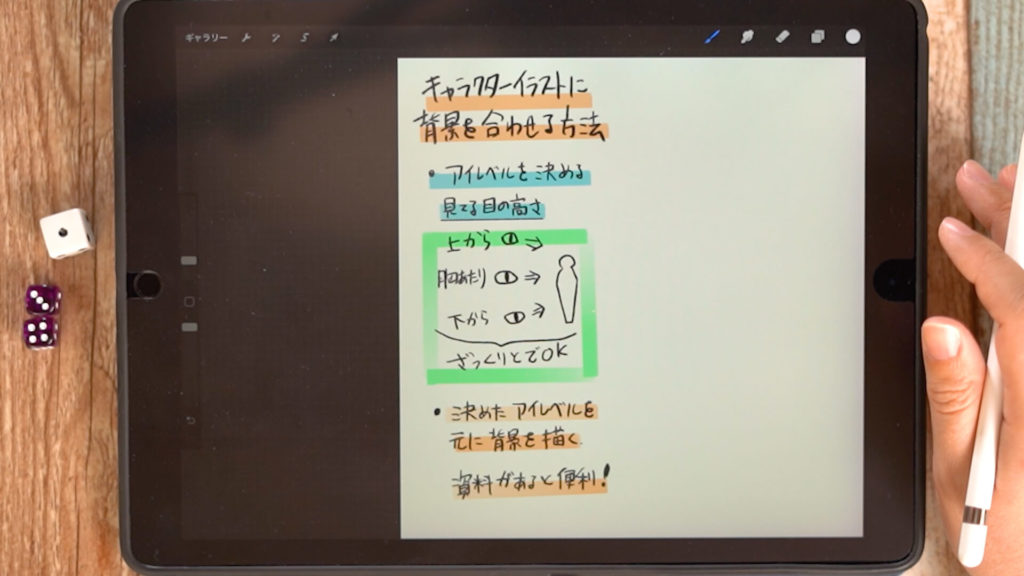
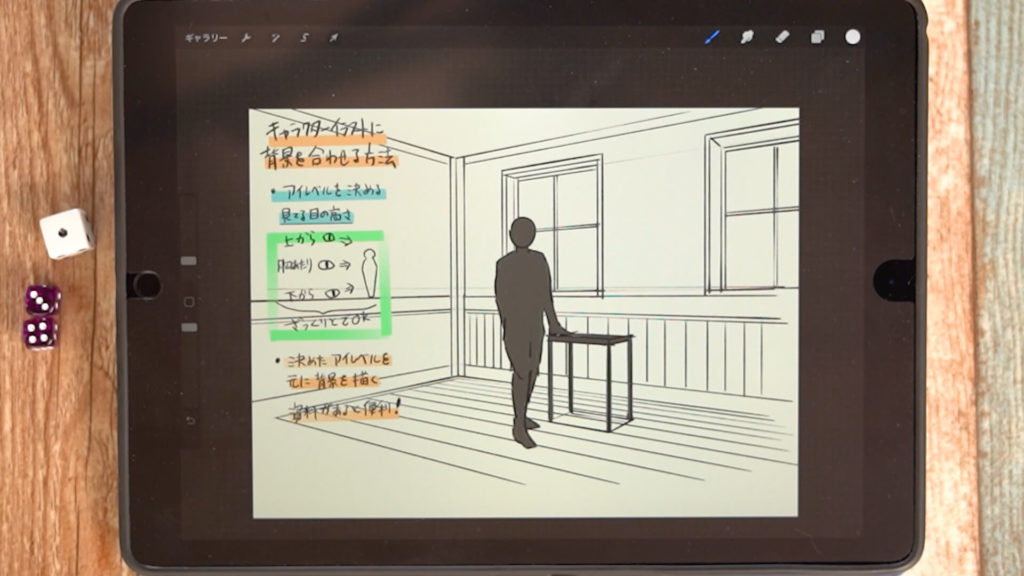
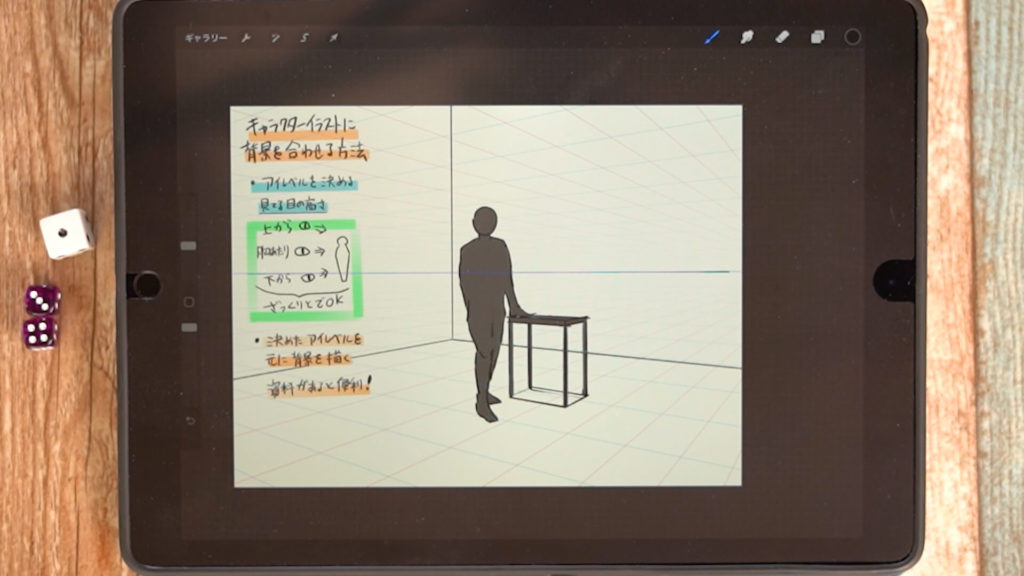
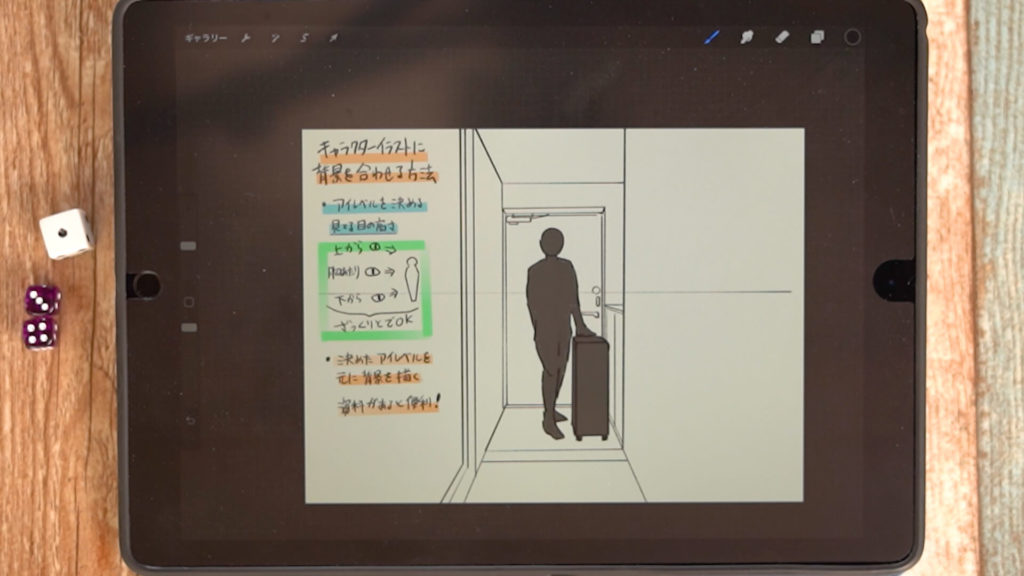
Decide the eye level
Eye-level…the height of the eyes of the person looking at the scene.
It is easy to decide the eye level by considering who is looking at the scene.
Roughly decide where the viewer is looking from: “from above,” “around the chest,” or “from below. The “chest area” is often used for the eye level, so if you are not sure, place the eye level at this location.
Prepare a photo of the material.
If you have background material, you can draw the illustration more smoothly.
“2-point perspective” Actual drawing
Prepare a rough sketch of the character.
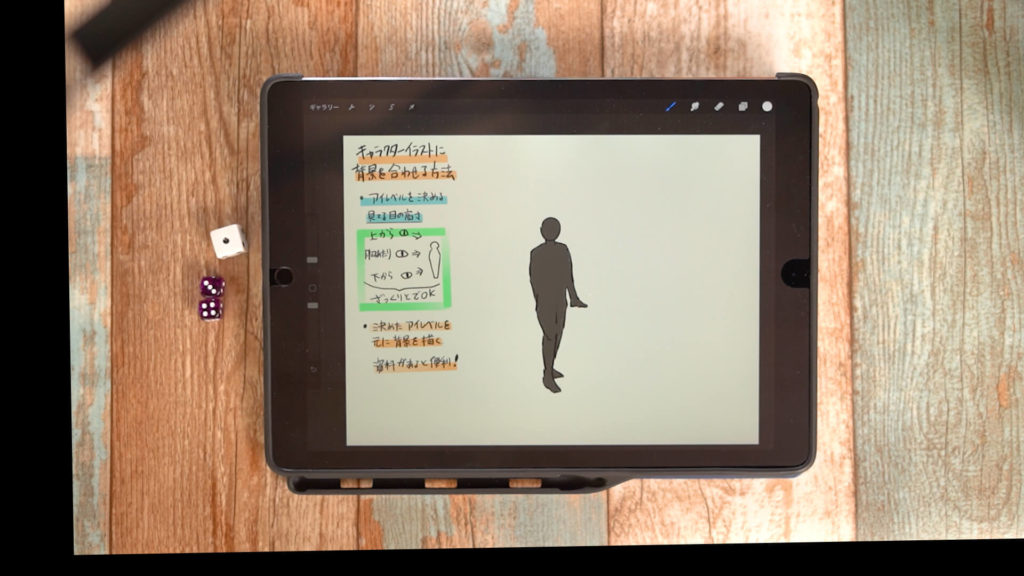
When drawing a close-up of a character, if possible, reduce the size of the character so that the entire character can be seen.
You can set the eye level in the close-up state, but if you are not used to it, it may be easier to draw the character in a smaller size.
Decide on the eye level
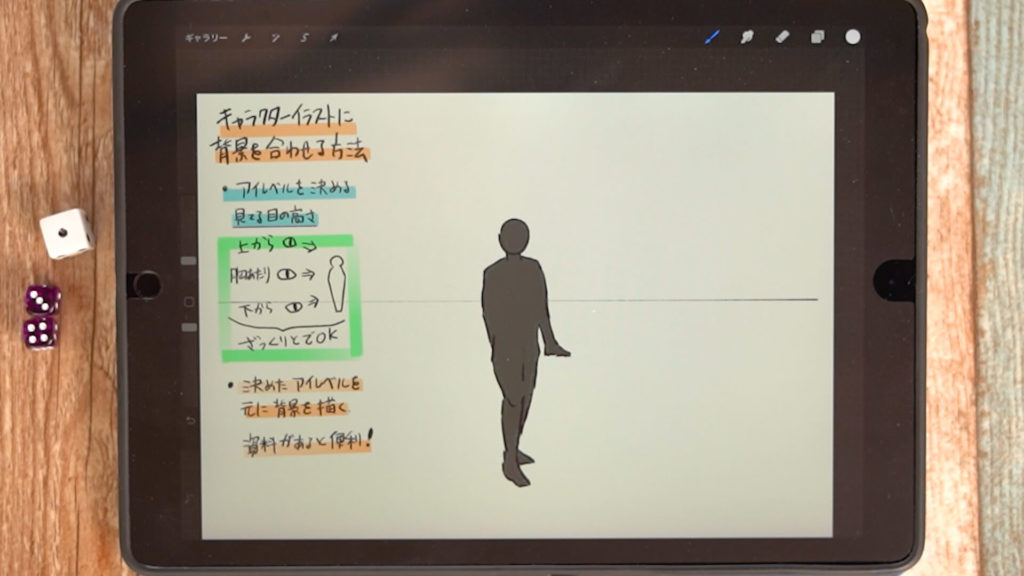
Set the eye level at about the level of the chest.
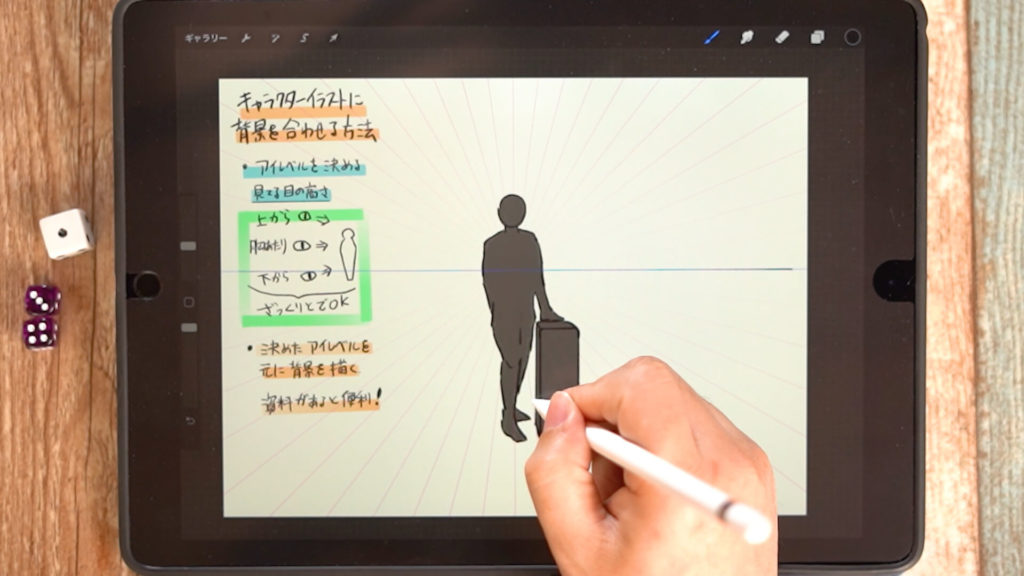
Set the vanishing point using the drawing guide.
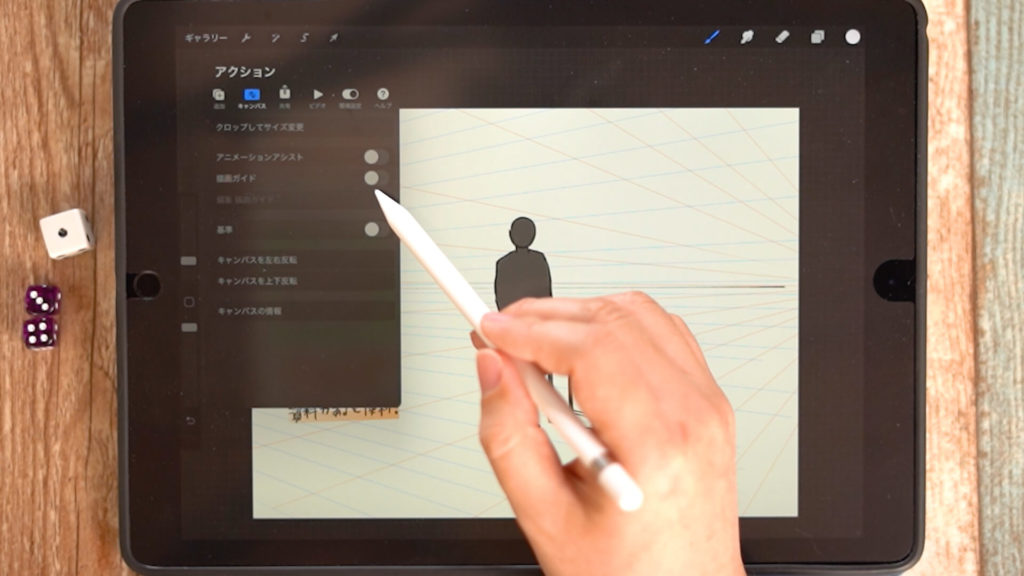
Set the vanishing point at the eye level using Procreate’s “Drawing Guide” tool, as shown below.
[adchord]
Drawing the background
(1) Draw the ground surface and corners of the room with the floor.
It is easier to draw the background if you draw it first, as it will give you an idea of where the character is standing.
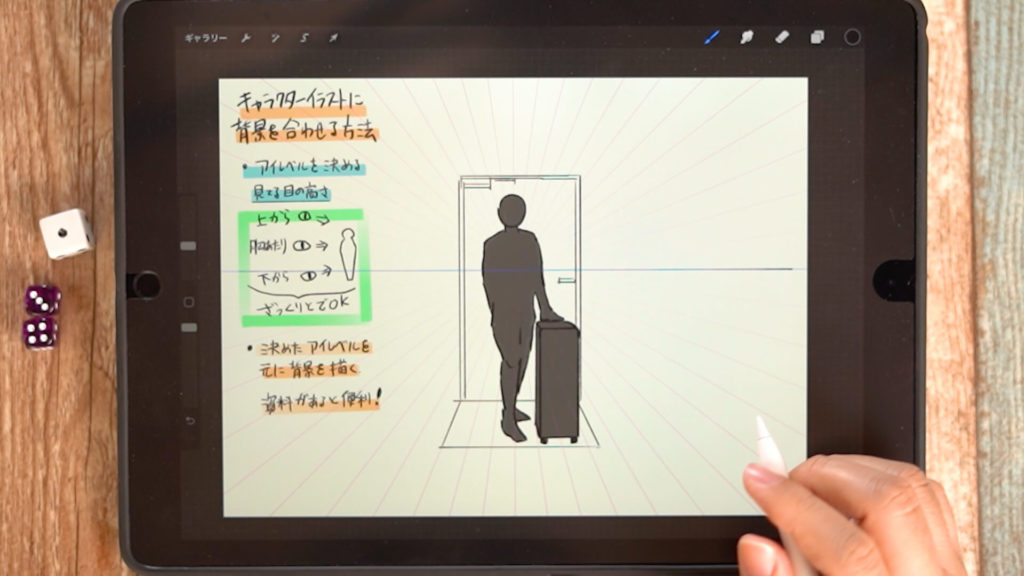
(2) Draw furniture and patterns.
Draw them while paying attention to the size. Backgrounds not used in the illustration can be drawn simply.
Trimming the illustration
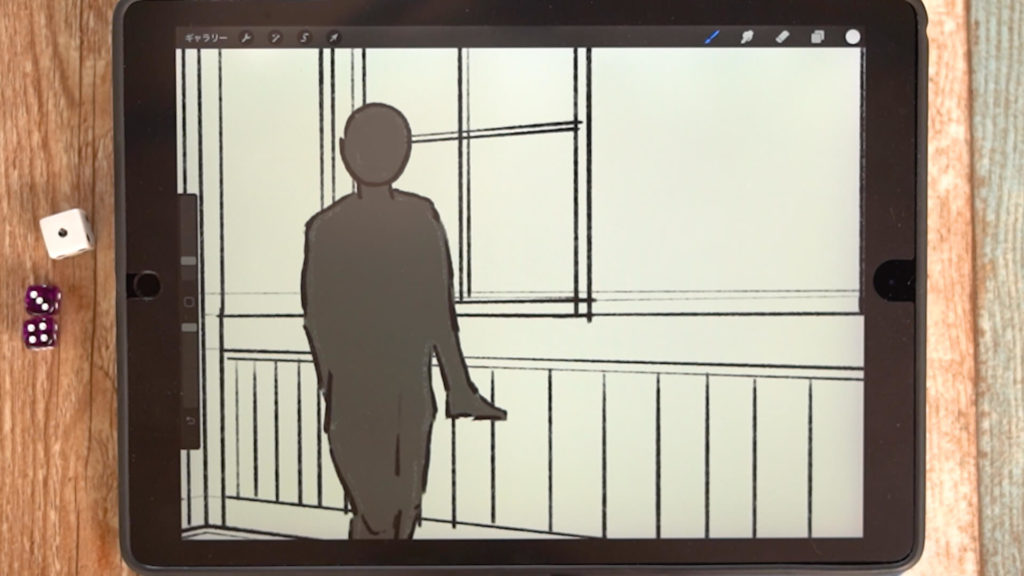
Trim where necessary, and you’re done! Let’s start drawing.
[adchord]
”1-point perspective” Actual drawing
Set the vanishing point using the drawing guide.
Set up the character, determine the eye level, and set the vanishing point in the same way as for the two-point perspective.
Drawing the background
(1) Draw the ground surface and corners of the room with the floor.
Draw the character so that it is easy to see where the character is standing.
(2) Draw furniture and patterns.
After trimming the necessary areas, the drawing is complete. Let’s start drawing!
Detailed Explanation Video
The video provides detailed explanations. If you want to check it out thoroughly, please click here.
Related Videos
Please also see this video on how to match the characters with the background.
Conclusion
In this article, we have discussed “How to Draw a Background to Match a Character Illustration (Eye Level Chest)”.
If you are not used to drawing the background after drawing the character illustration, it is often difficult to draw the background.
It is fun to be able to draw the background as you imagine it with eye level in mind, so please give it a try!
Thank you for watching until the end.
See you again in my next post!