
I am Ari, a Concept Artists.
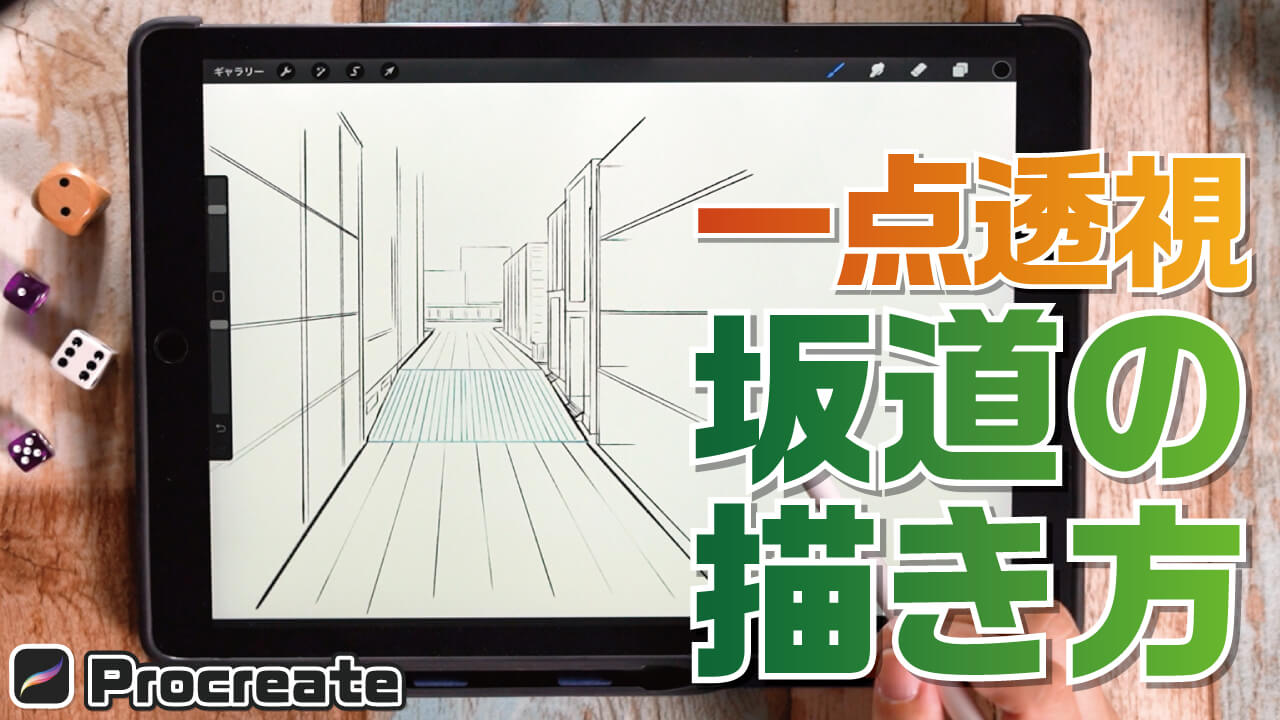
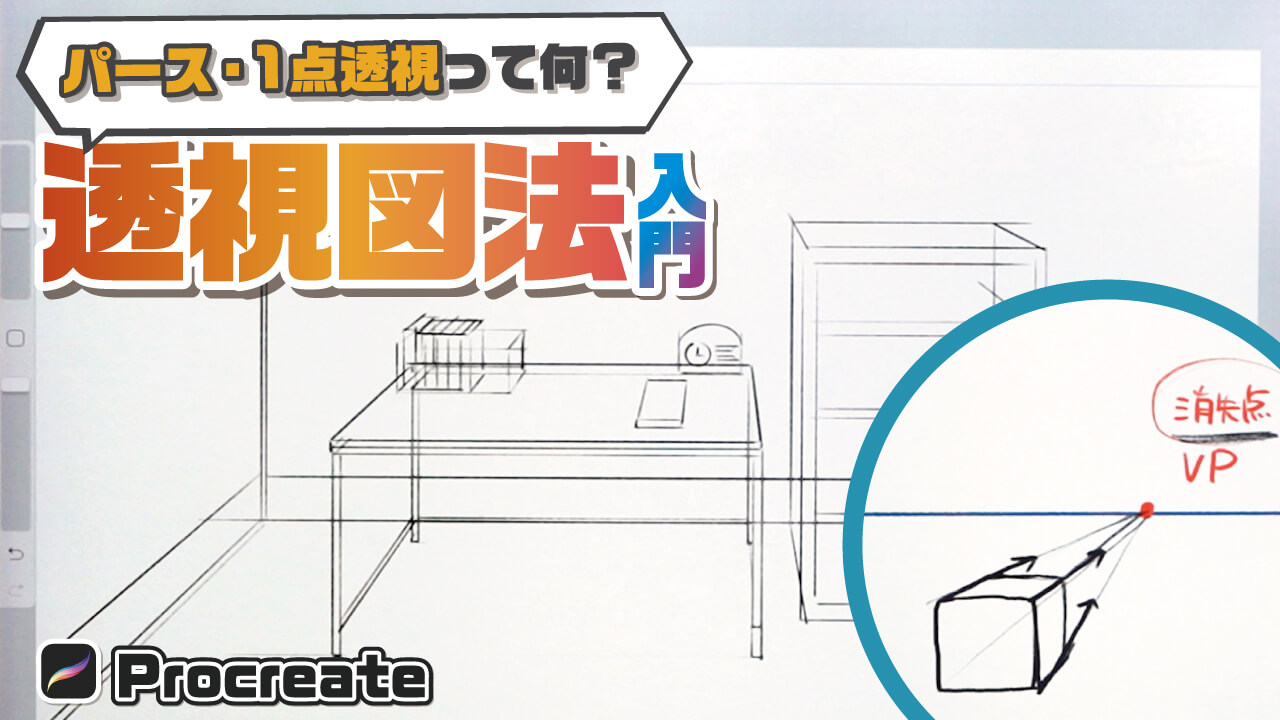
In this article, we explain “How to draw a slope using a 1-point perspective.
By learning this method, you will be able to draw an Environment Art with a slope.
The equipment and apps used in this article are iPad and Procreate; please try Adobe Photoshop, CLIP STUDIO PAINT, and other apps as well, as you can also draw by applying the concept.
If you are unsure which illustration app to use, please refer to this page. Here is a summary of recommended apps.
The video provides detailed explanations. If you want to check it out thoroughly, please click here.
[adchord]
“How to Draw a Slope (Uphill)” in 1-point perspective
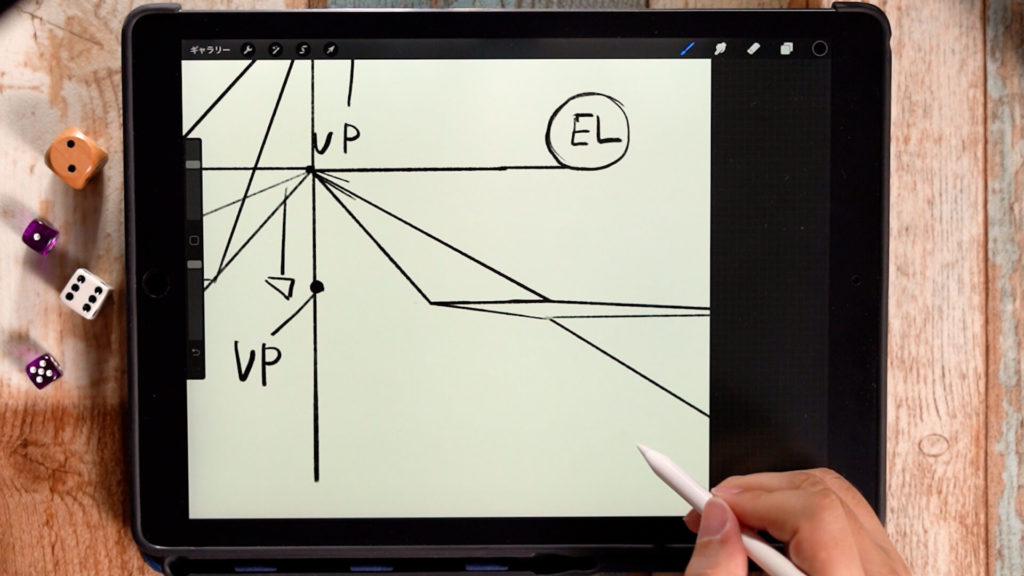
Set the eye level (EL) and vanishing point (VP)
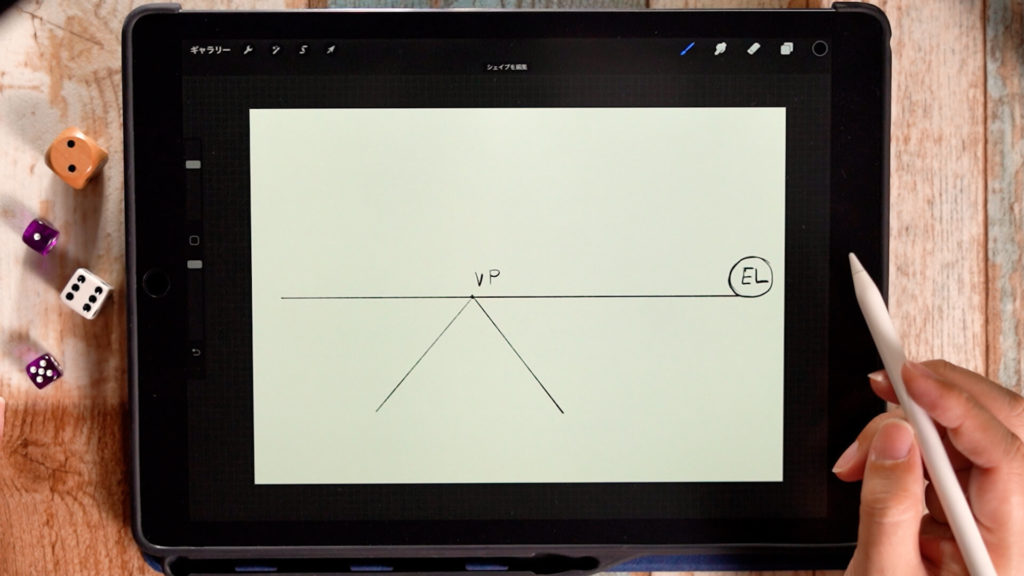
Set the eye level (EL) and one vanishing point (VP) for one-point perspective.
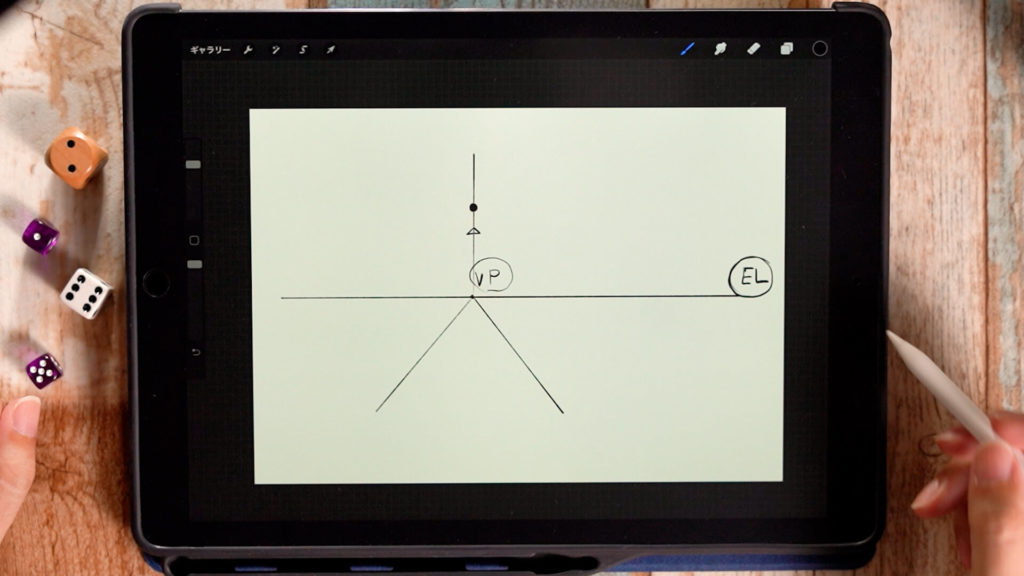
Then, set the VP for the slope. Draw an auxiliary line up from the VP just set and set VP2.
Draw a line for the uphill path.
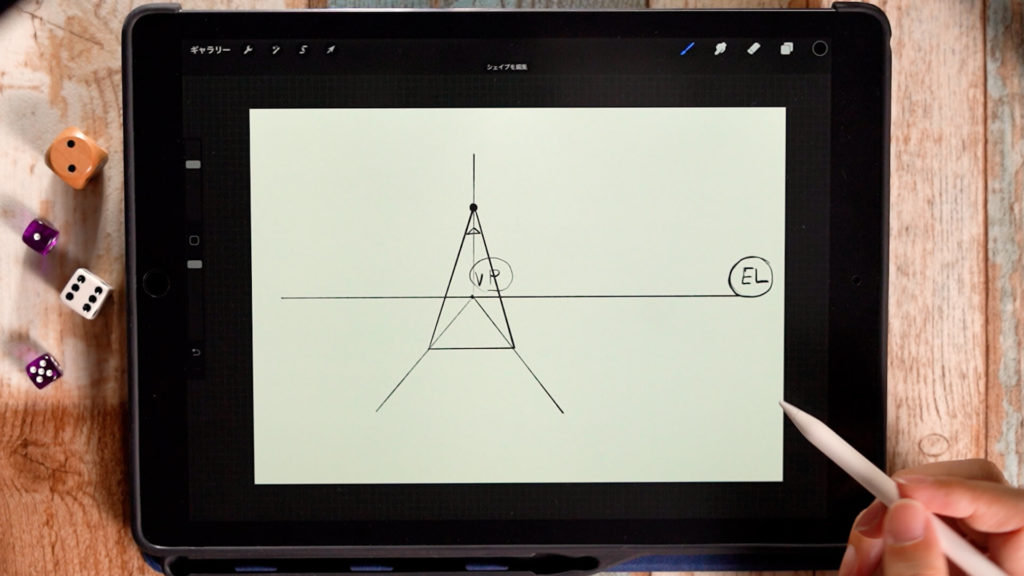
Draw a line from where you want the slope to VP2 to draw the slope.
If you draw it diagonally, it will look like this.
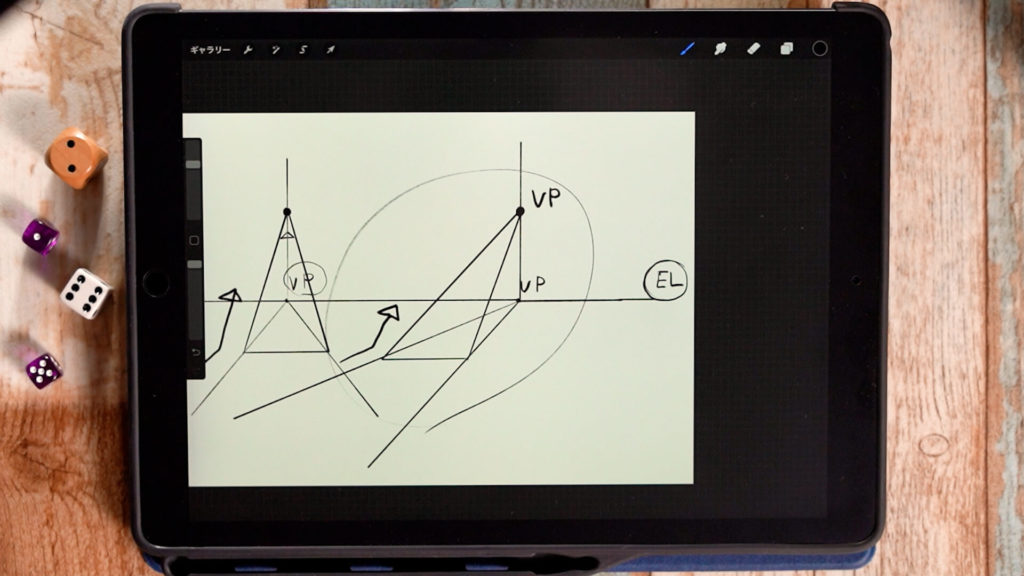
“How to Draw a Slope (Downward Path)” in 1-point perspective
Set the eye level (EL) and vanishing point (VP).
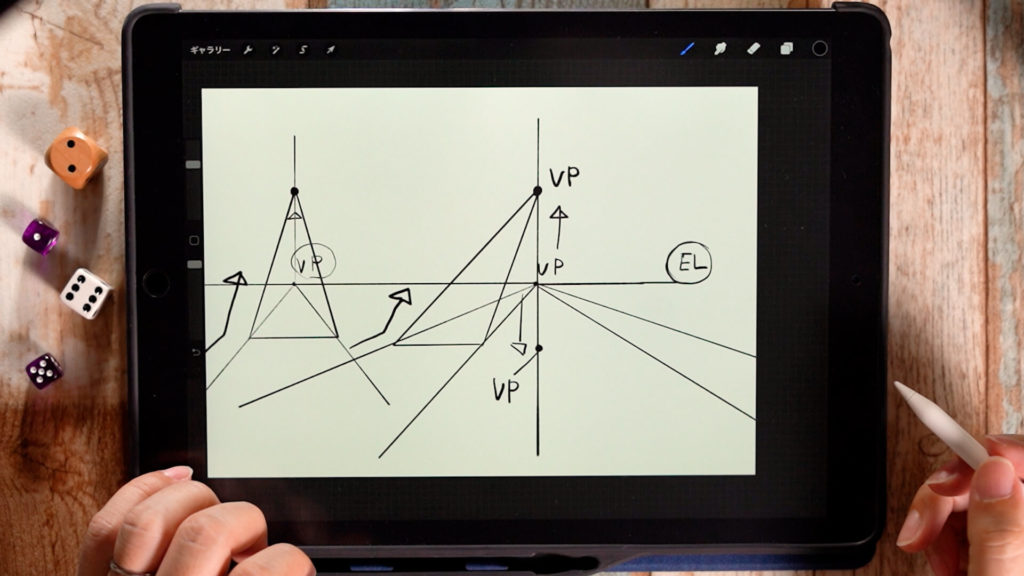
For a downhill path, draw an auxiliary line below.
Drawing a line for a downhill path
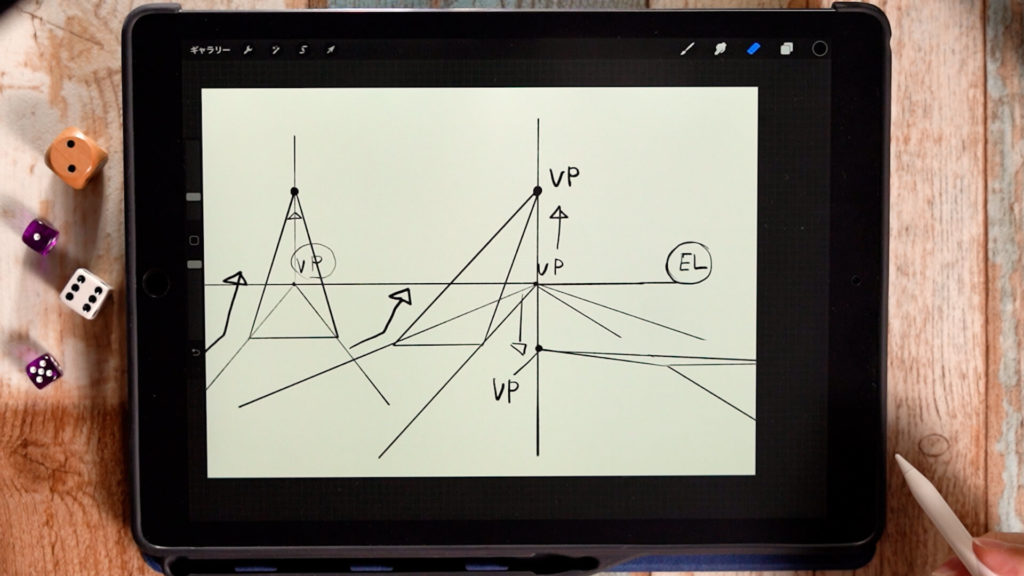
If you draw a line with VP2, it will be a downhill path.
If you draw a line from the middle of the downhill to the original VP again, you can draw a slope back to the original road level.
[adchord]
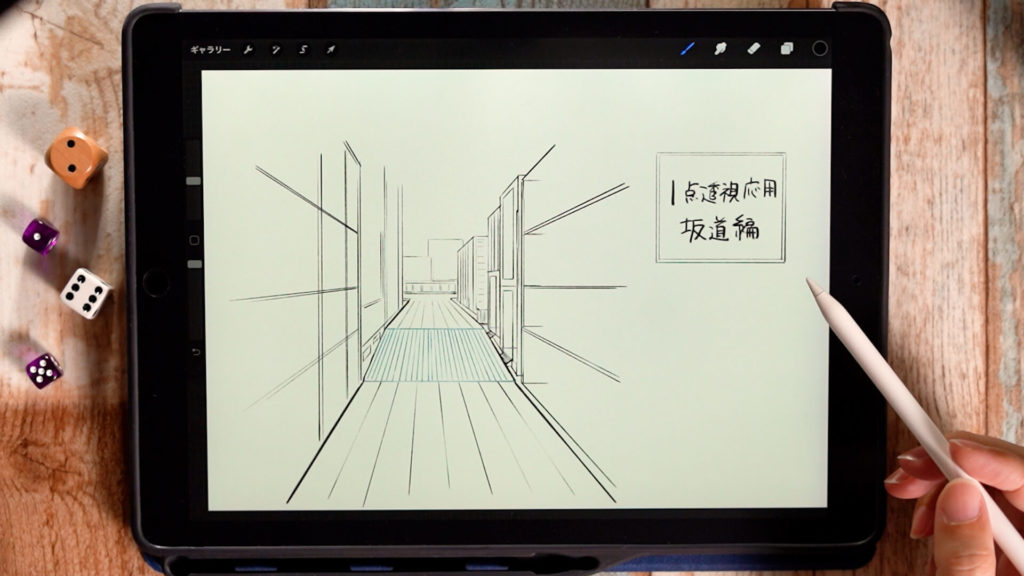
“How to Draw a Slope” applied to illustrations
Set the drawing guide
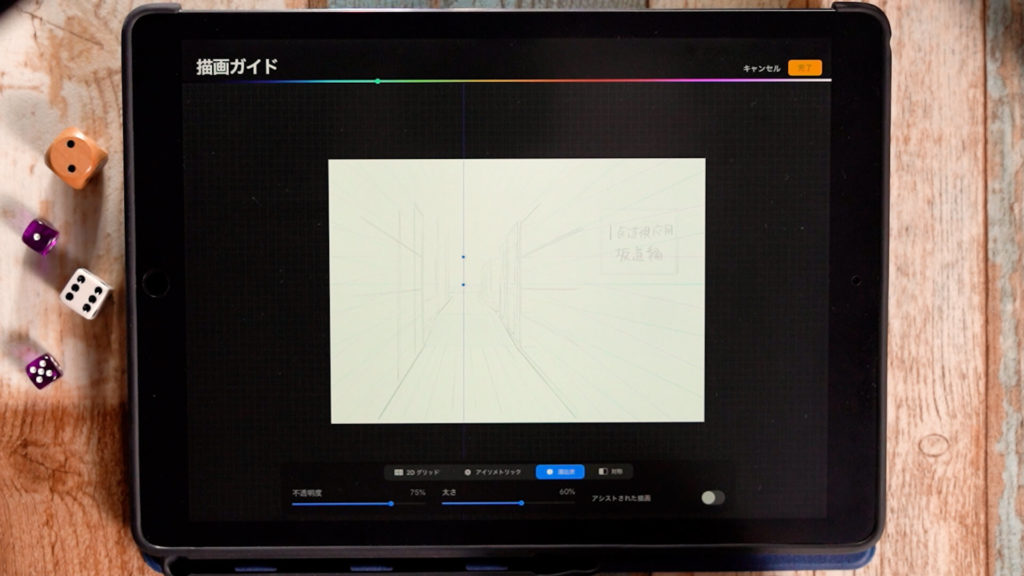
Turn on “Action” (the spanner symbol in the upper left corner), “Canvas”, “Drawing Guide”, and tap “Edit Drawing Guide”.
Set VP1 above the eye level and VP2 above it.
Drawing a slope
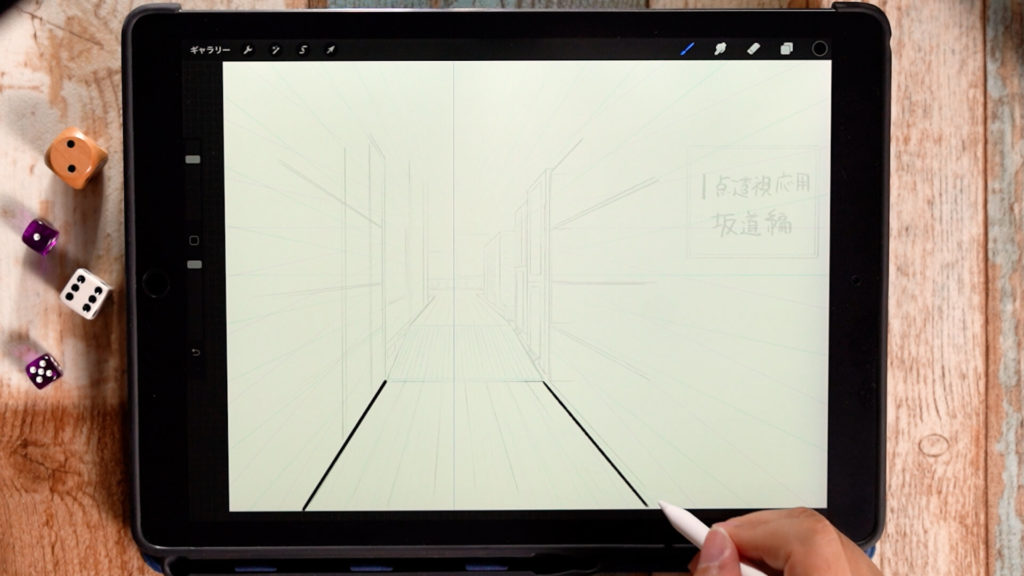
First, draw a straight road.
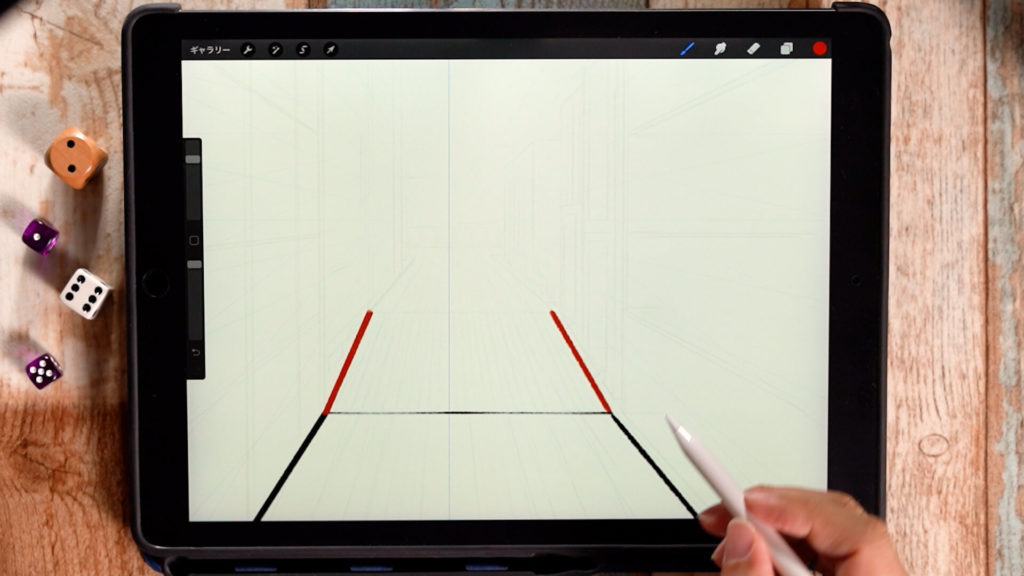
Draw the line of the slope toward the line of VP2.
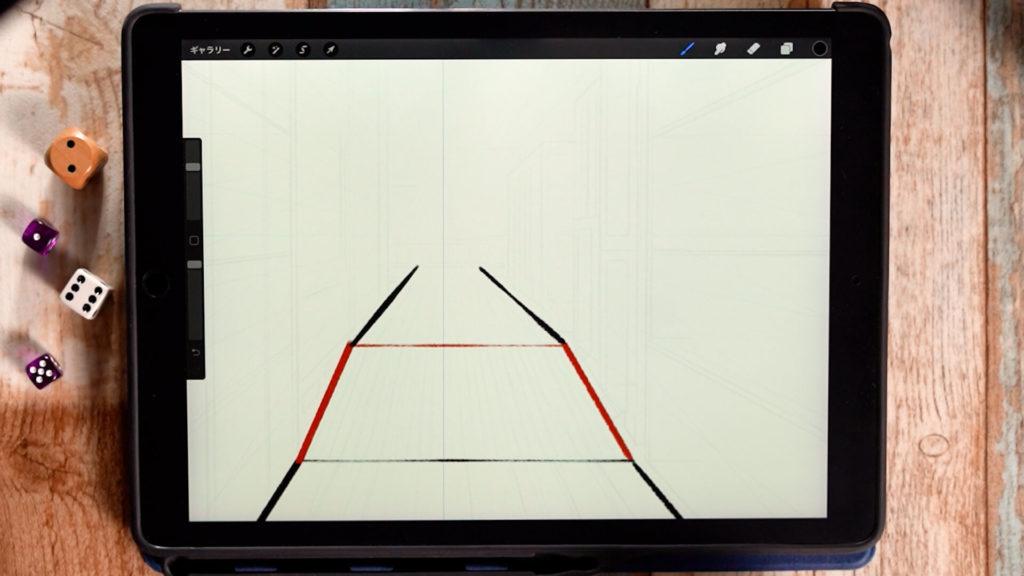
Draw a line toward VP1, returning to the straight road in the middle.
Draw the surrounding buildings.
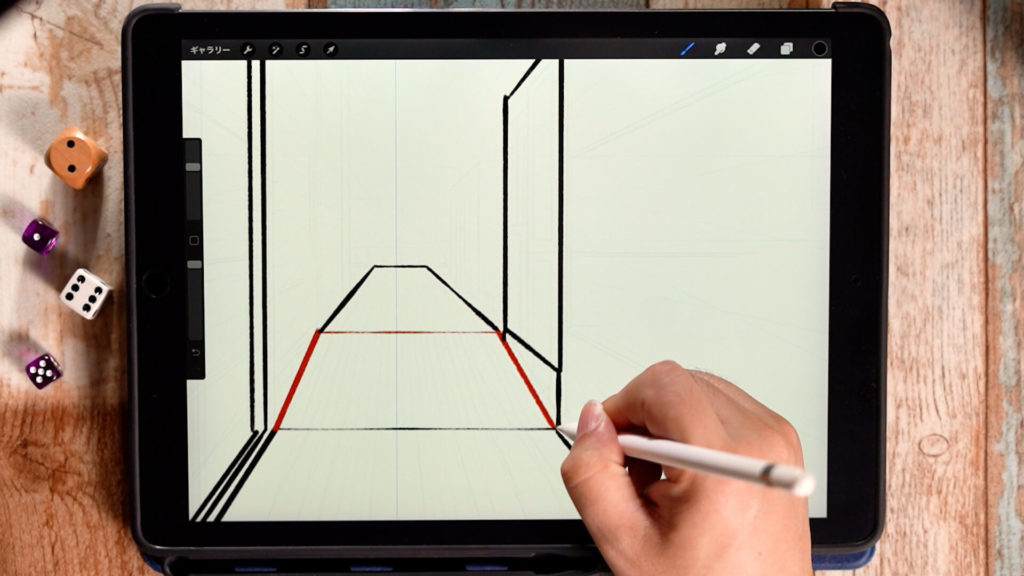
Draw the straight buildings so that they converge at the same vanishing point, VP1.
If the diagonal locations converge to VP2, which is the same vanishing point, the buildings will be slanted. For sloping streets, draw them so that they converge to VP1, which is the same as the straight street.
The slanting areas may be reinforced with cement, so draw the slanting areas while looking at the materials. It is a good idea to draw it so that it compresses as it goes deeper.
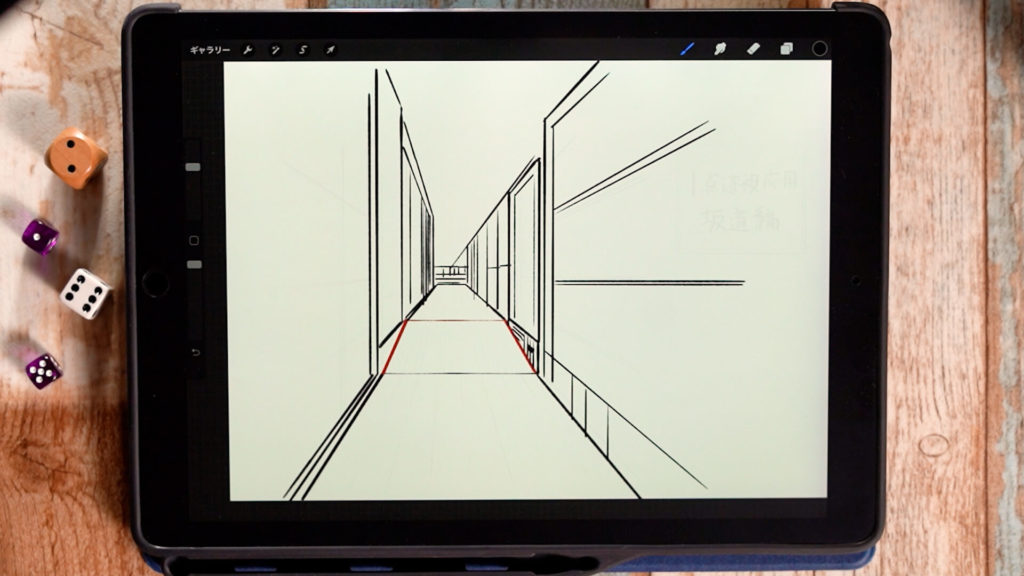
Slope Environment Art complete!
If you draw well, you can draw an illustration like this.
The basics are the same for downhill, so try drawing while applying this drawing method.
Detailed explanation video
In the video, detailed explanations are given while drawing. If you want to check it out thoroughly, please click here.
[adchord]
Related articles and videos
If you want to know more about “one-point perspective” and “eye level,” click here.
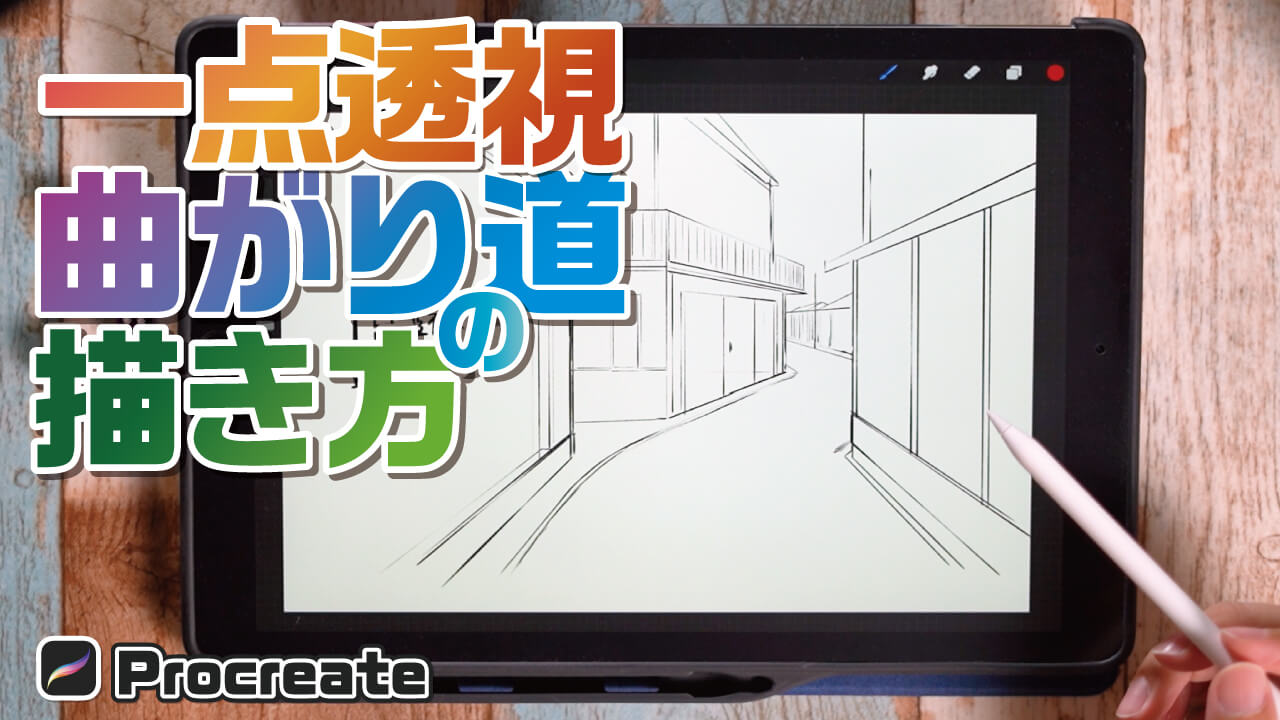
How to Draw a Bend Using One-Point Perspective” is also explained. By learning this article and others, you will be able to draw a variety of Environment Art.
Conclusion
This article was “How to draw a slope using one-point perspective.
One-point perspective can be applied to draw more interesting backgrounds.
The slope in this case can add movement to a simple background, so please try it out.
If you can draw a cityscape with stairs, it will definitely be fun!
Thank you for watching until the end.
See you again in my next post!

